Our final assignment was to mount a motor. Seemed simple enough. So, the first thing I did was procure one. Ben Light had suggested that cheap Christmas toys had the potential to yield some excellent, cost-effective motors. Following that guidance, I went to my neighborhood 99 cent store and bought a Christmas toy.
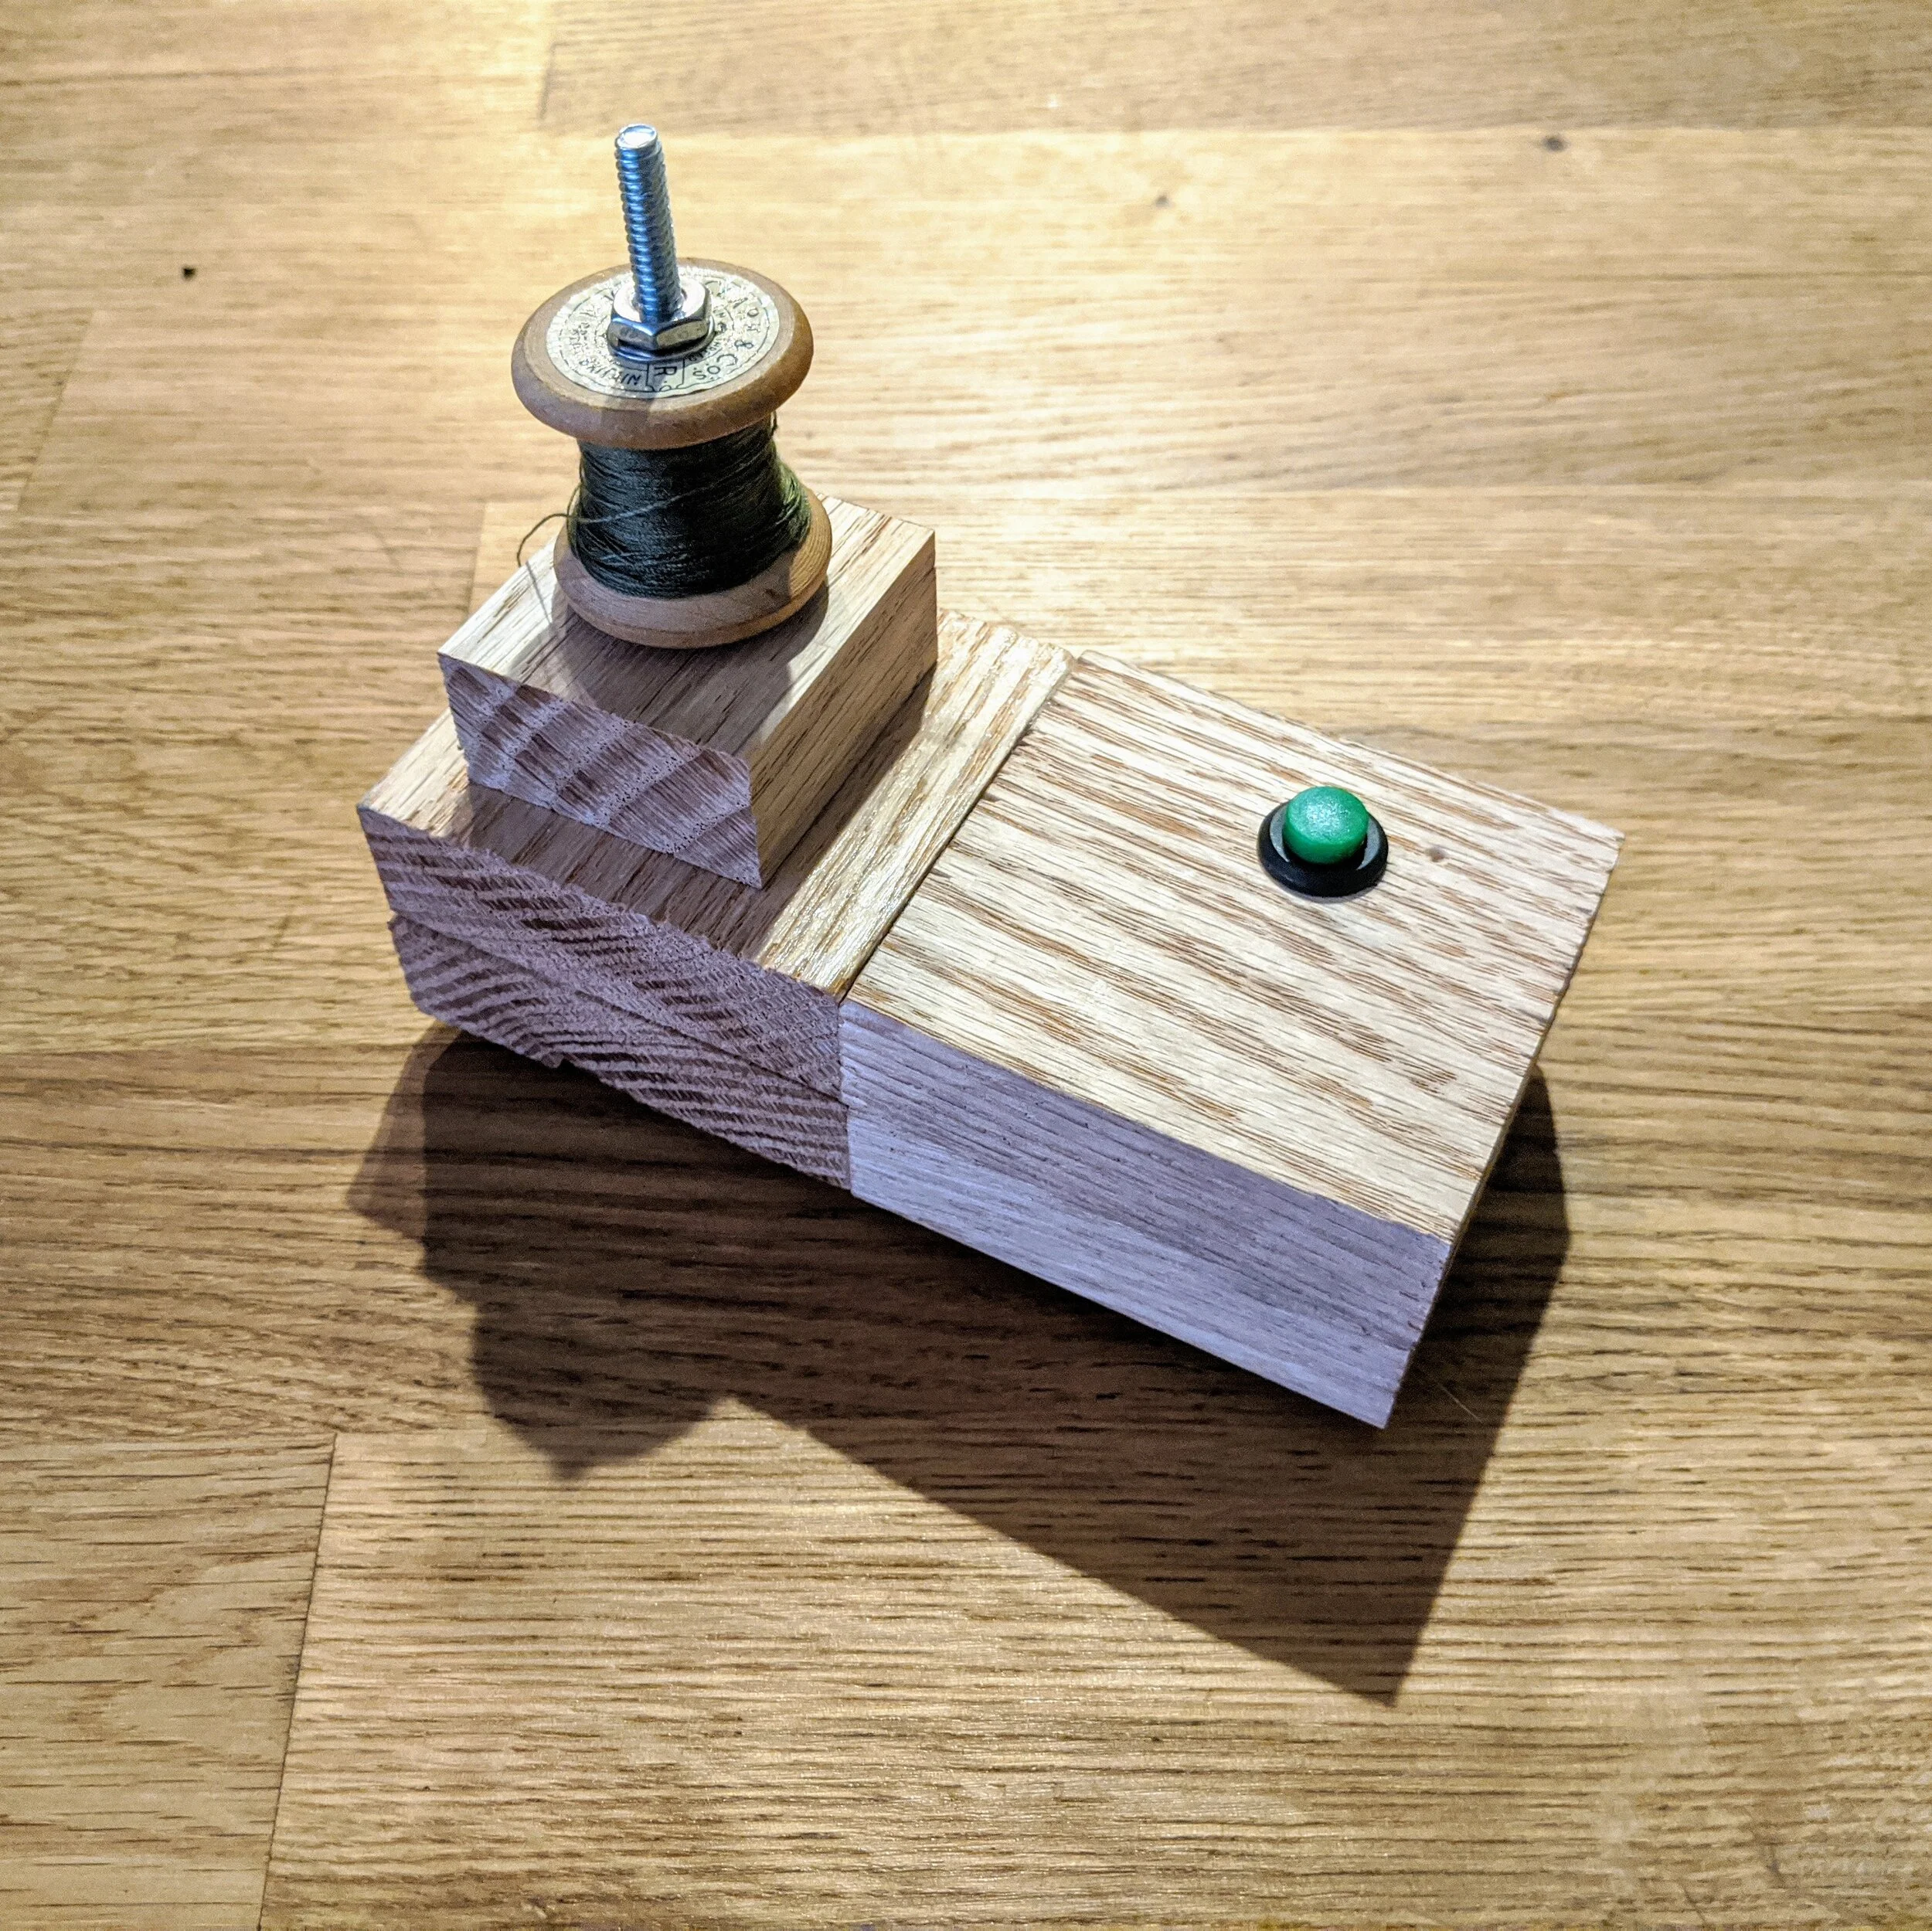
I hadn’t quite decided what to do with the motor when I bought it. Then I remembered my struggles trying to spool conductive thread from a large spool onto one that could fit into the sewing machine. I had been using a drill to accomplish the task. So, the answer on what to create became clear: a spooling machine.
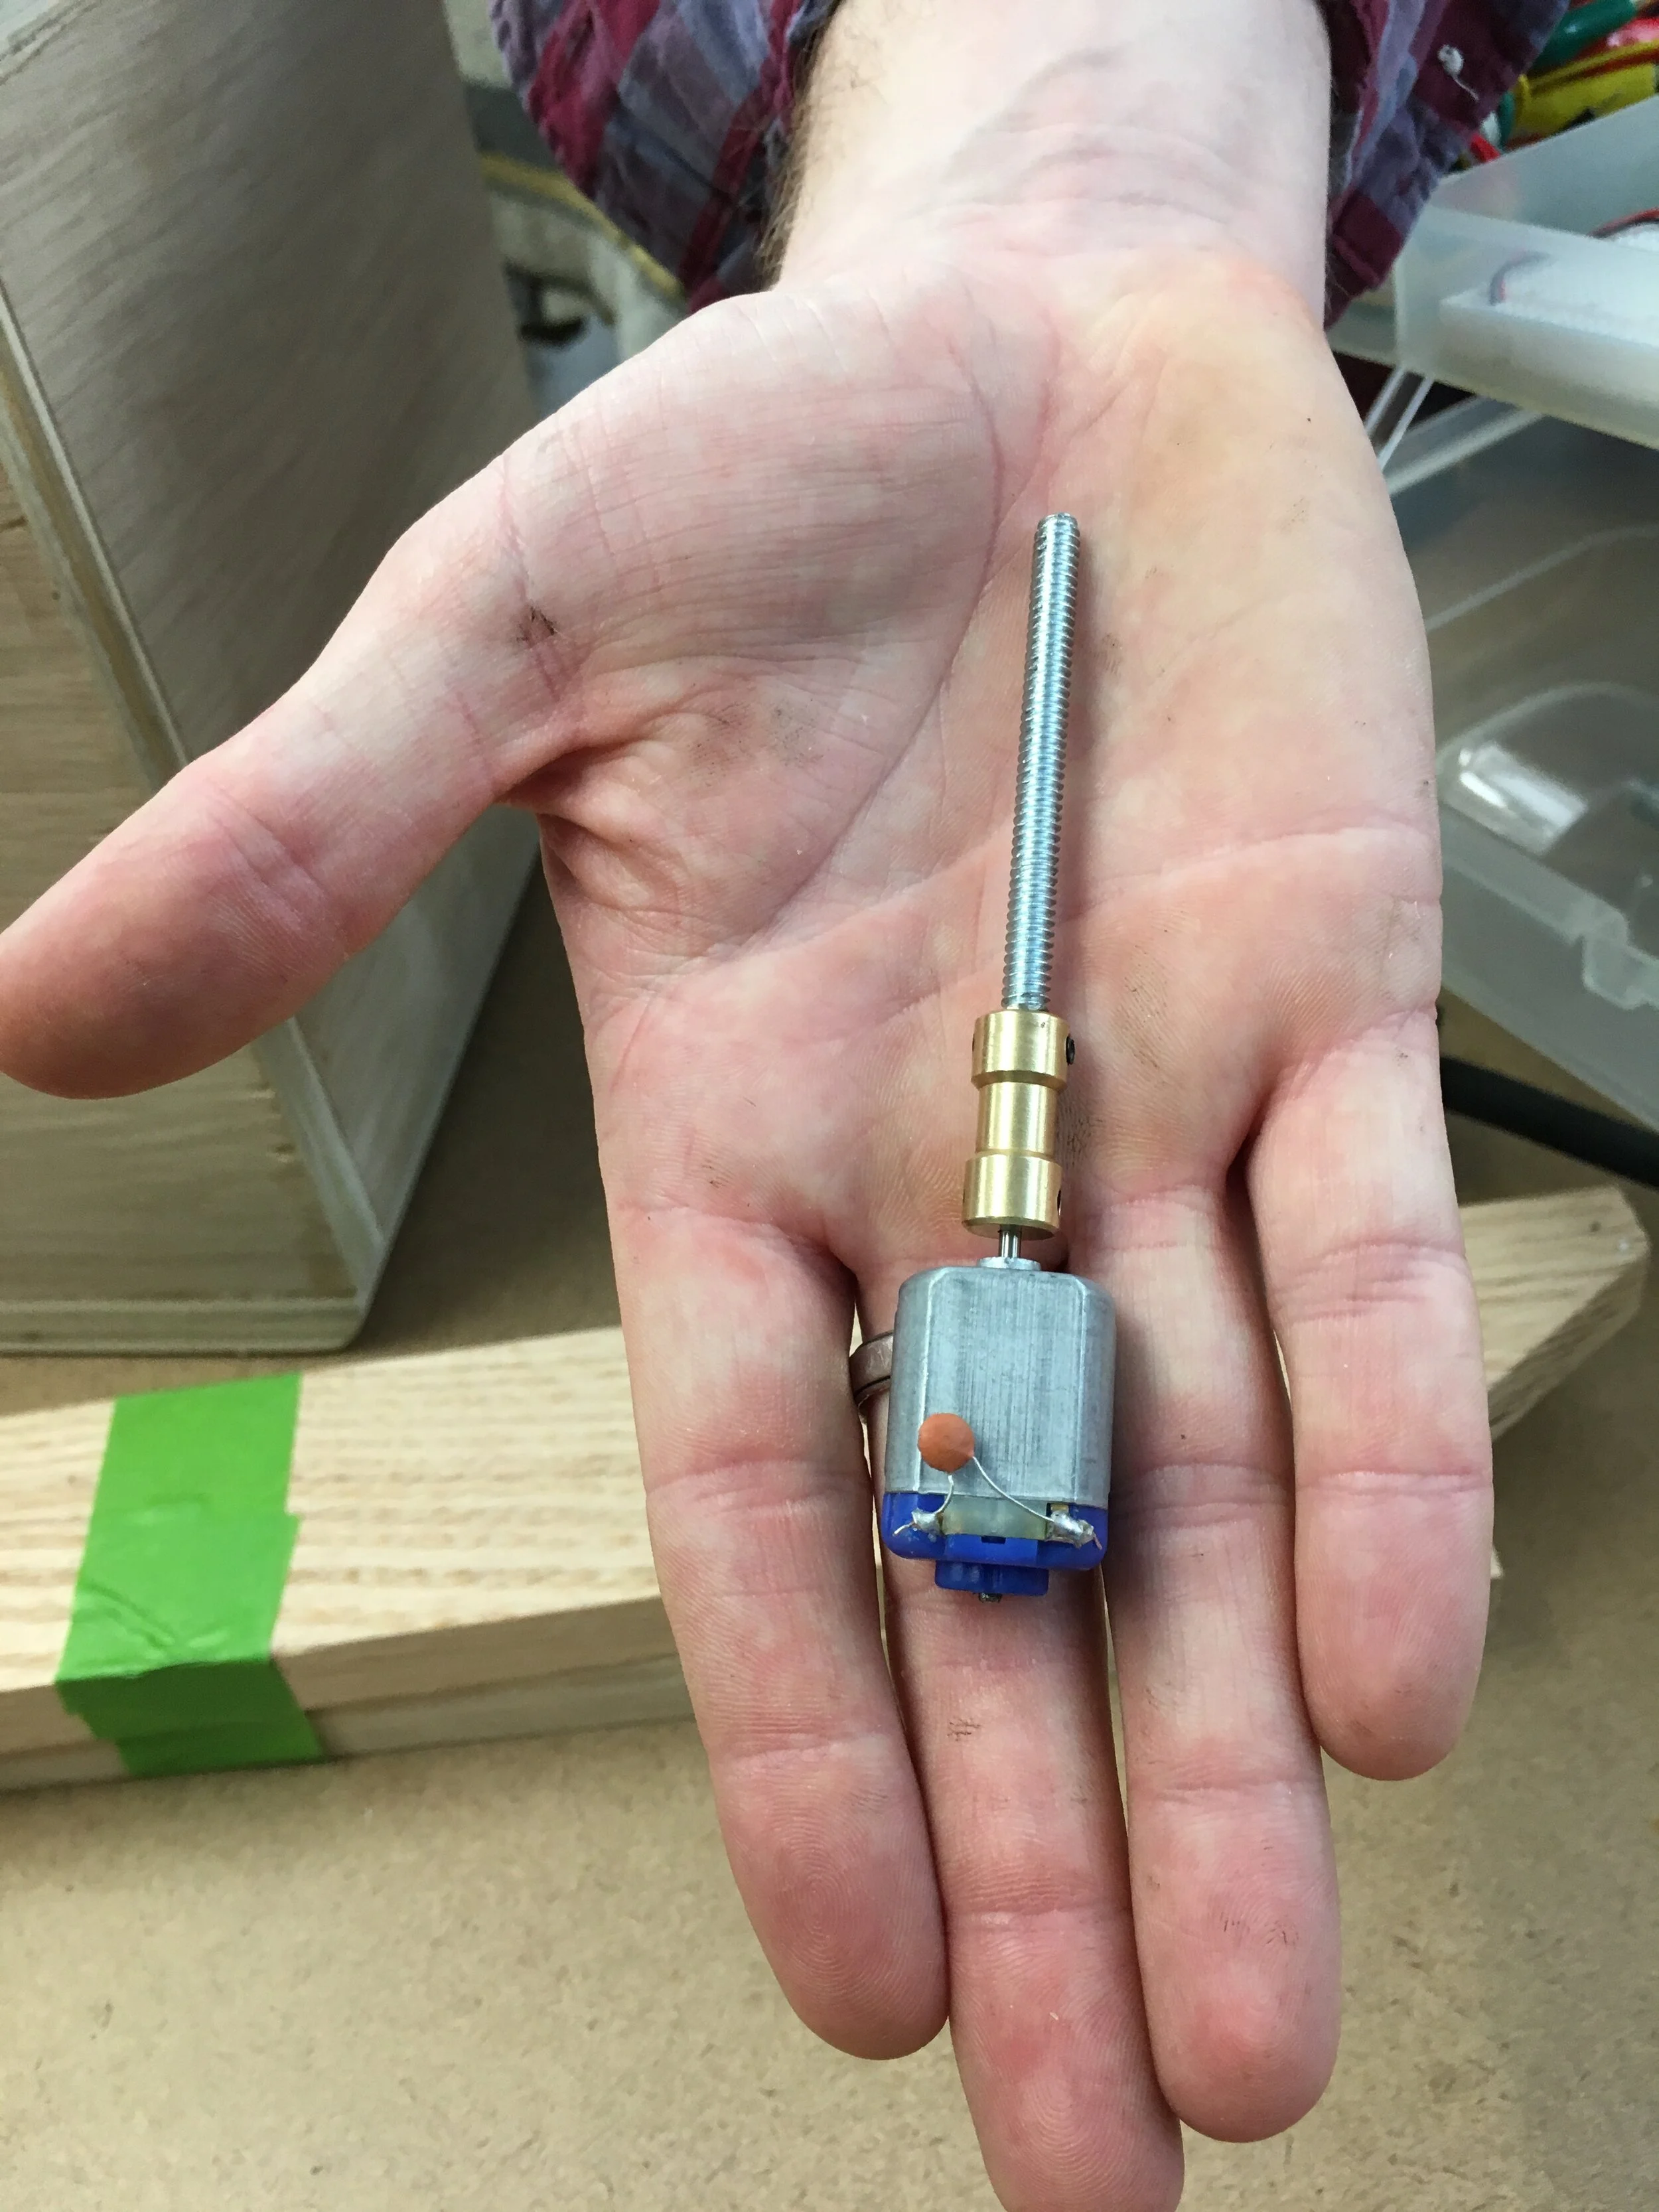
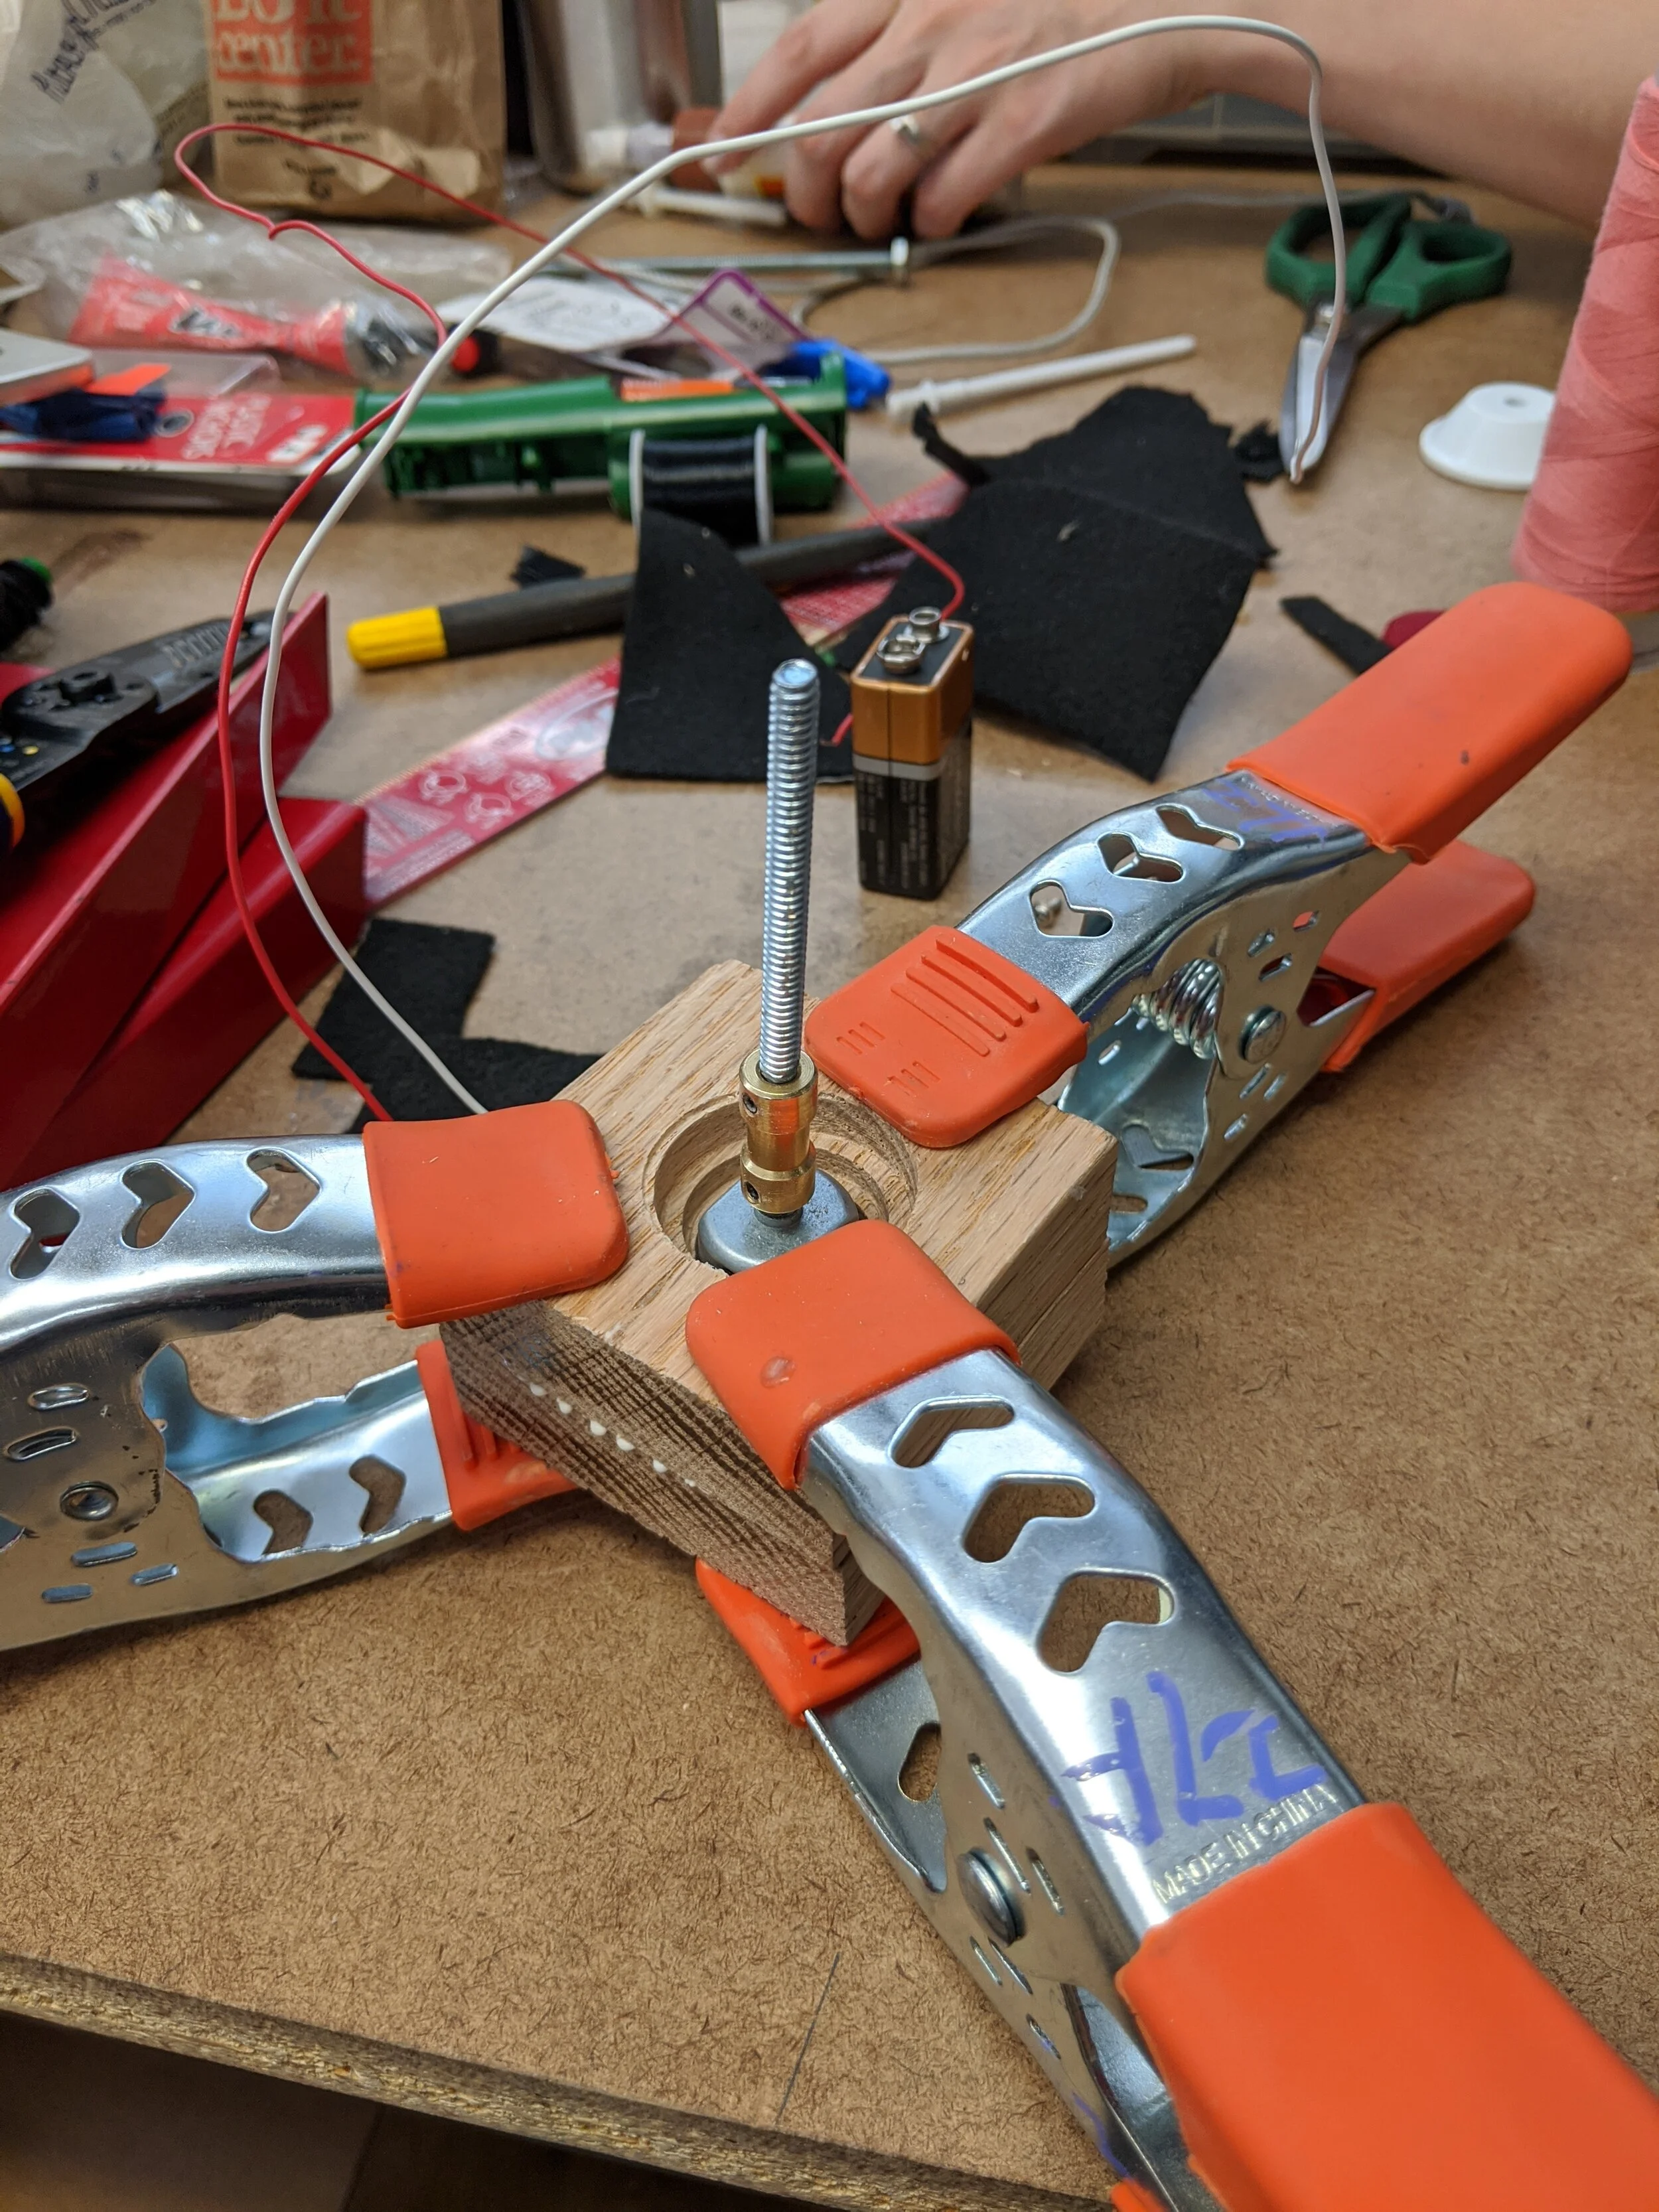
First thing I needed were shaft couplers. I thought they were fairly ubiquitous items, but I went through quite an adventure trying to procure some. In the end, Jake Sherwood (an ITP colleague) happens to be working on a project with a ton of motors, and he has a plethora of couplers. He was kind enough to lend me one: a 2mm to 5mm coupler. My motor shaft was two millimeters, so no problems there, but how to mount a spool on the other side?
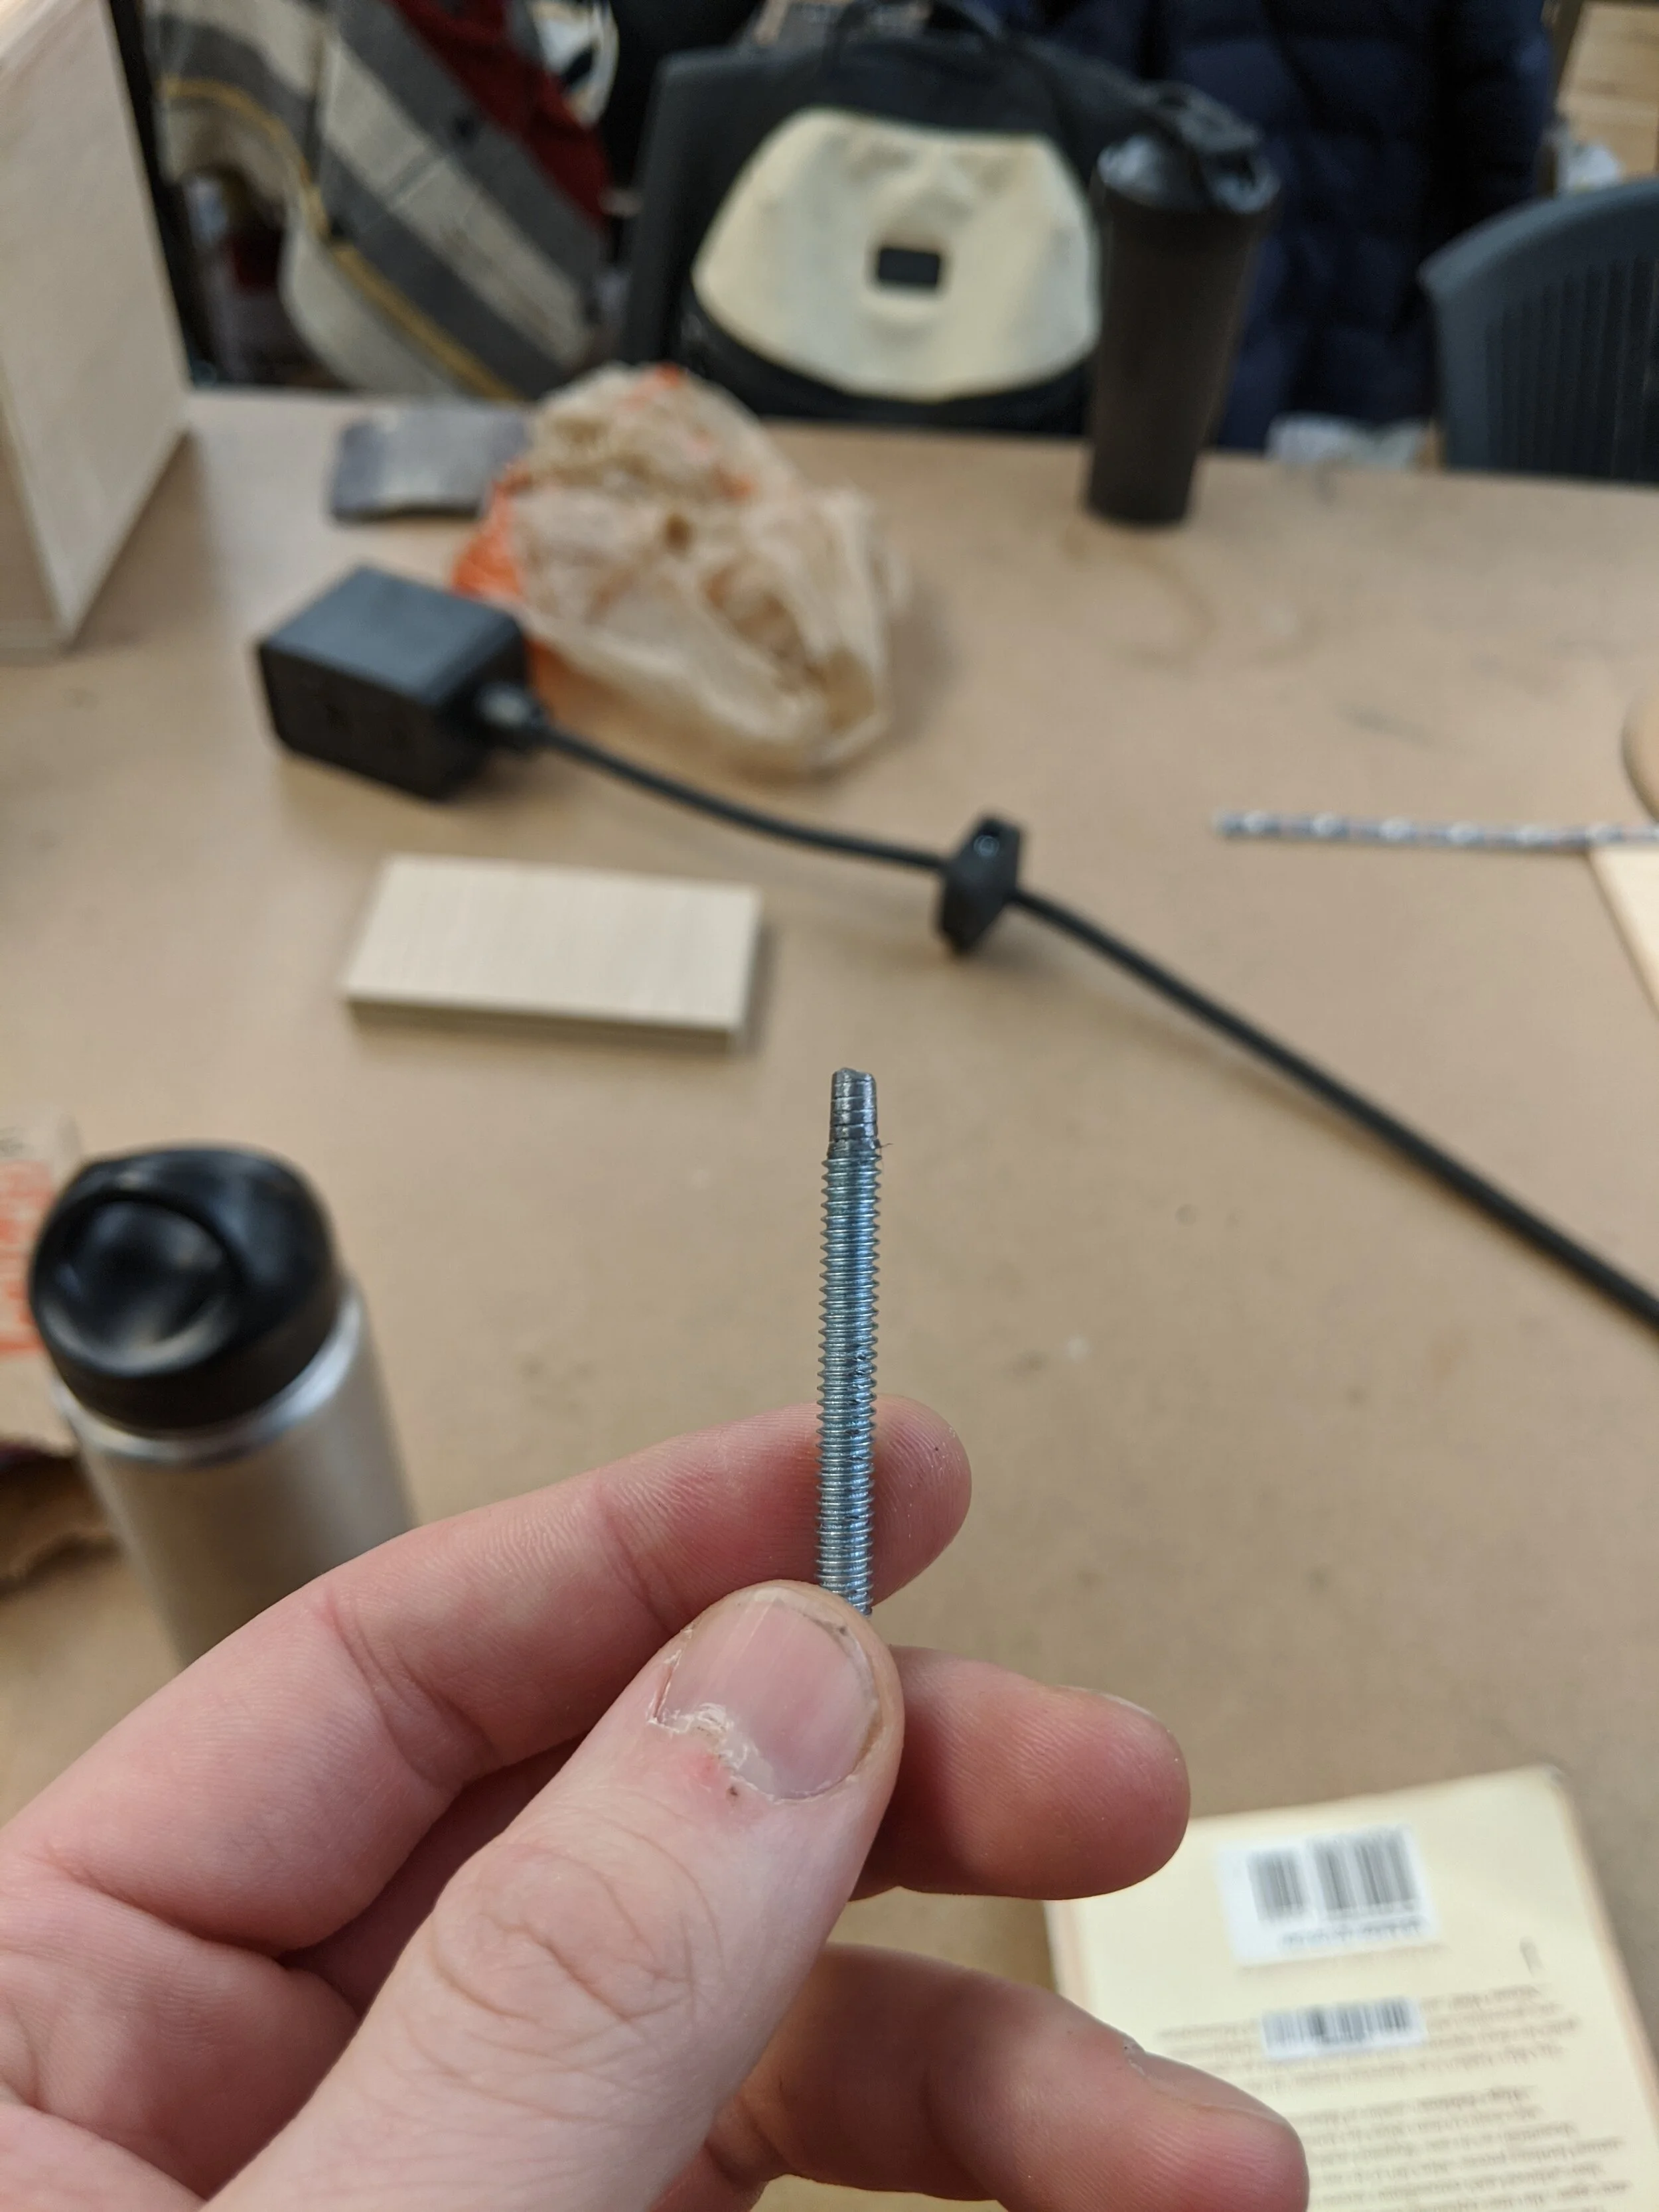
I used a simple 1/4-20 threaded screw. I wanted the threads so I could secure and unsecure the spool using a nut. I used the metal grinder (which has a perfect 440Hz pitch at full speed btw) to remove the head and threads from one end, and then I put it into my coupler.
From there, I needed to mount my motor. My original plan was to use this red piece of plastic from the junk shelf, but when I went to drill it, it cracked in half. Lesson learned.
Broken plastic, broken heart.
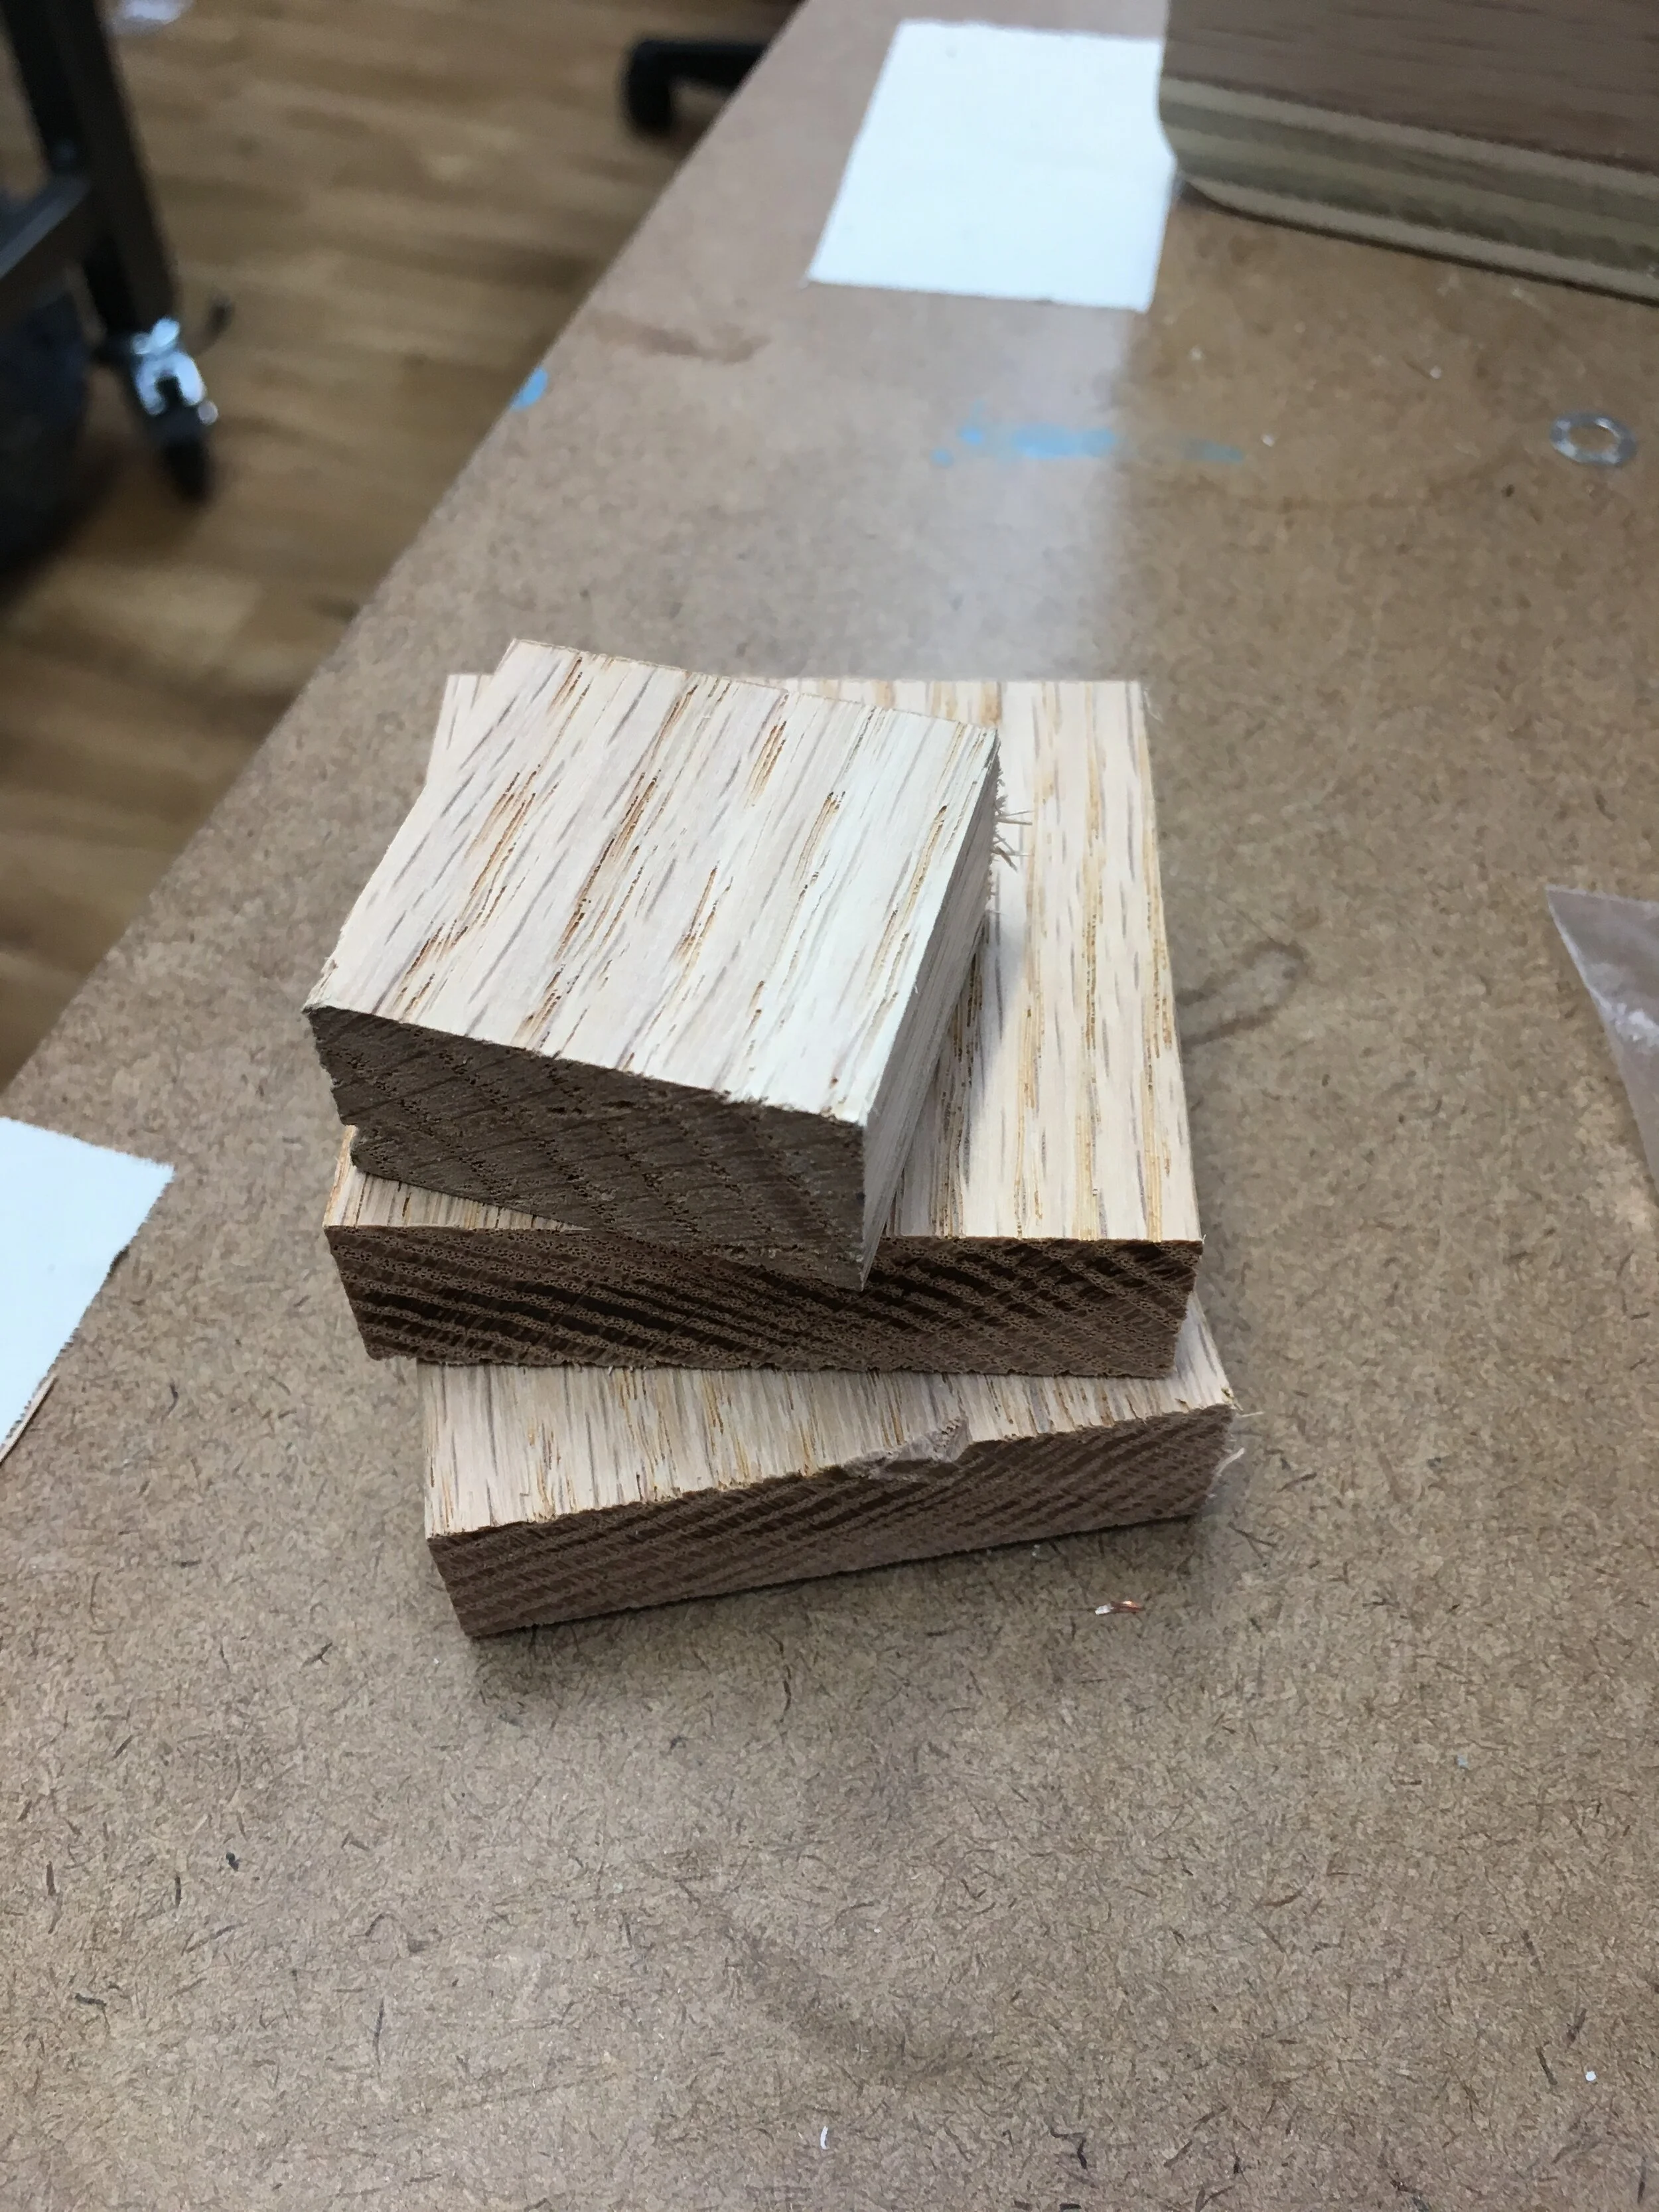
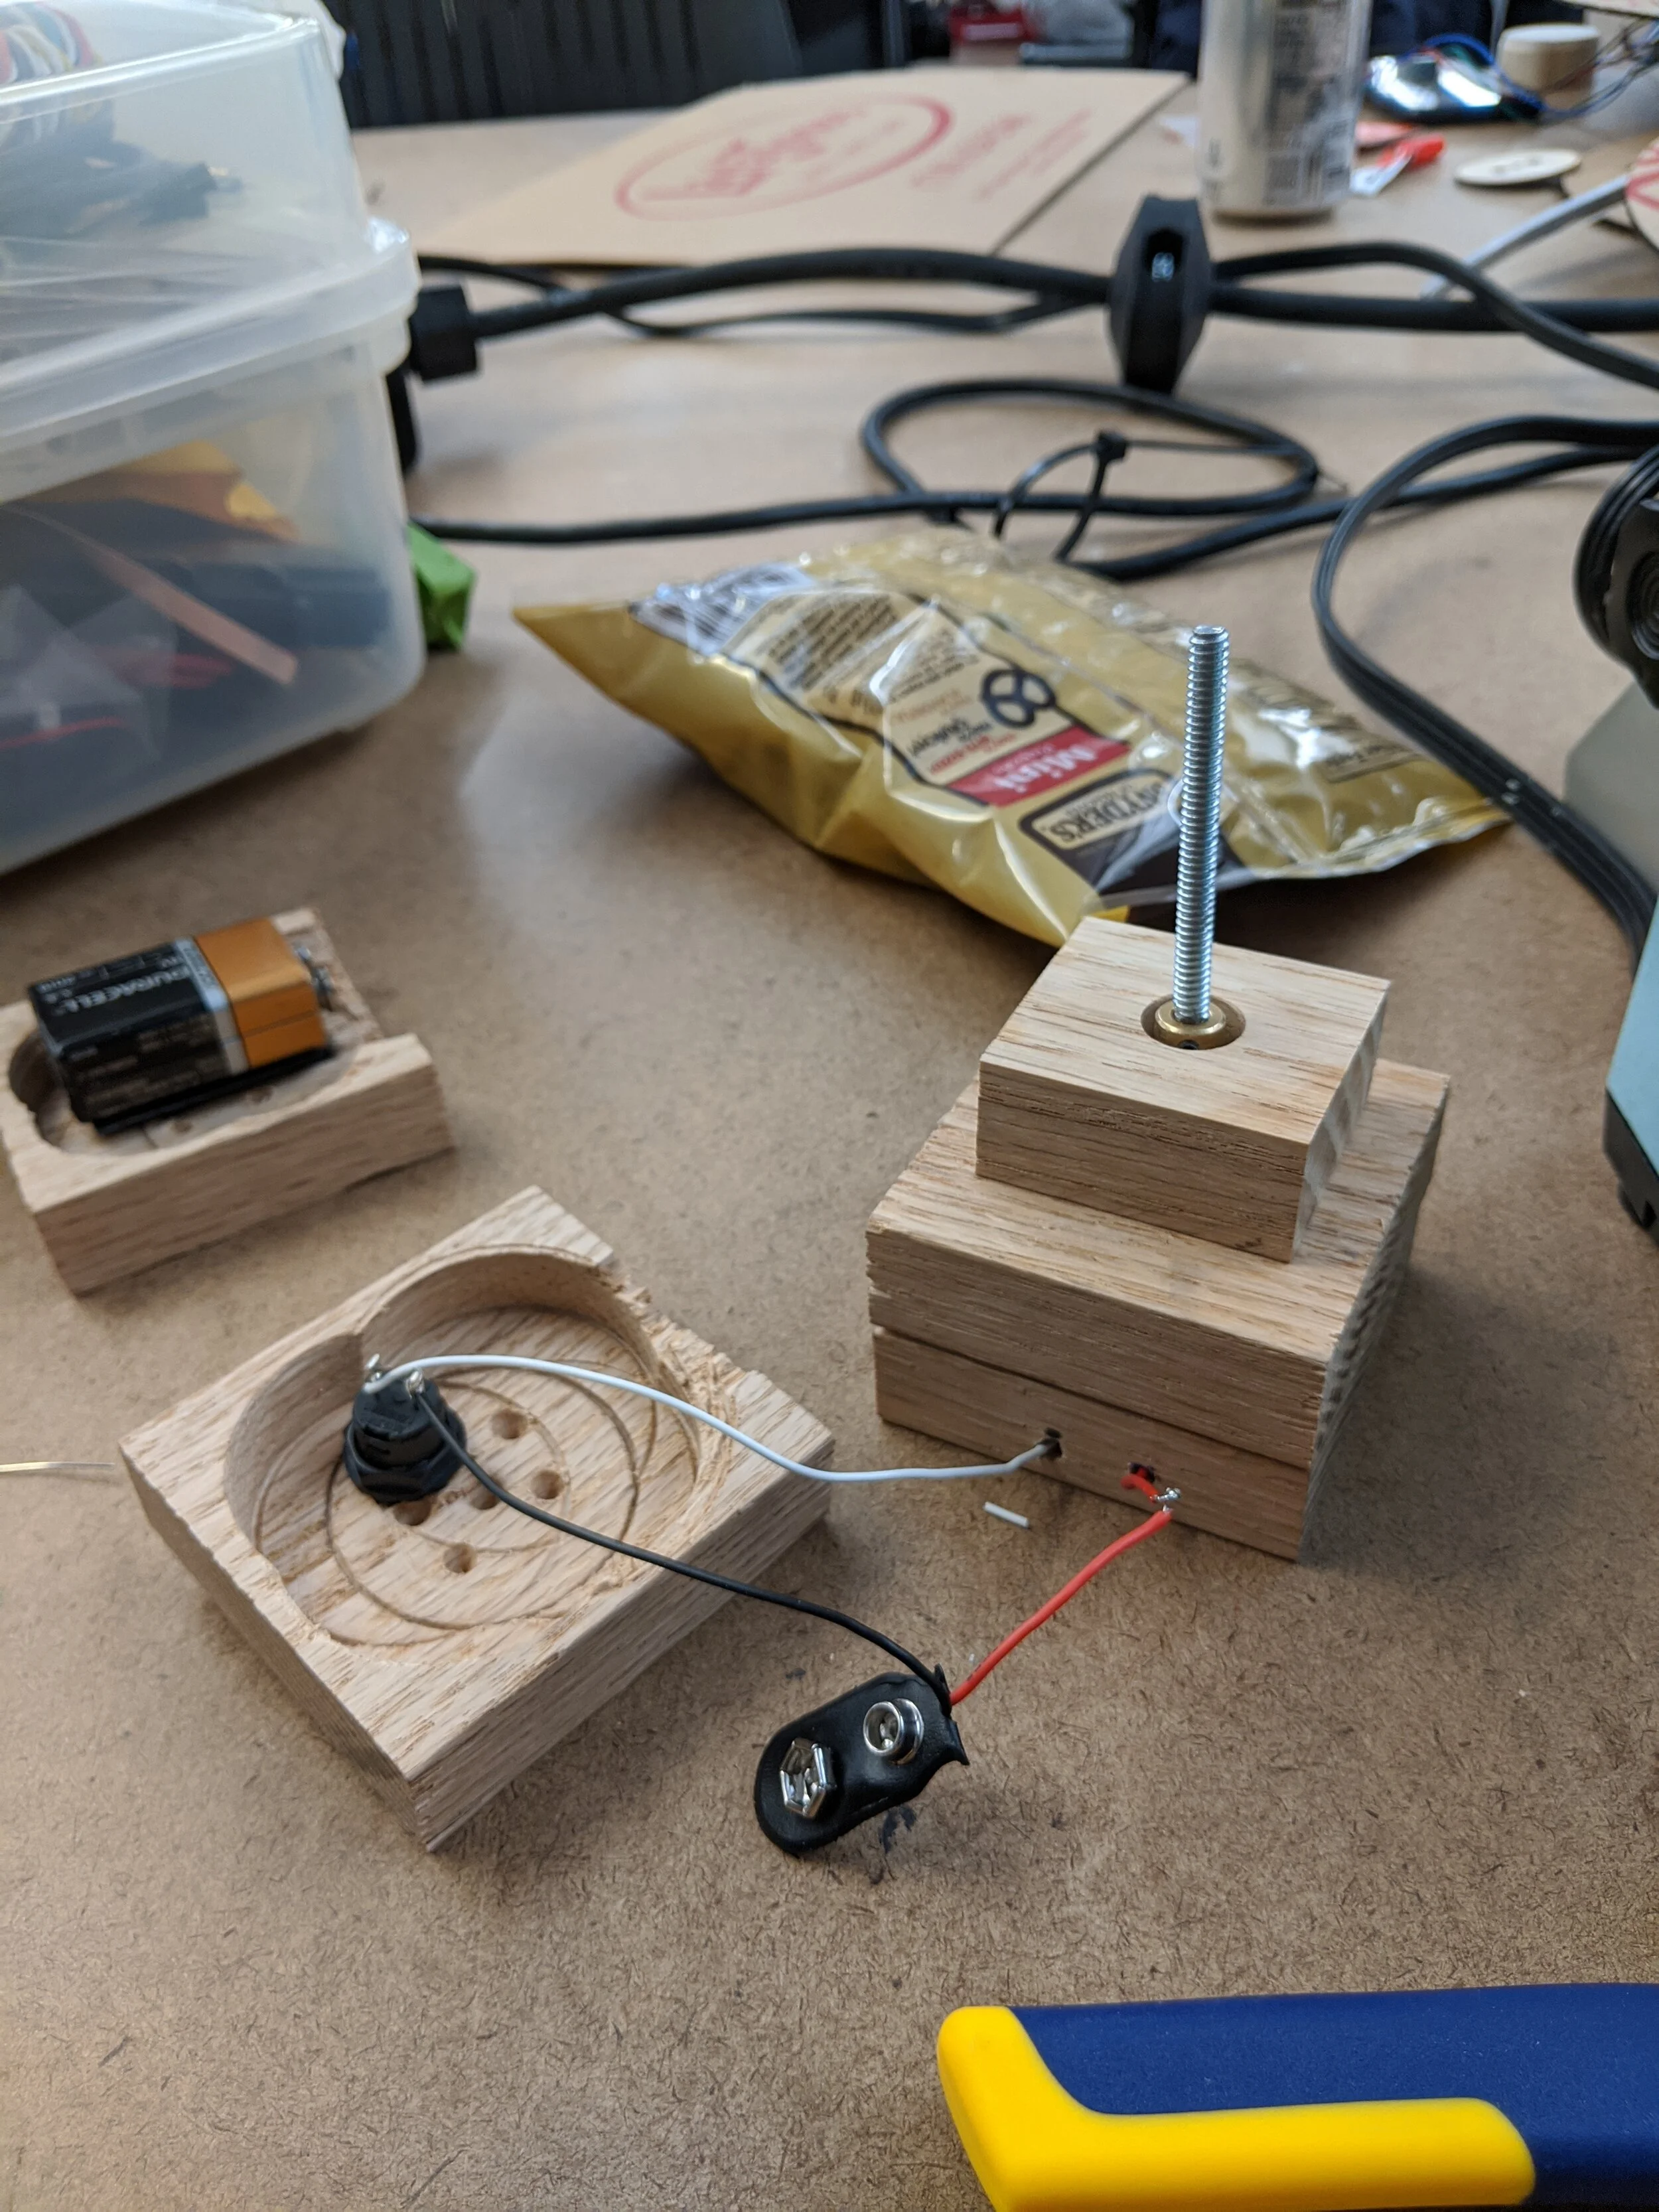
The original plan was to build up the motor onto the red platform using some oak wood I had from a previous project. I also bought some wooden dowels to use to mount the source spool, as well as to keep the tension, but after the plastic broke, I had to improvise. So, I made do with the amount of oak that I had. In the end, I had to forego the mount for the source spool.
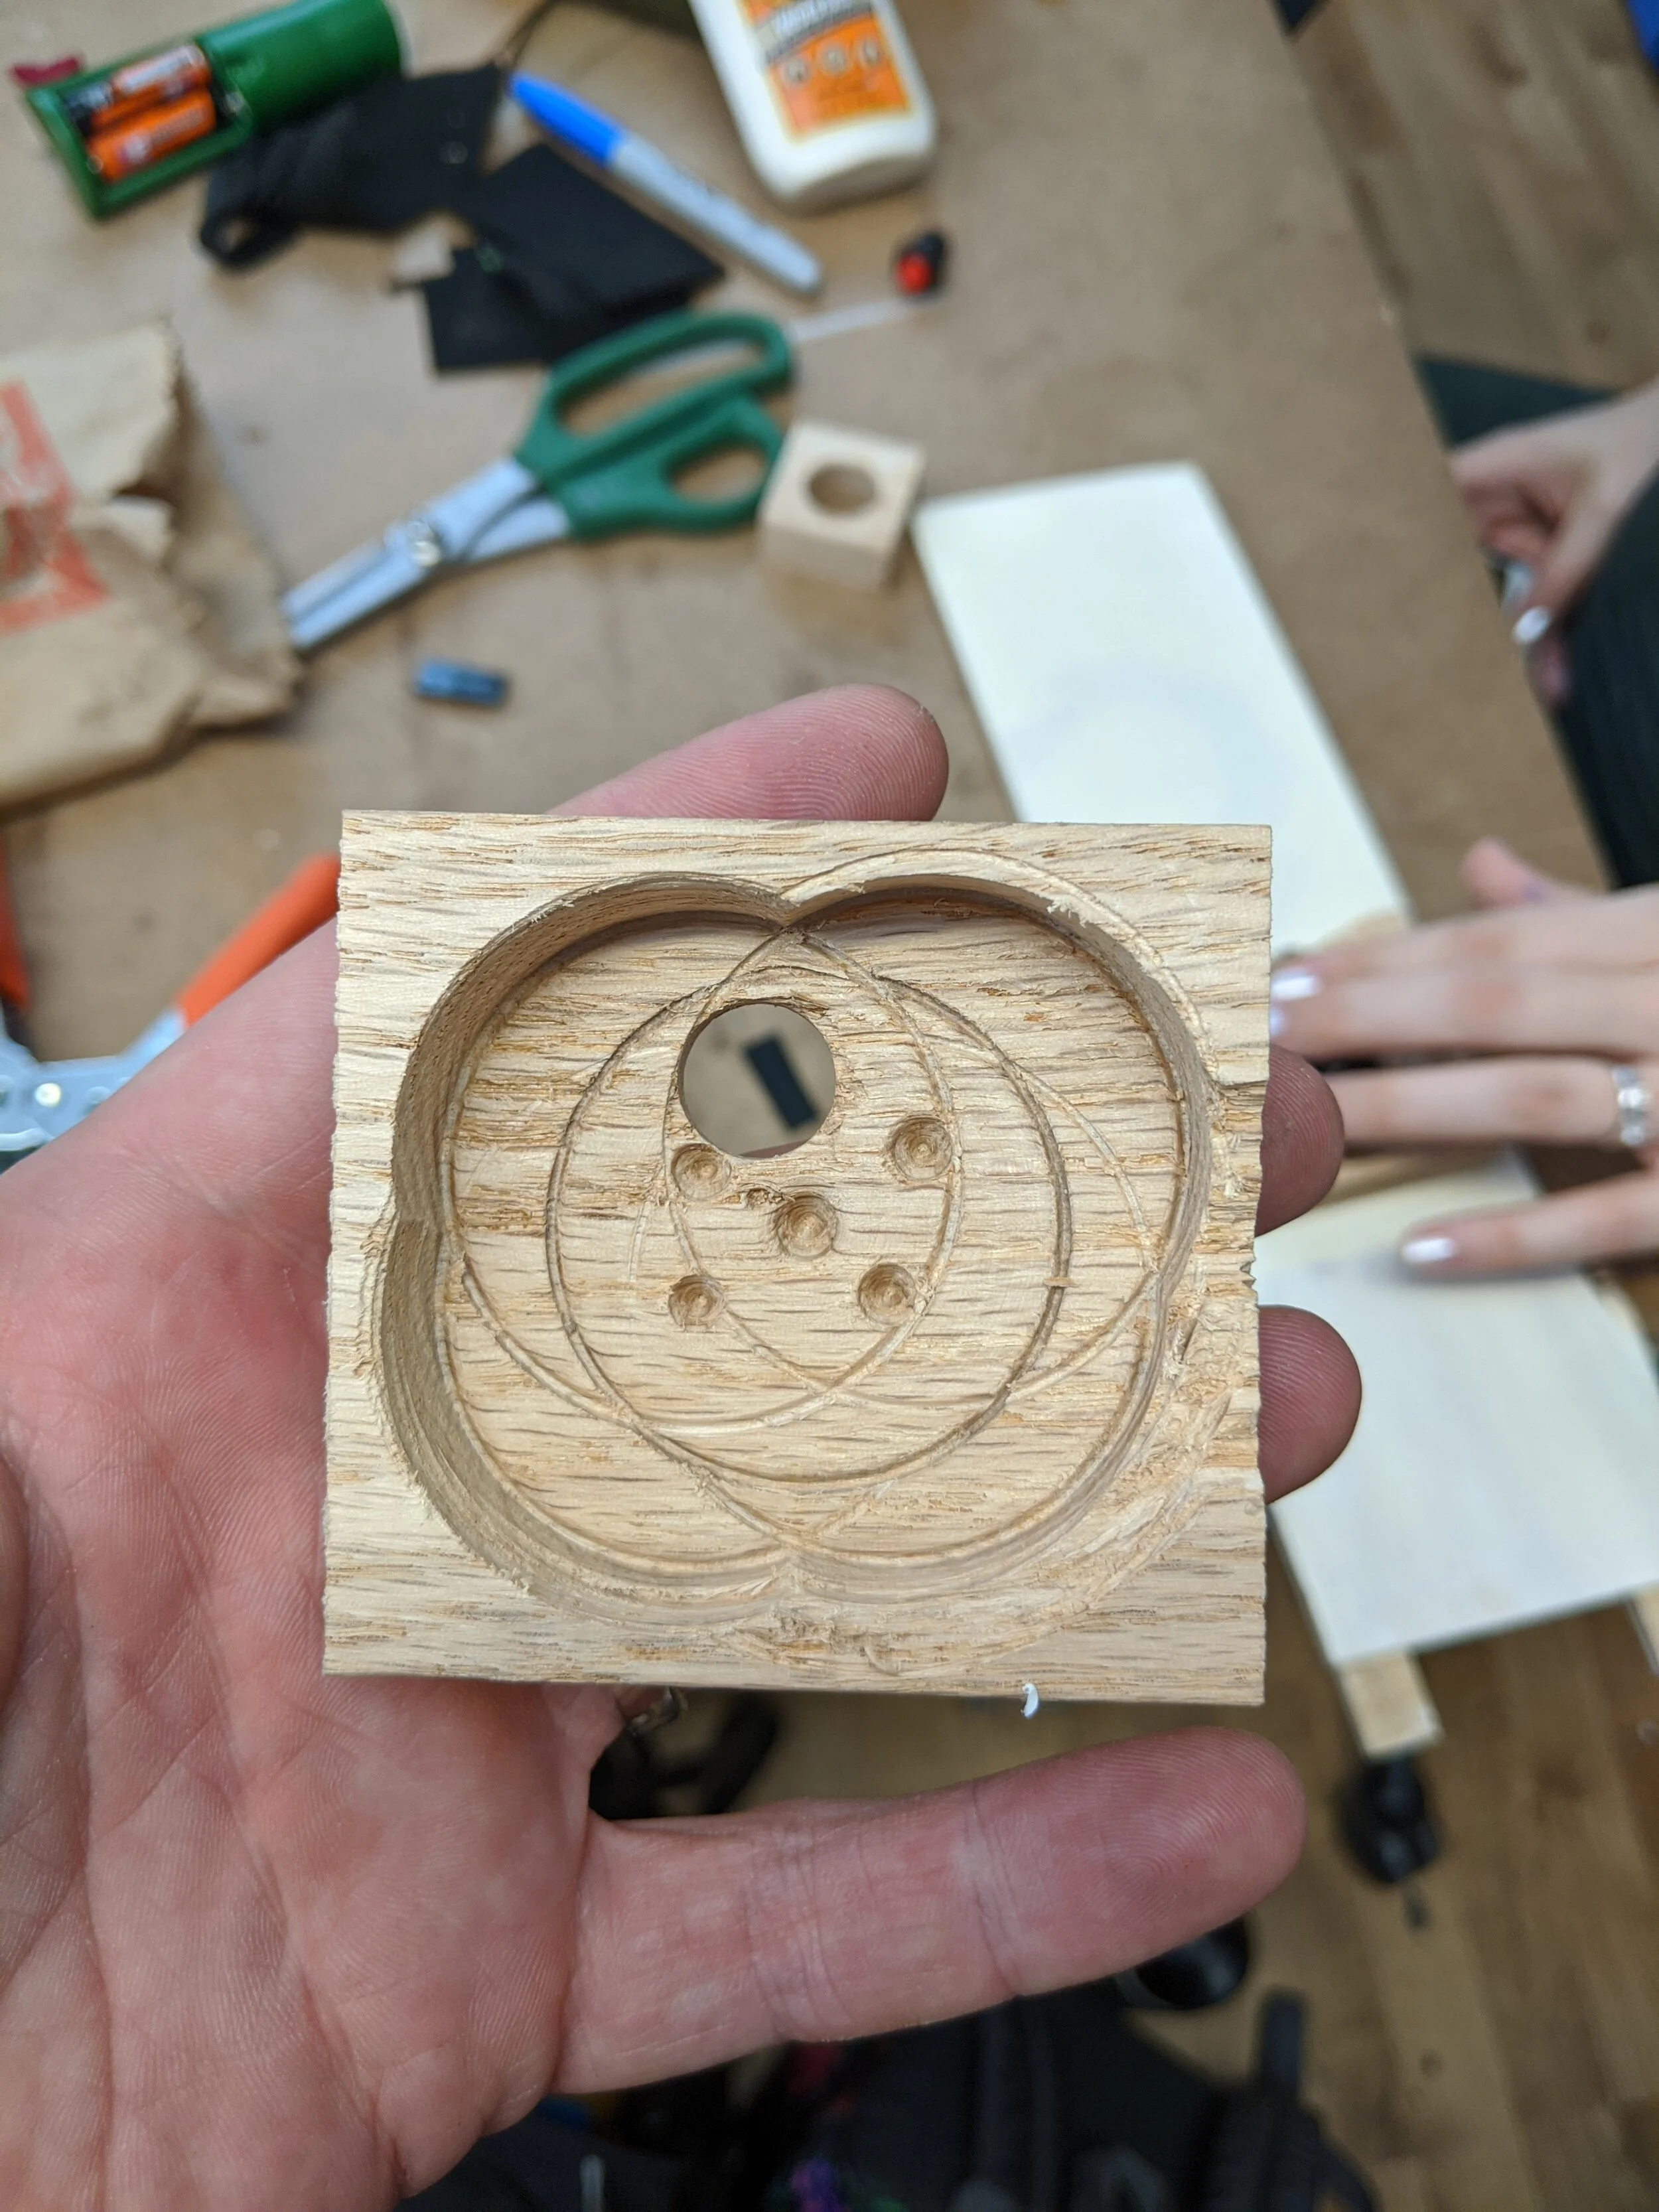
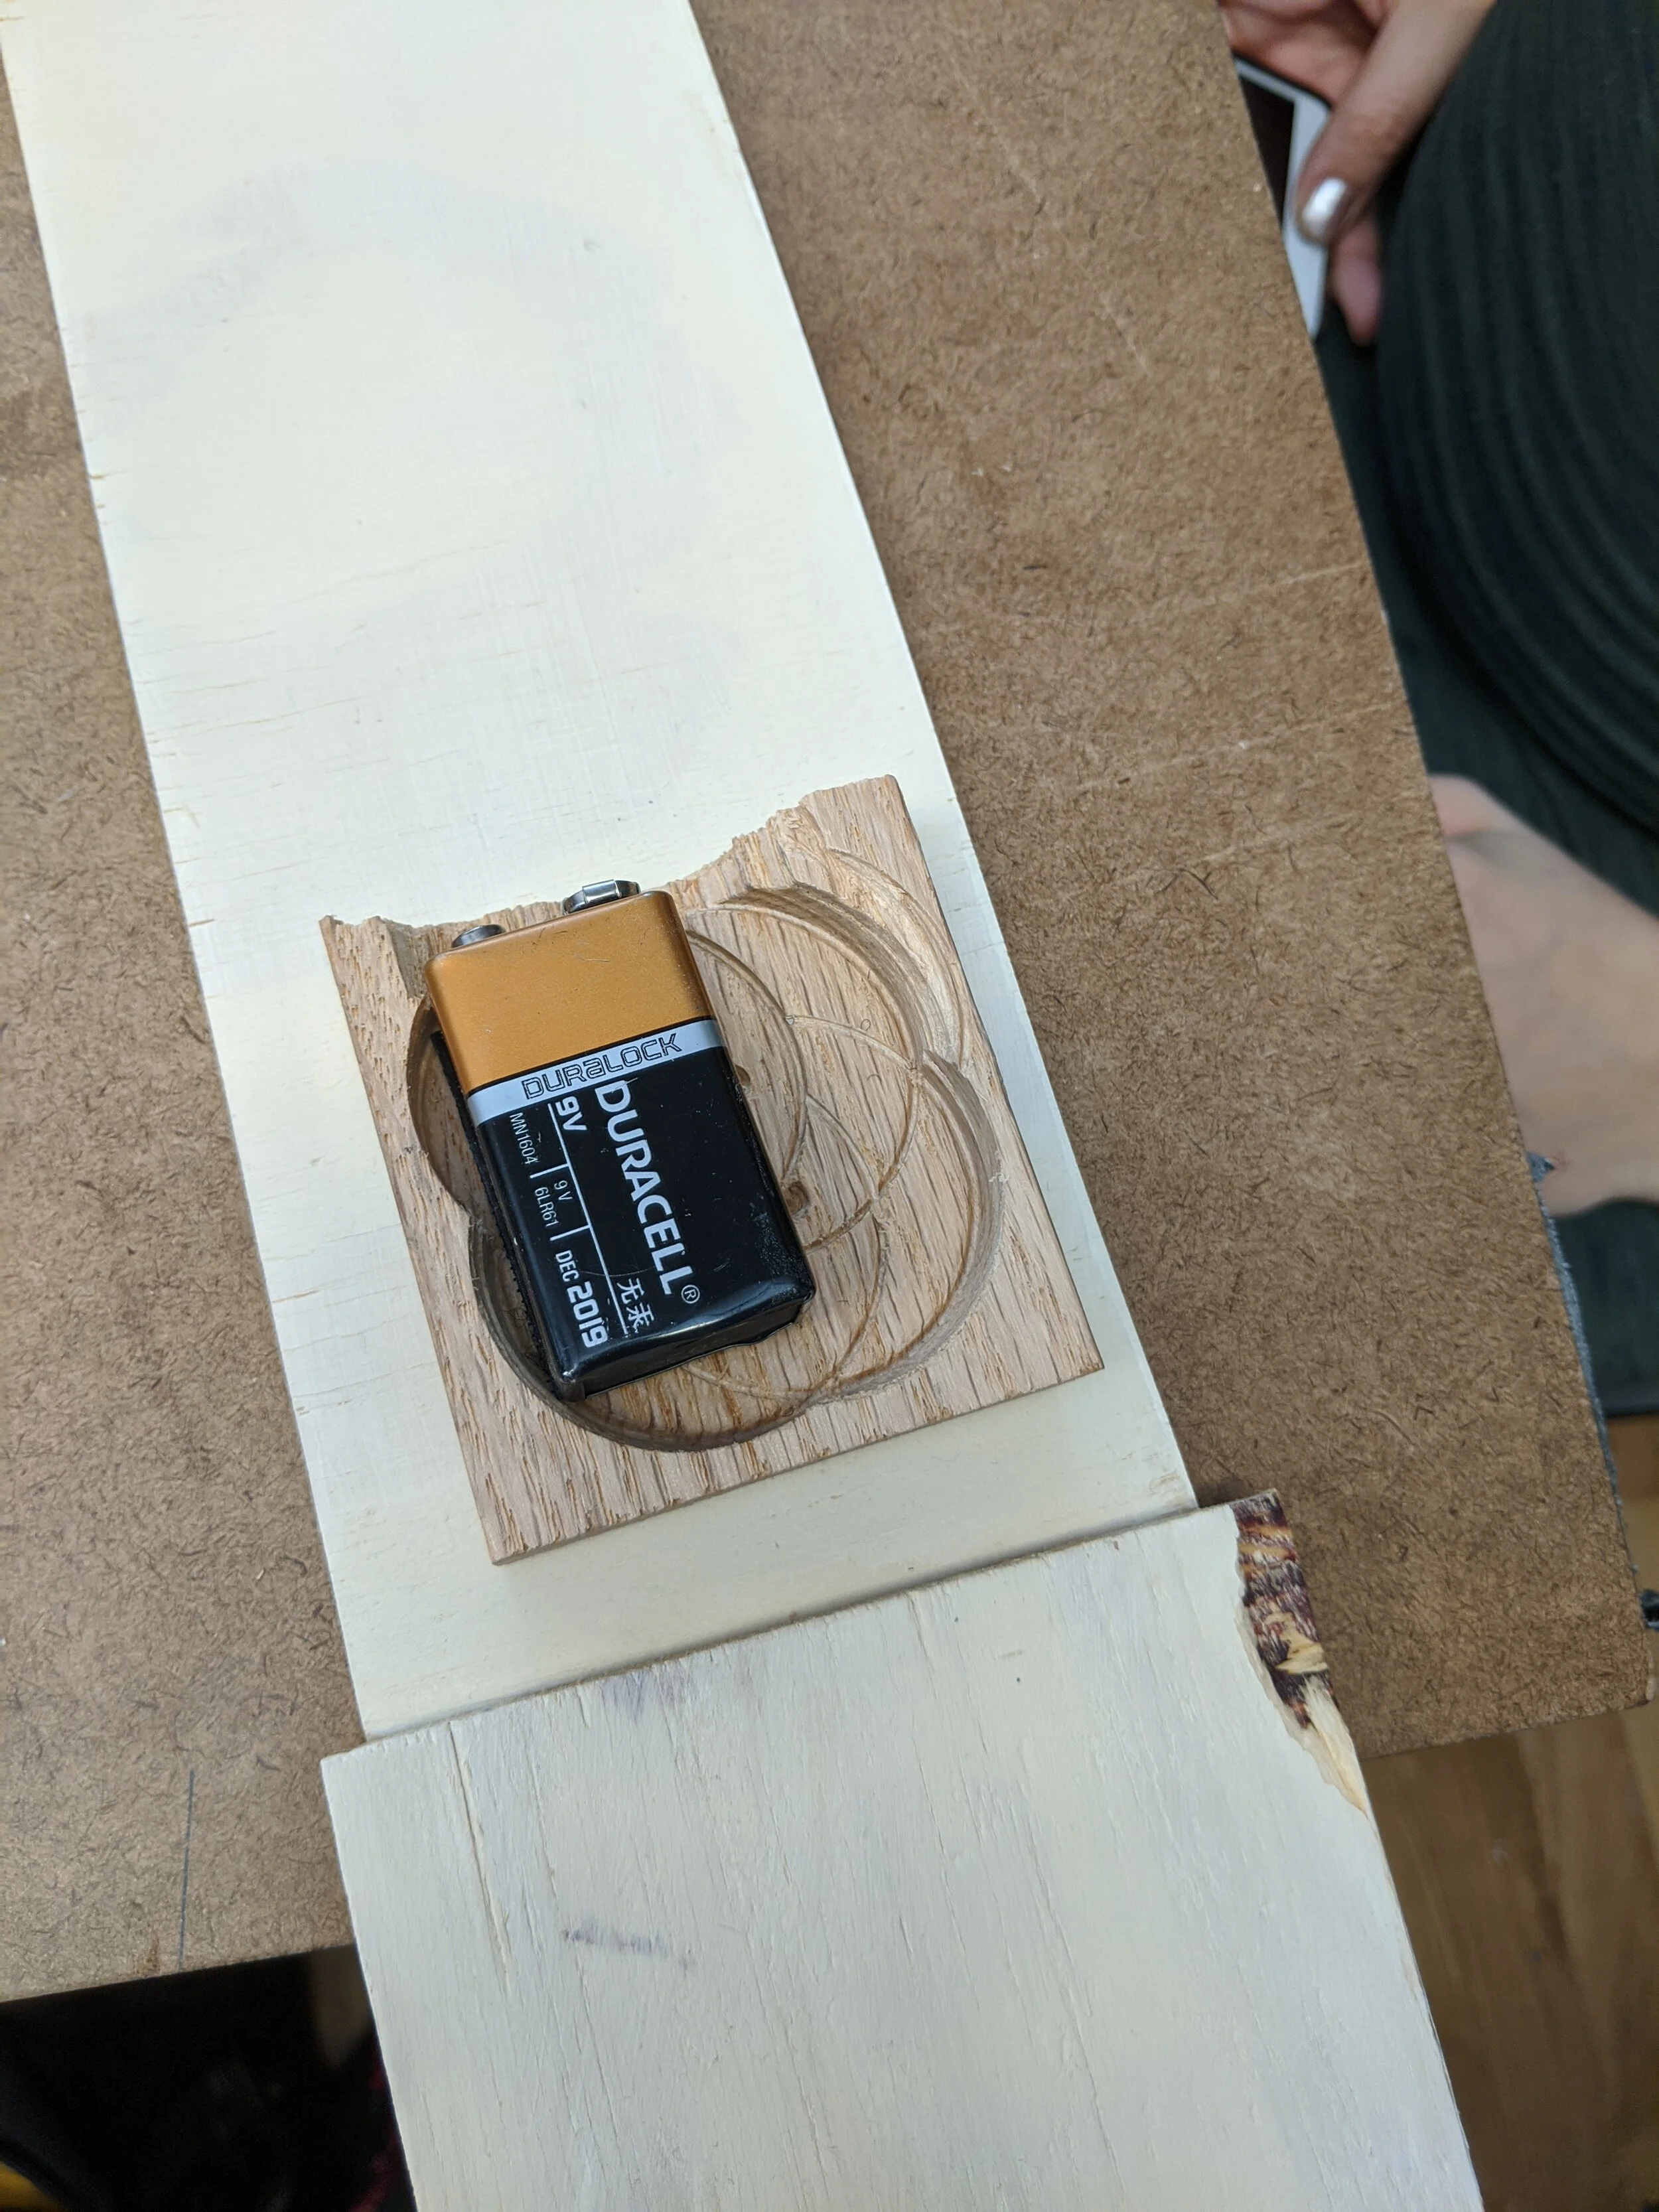
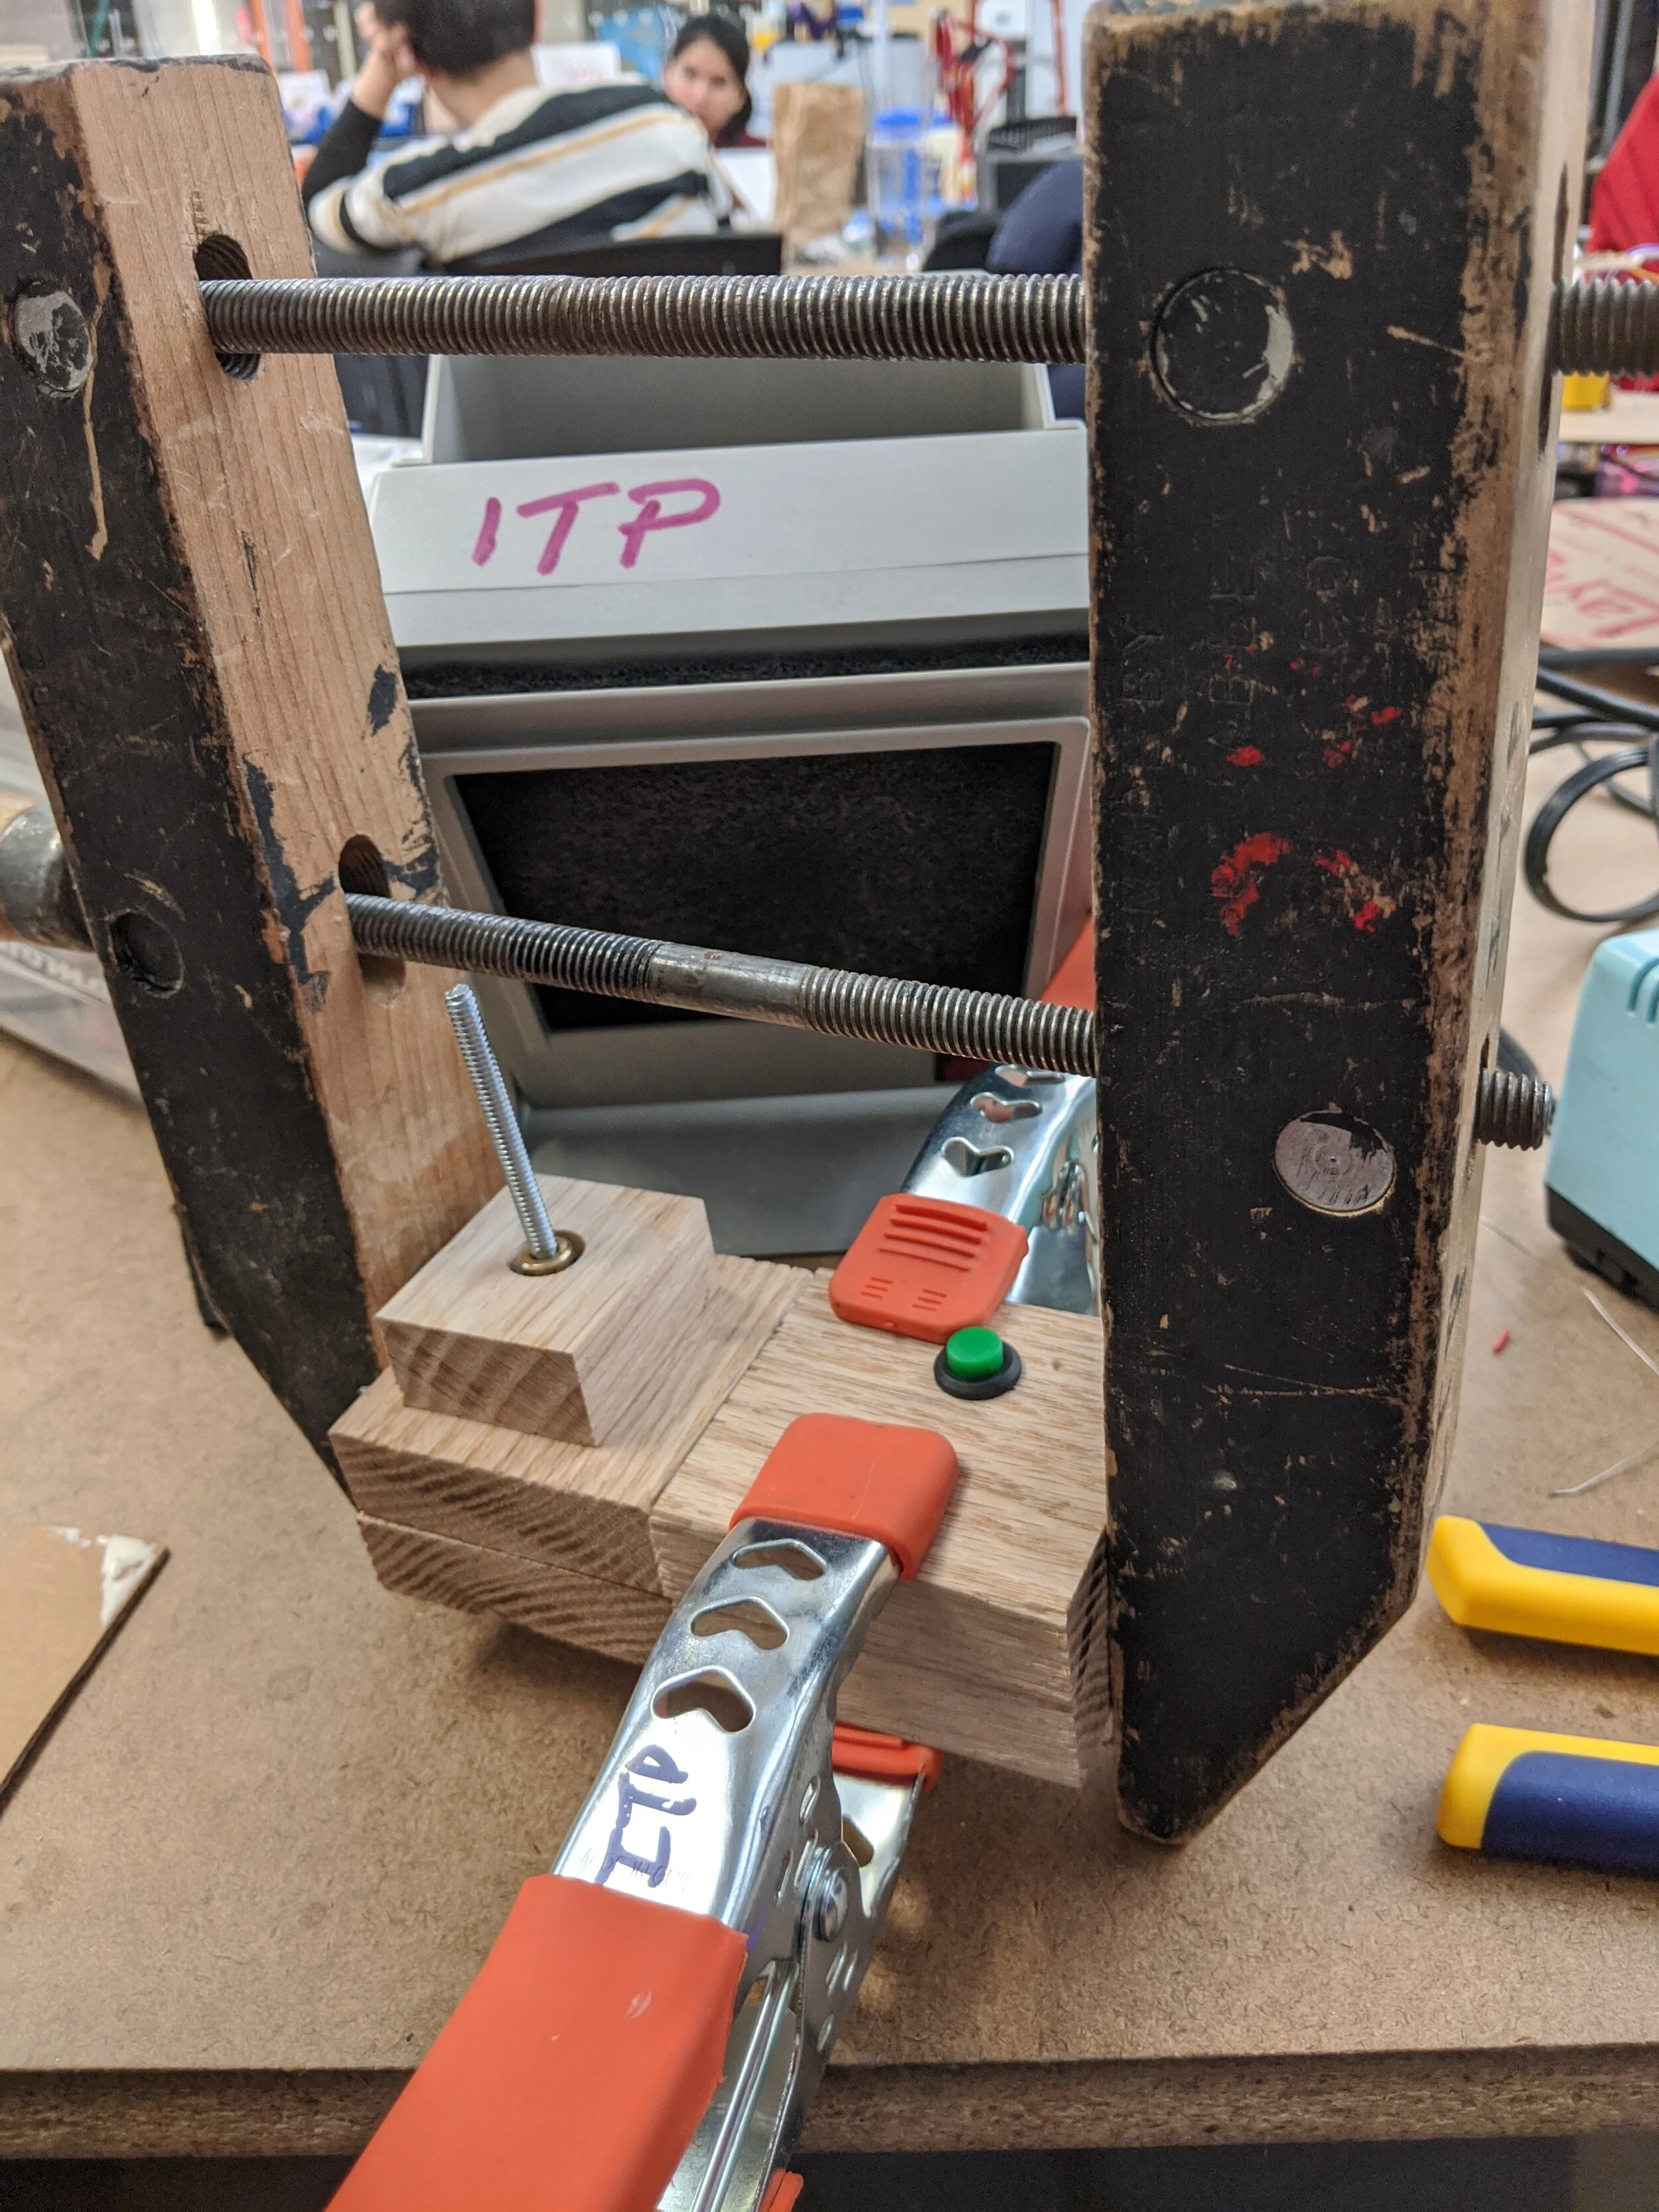
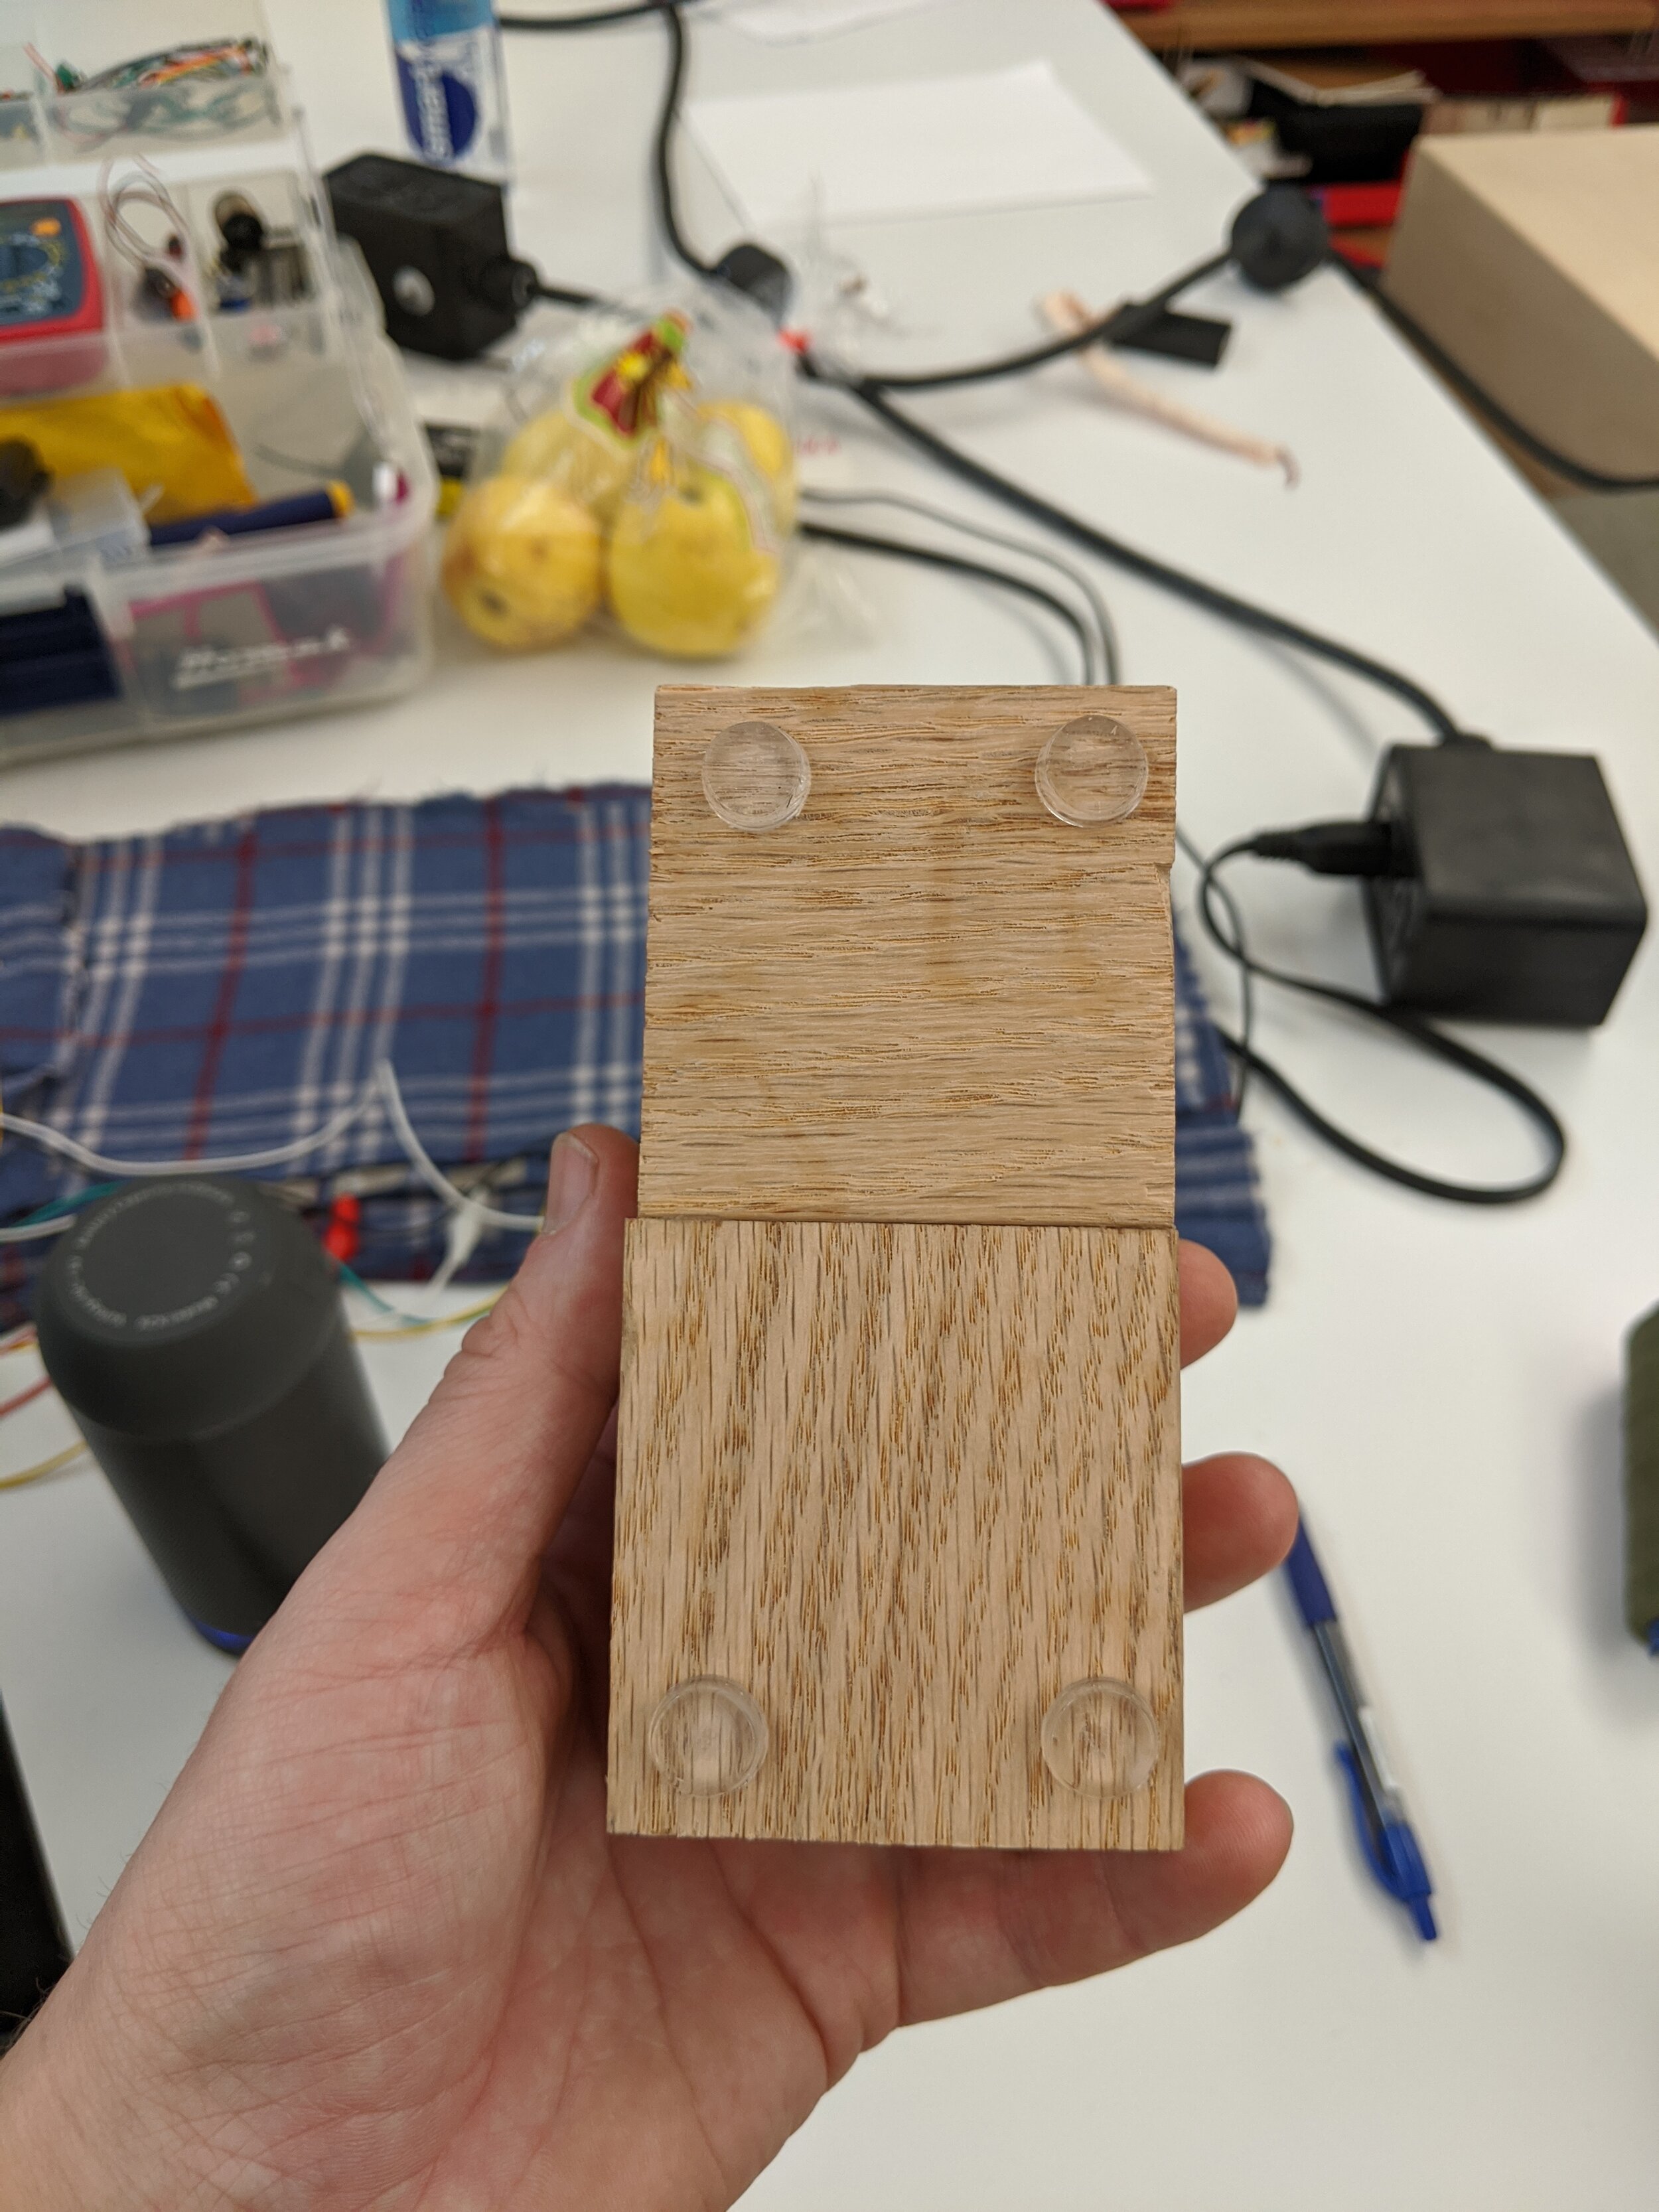
I mounted it using a series of holes drilled in wooden blocks using the forstner bit on the drill press. Regrettably, I neglected to photograph it, but in the base block, I use some velcro to keep the motor from slipping. Here is the rest of the process.
So that’s it for Intro to Fabrication. On a personal note, I enjoyed fabrication a lot, and I’m excited to bring these skills with me moving forward in ITP, and also in life.