When I started at ITP, I remember hearing that part of its ethos was embracing failure, because you learn more from your failures than successes. So, in true ITP spirit, this week I bring you a failed project.
I’ve been working a lot with soft circuits and sensors since I took Kate Hartman’s weekend textile interfaces class a few weeks ago. My physical computing final also relies heavily on electronic textiles ( See here and here for references to that project). So, my inspiration for this week’s project was 1: I wanted to do something a little weird and different just because, 2: I wanted to exercise the tip of the week by “finding my standard,” and 3: I needed more practice with the sewing machine.
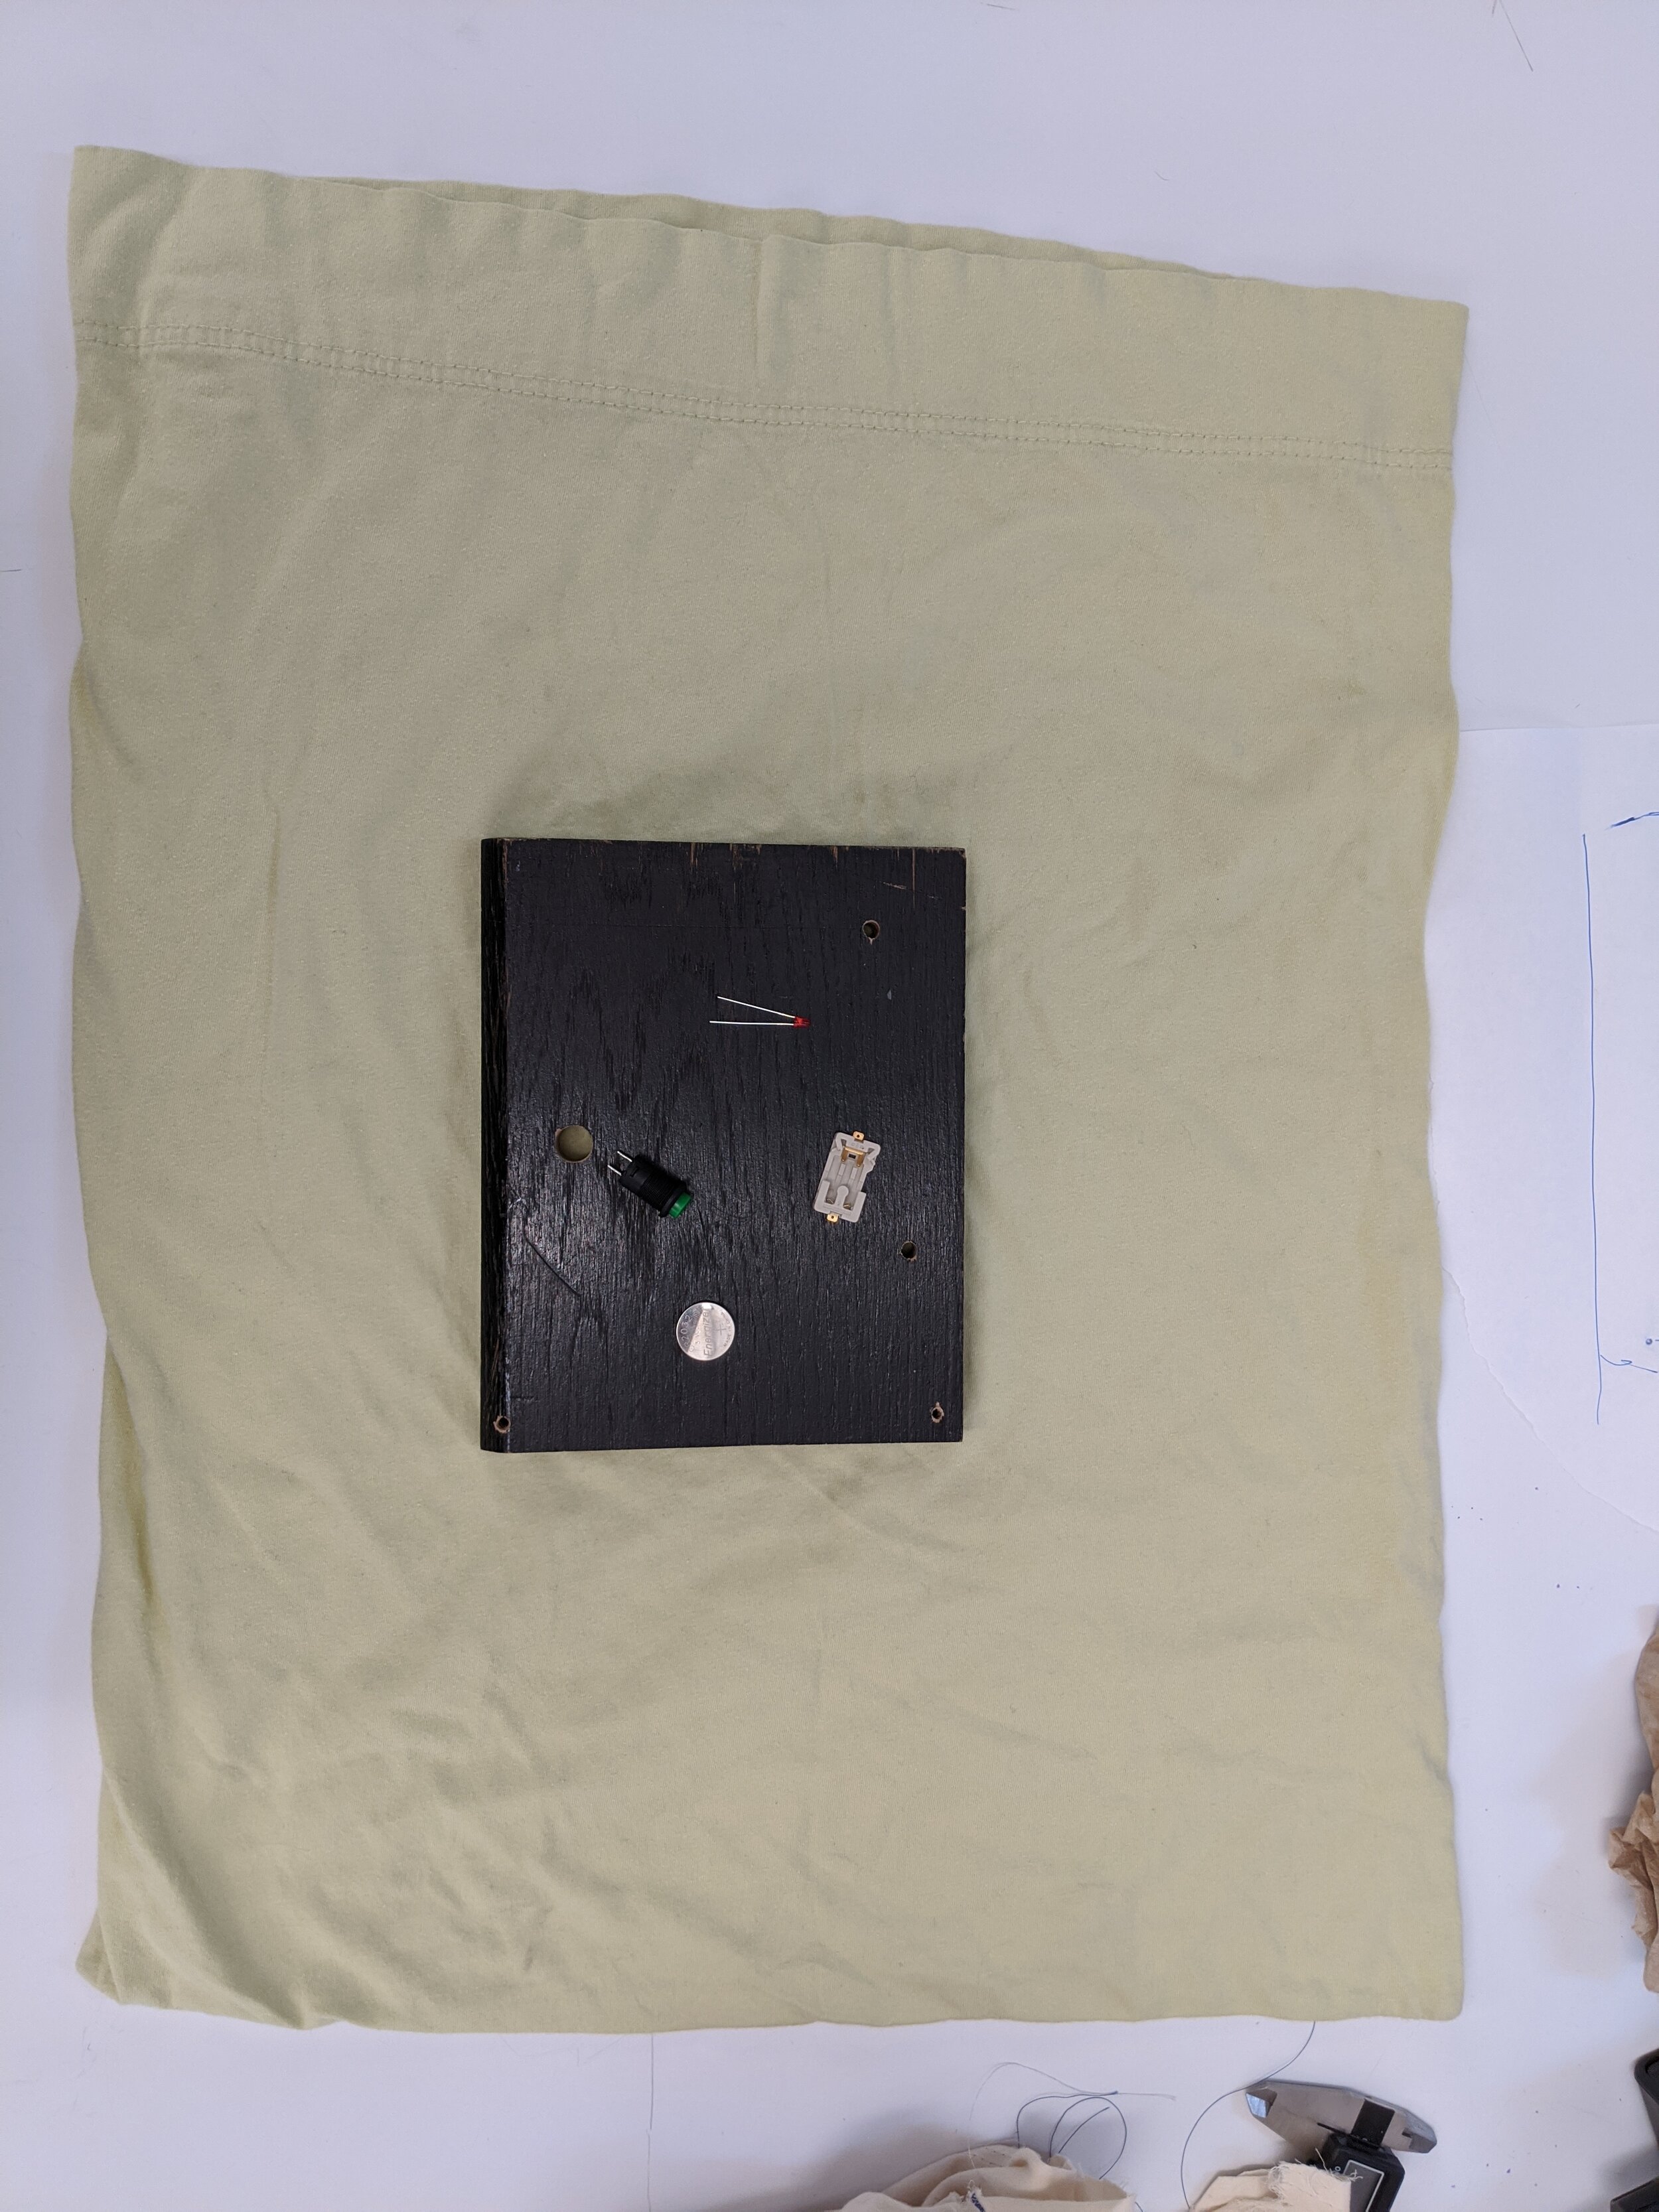
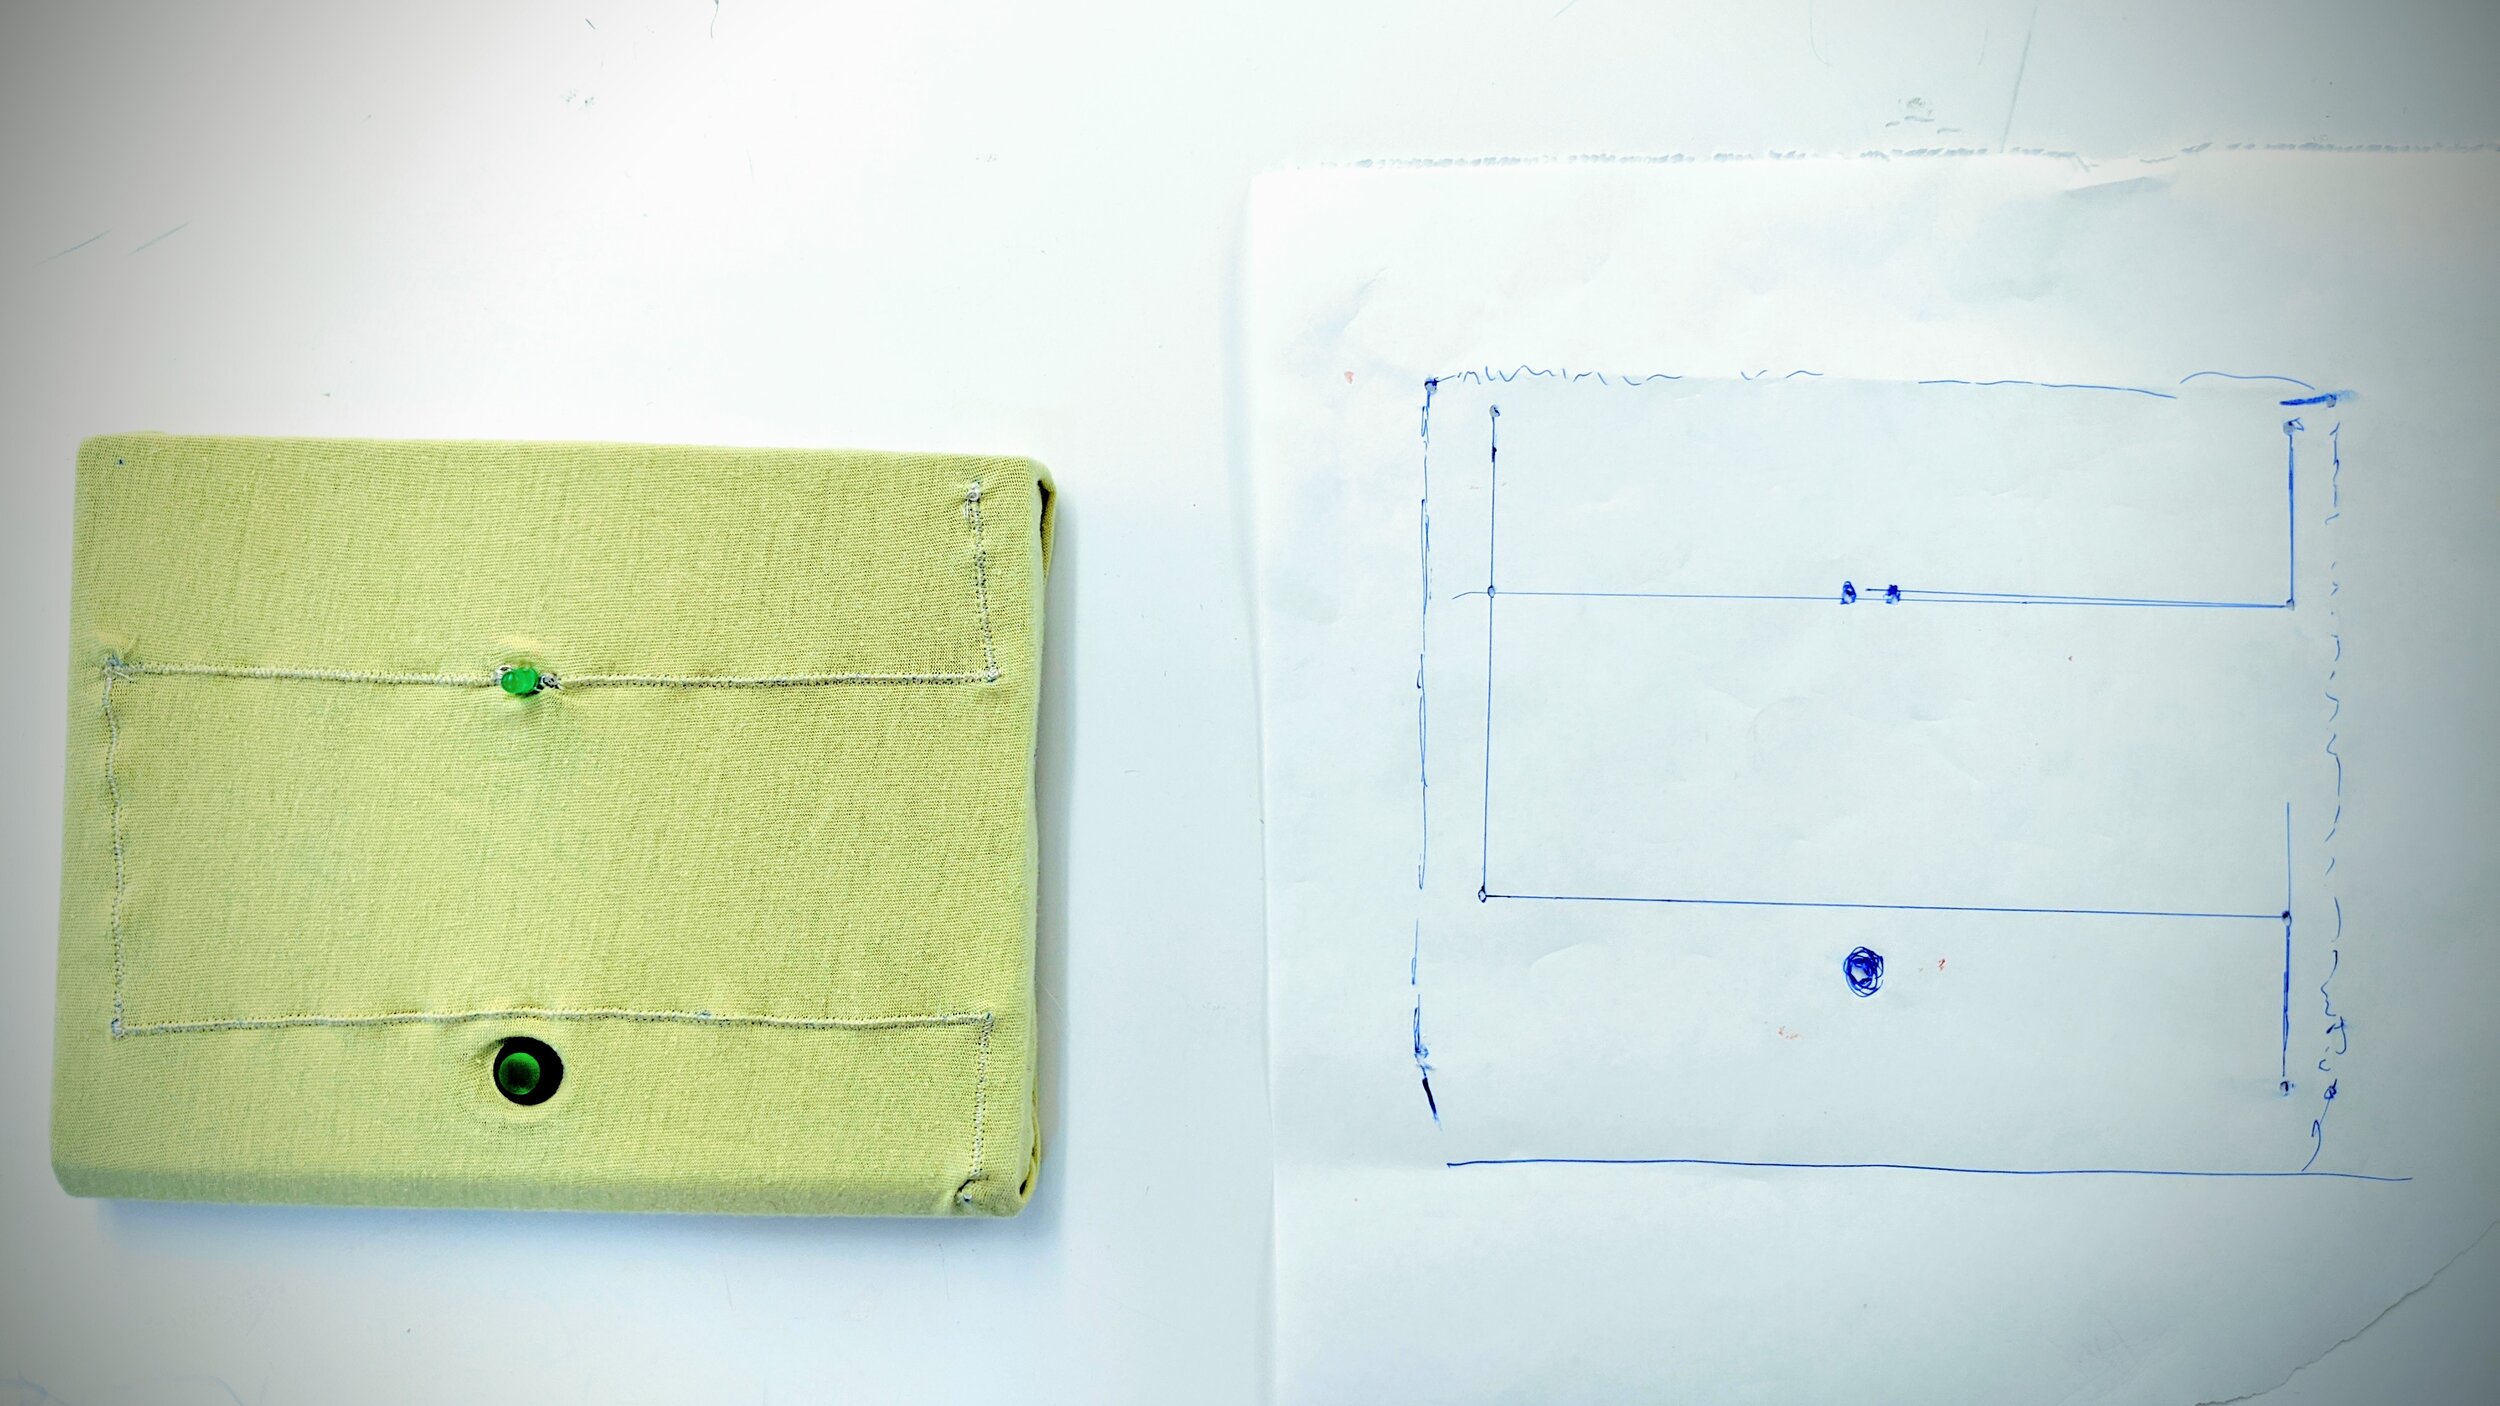
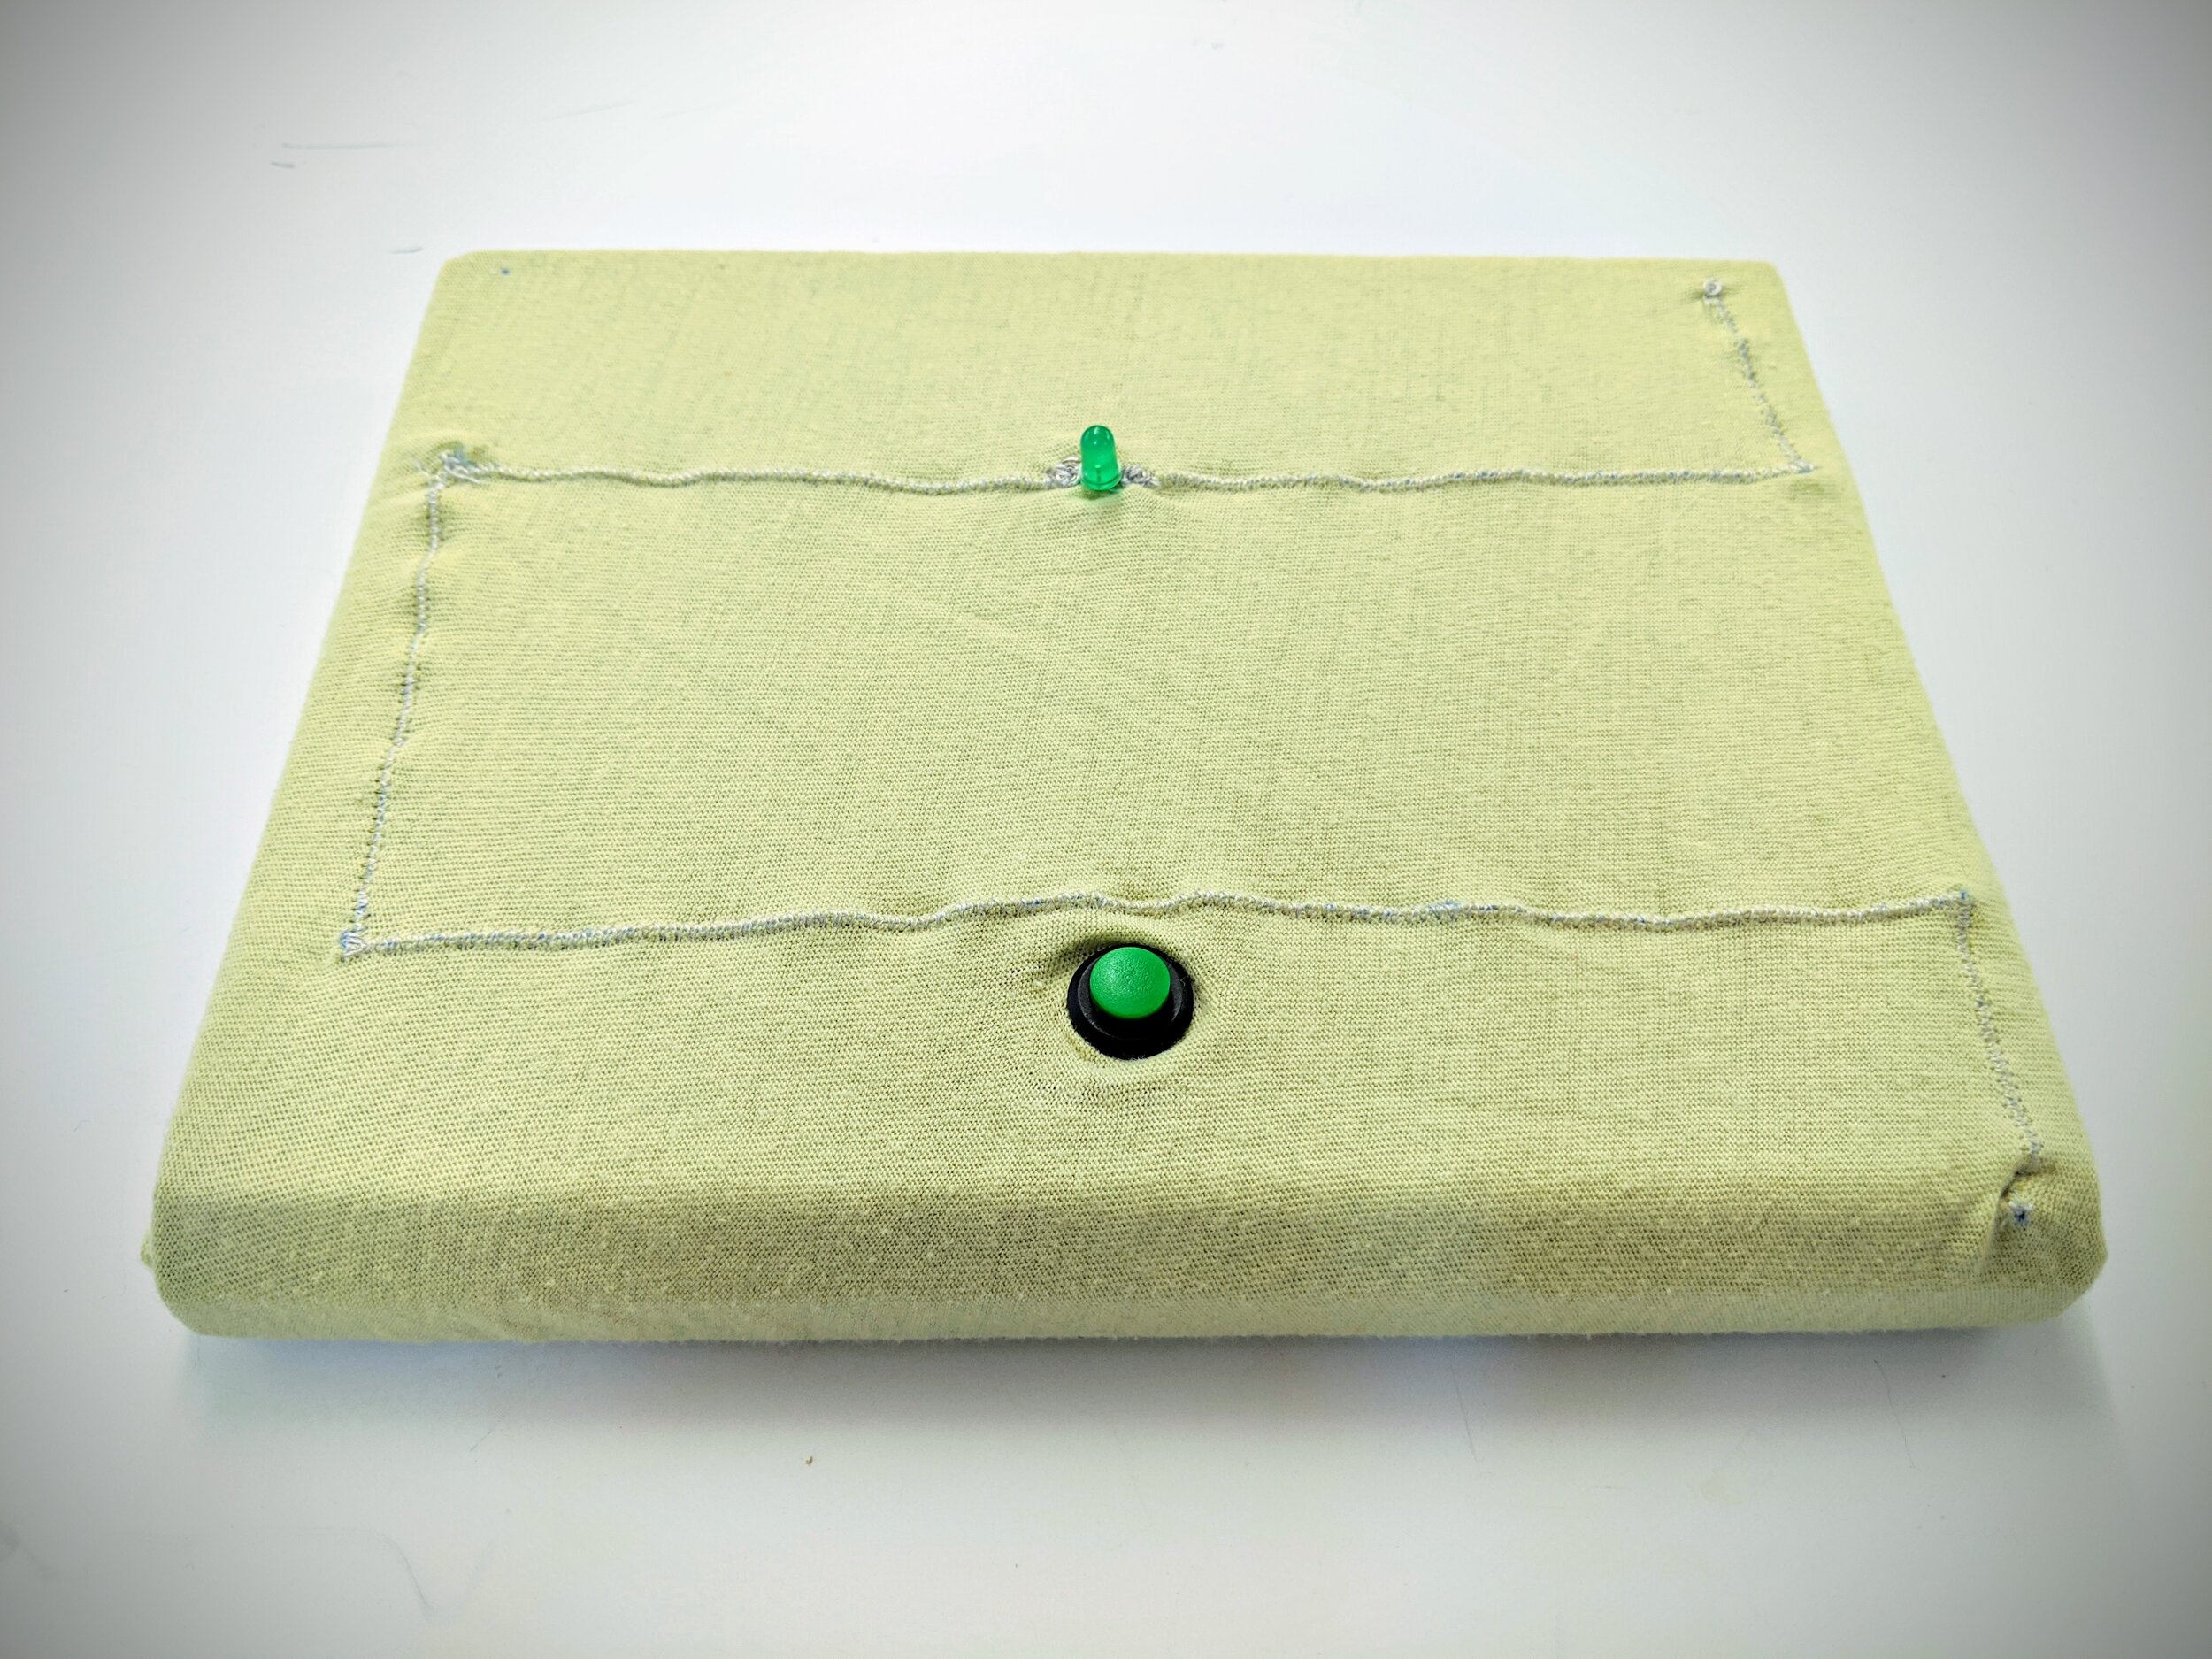
So what is my project? I wanted to combine hard materials with textiles. I found a piece of wood on the junk shelf, embedded a button, a watch battery and some wires into it, and then I completed the circuit on top using conductive thread sewn into a piece of pillow case I brought from home. Pretty cool right? Sort of! It doesn’t work though.
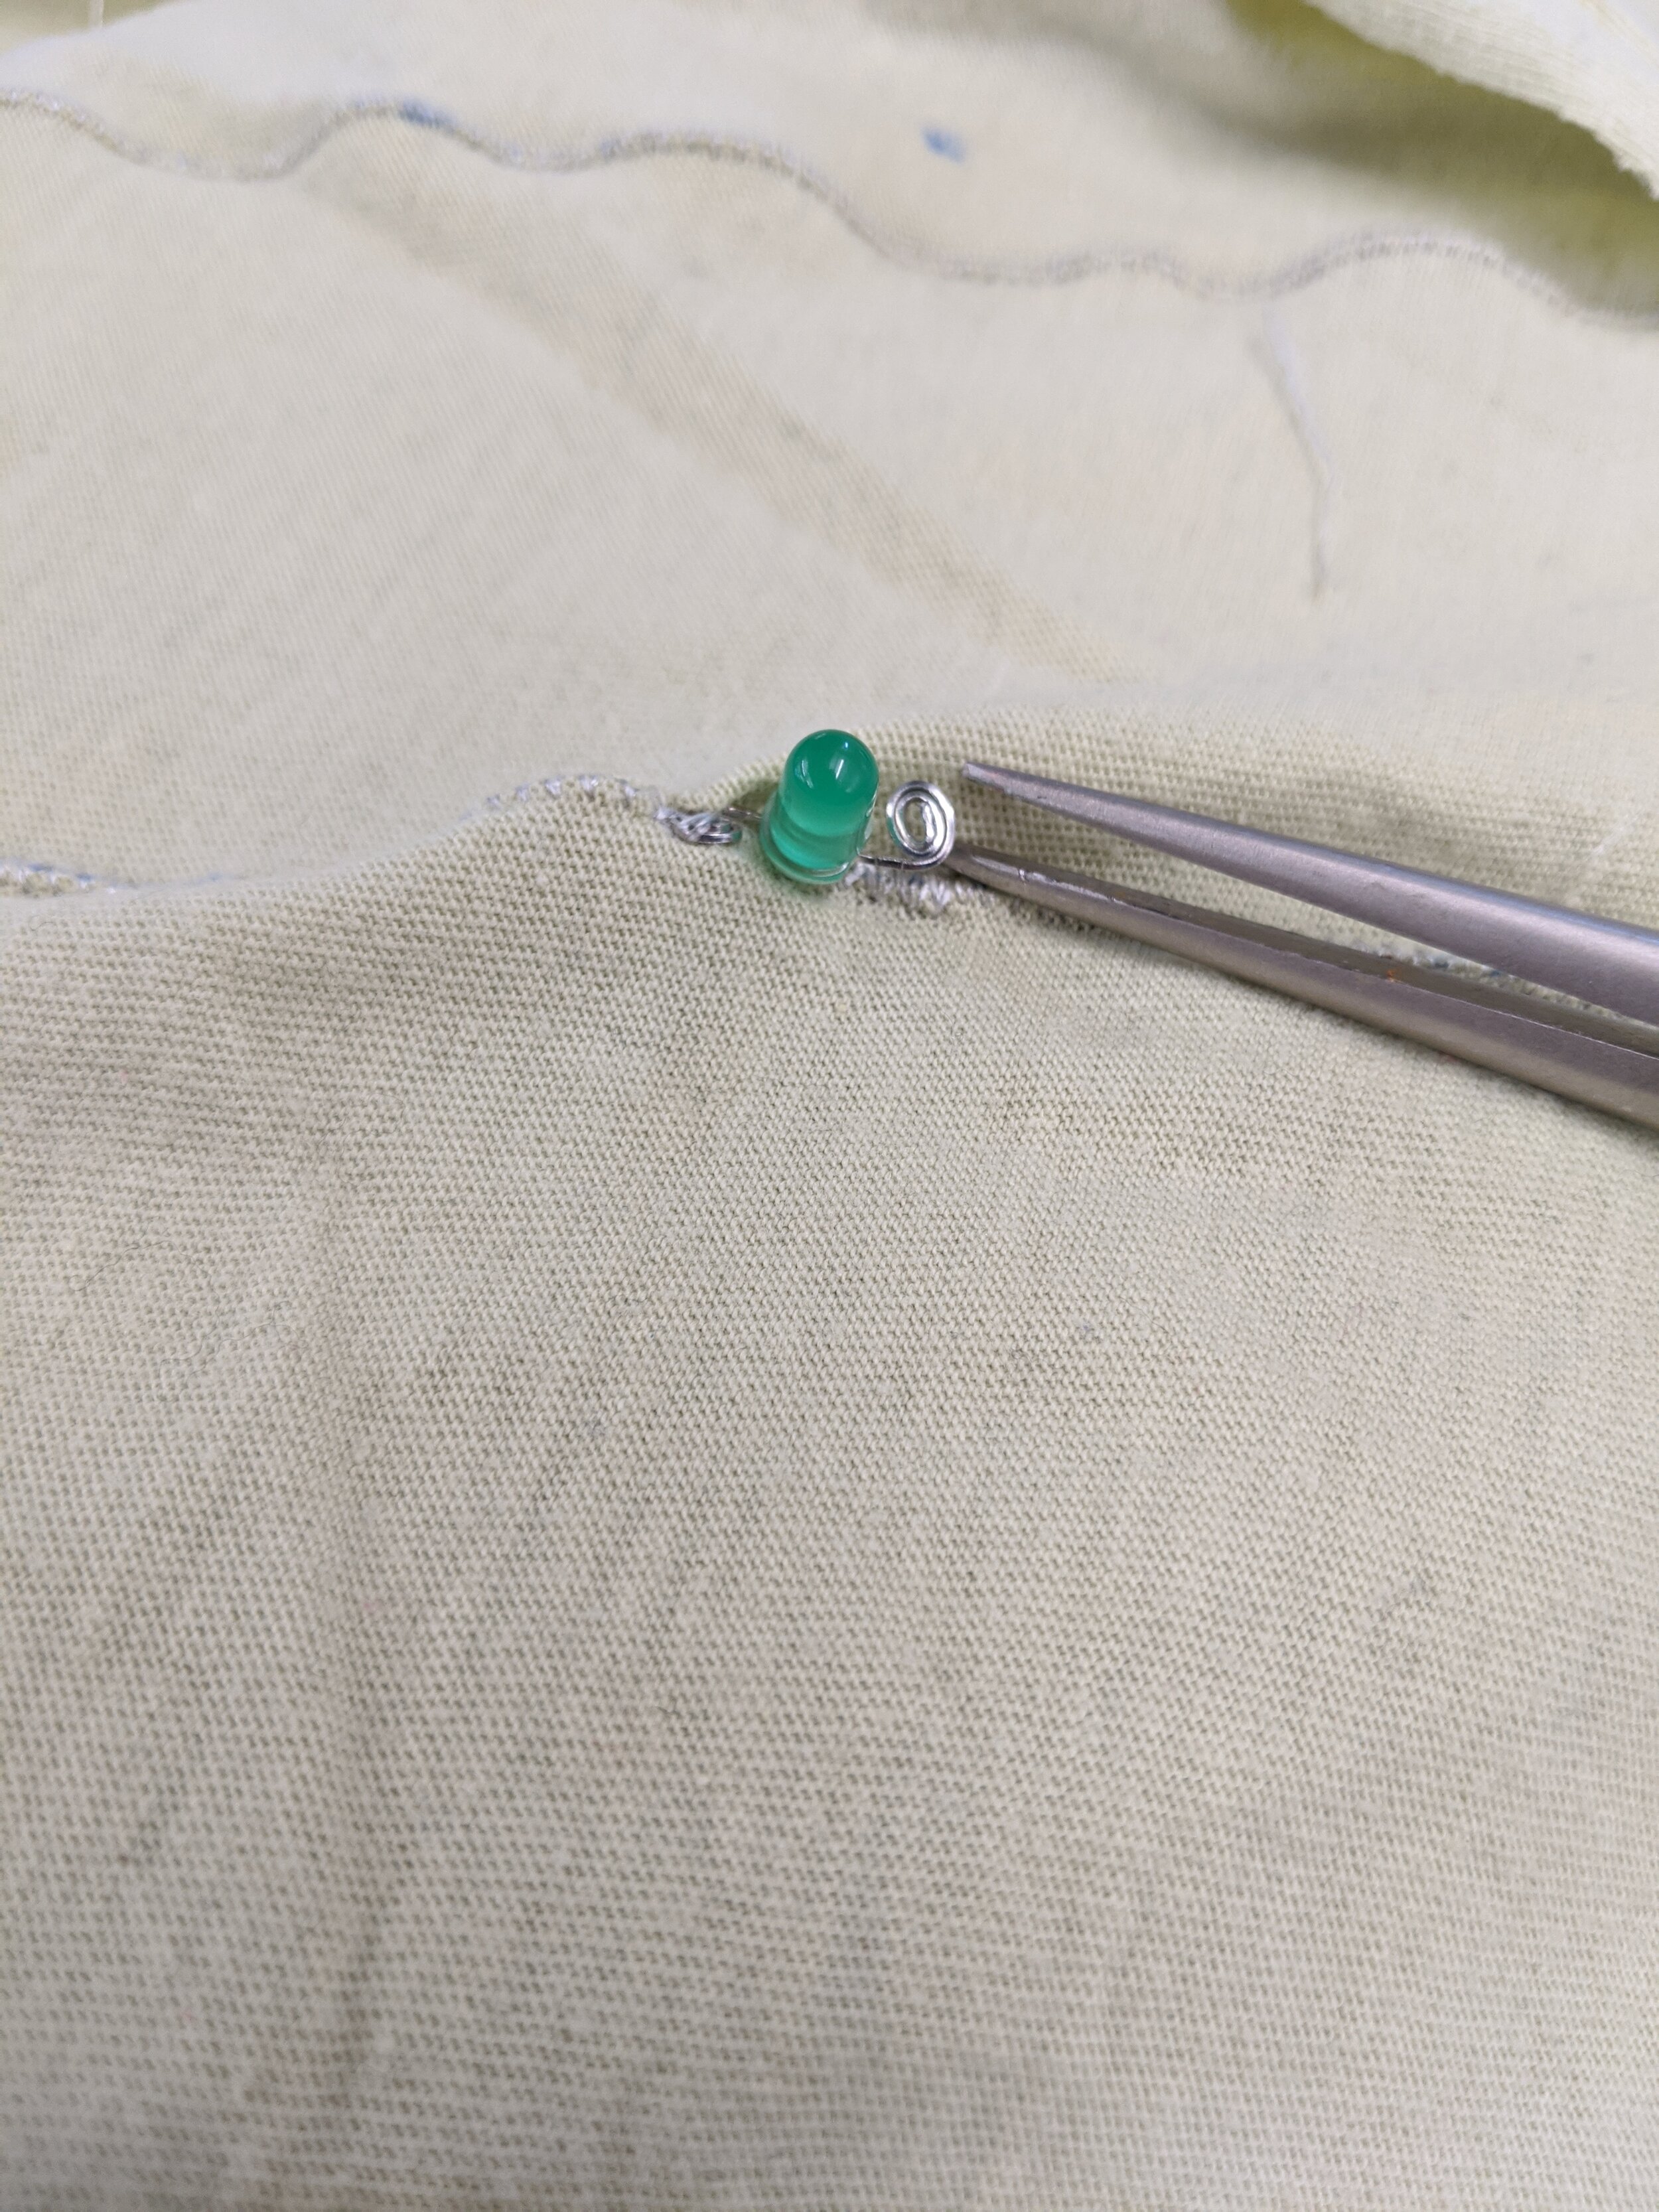
Where did I go wrong? Again and again I keep learning this lesson: Test the circuit first. Test the circuit first. Test the circuit first. In this case it actually wasn’t that I didn’t test it, it was that it took me a long time to make the circuit, and when I tested it it just didn’t work. Turns out this conductive thread is slightly resistant as far as I can tell. I attached the battery and some leads directly to the LED to debug it, and it worked great. Then I made contact with the leads a little further down the sewn circuit, and then a little further, and then a little further. The further you get away from the LED (and the more conductive thread you put between the contacts) the dimmer it gets — so much so that while my circuit is complete with no shorts or bad connections, it just can’t carry the current all the way through.
What I should have done in terms of testing the circuit first was to measure the resistance of the thread I was using before I started sewing with it. It was in the “Textile Interfaces” bin in the Soft Lab, and we were using in Kate’s class, so I just assumed it was good. Another possibility is that my base fabric is mildly conductive and it’s dispersing the current. The other possibility is that while the thread is mildly resistive, a tighter stitch where the back and forth makes contact with itself would drastically reduce the effective distance of the circuit.
How I made it
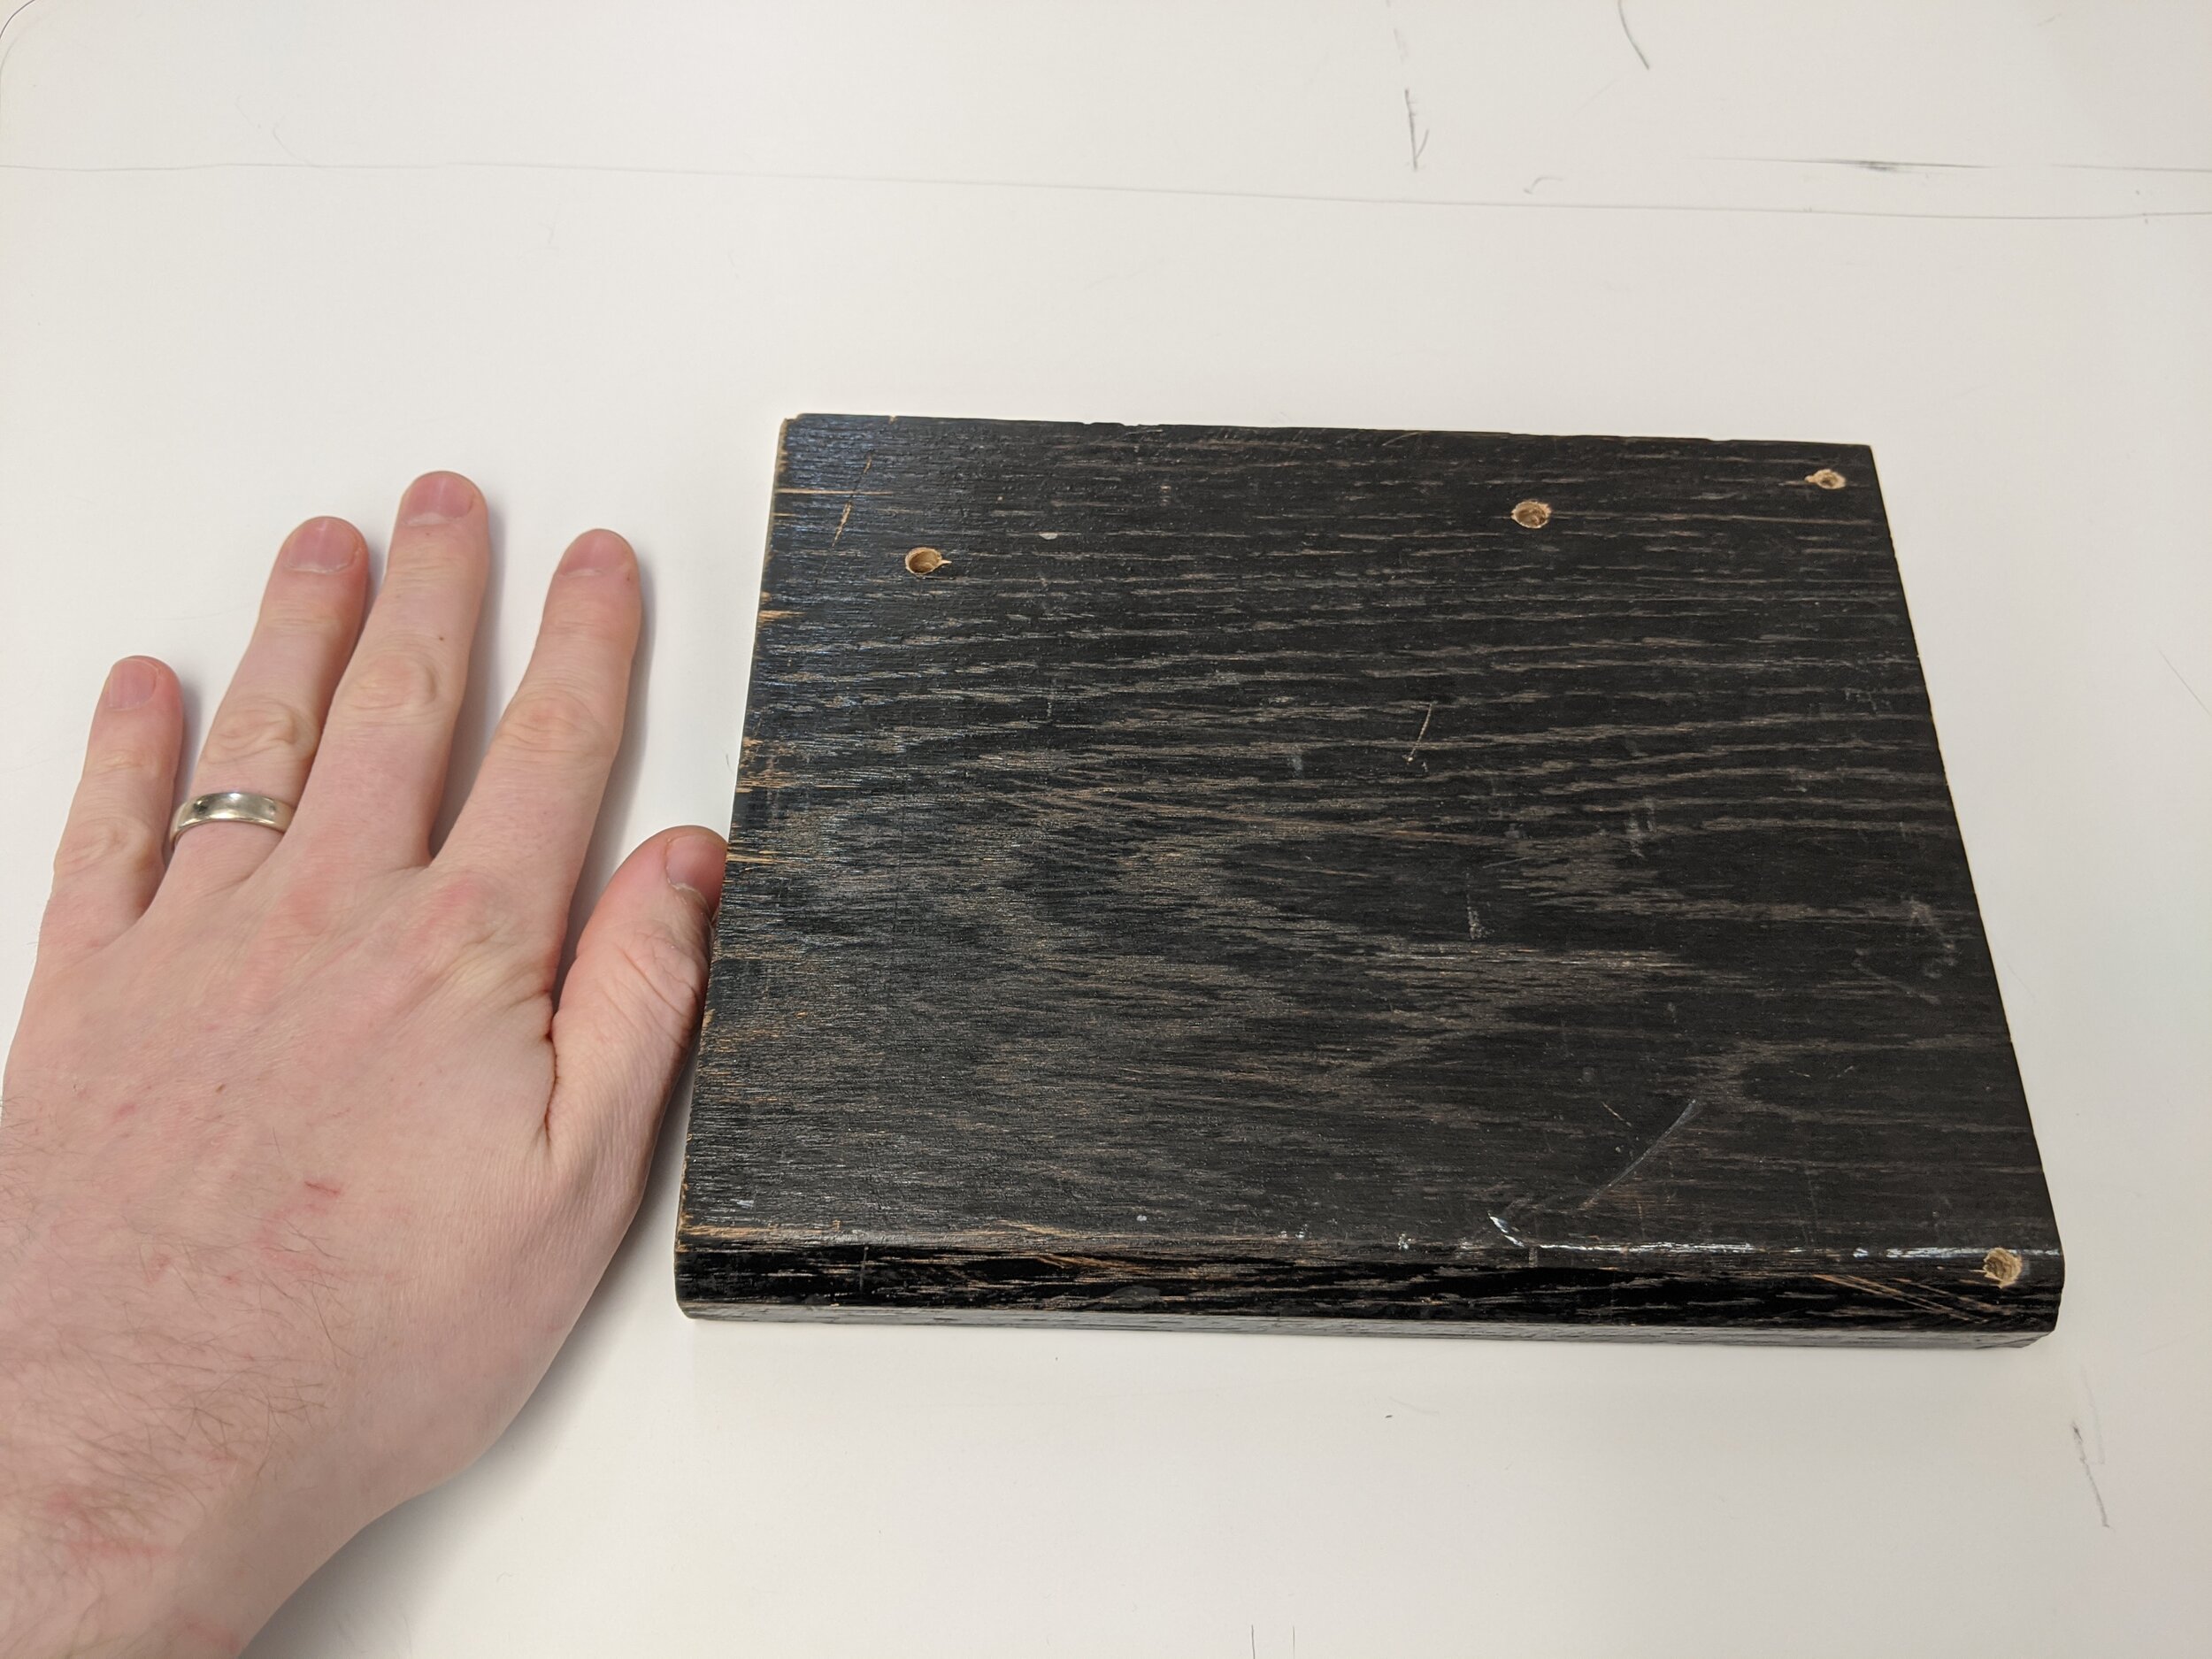
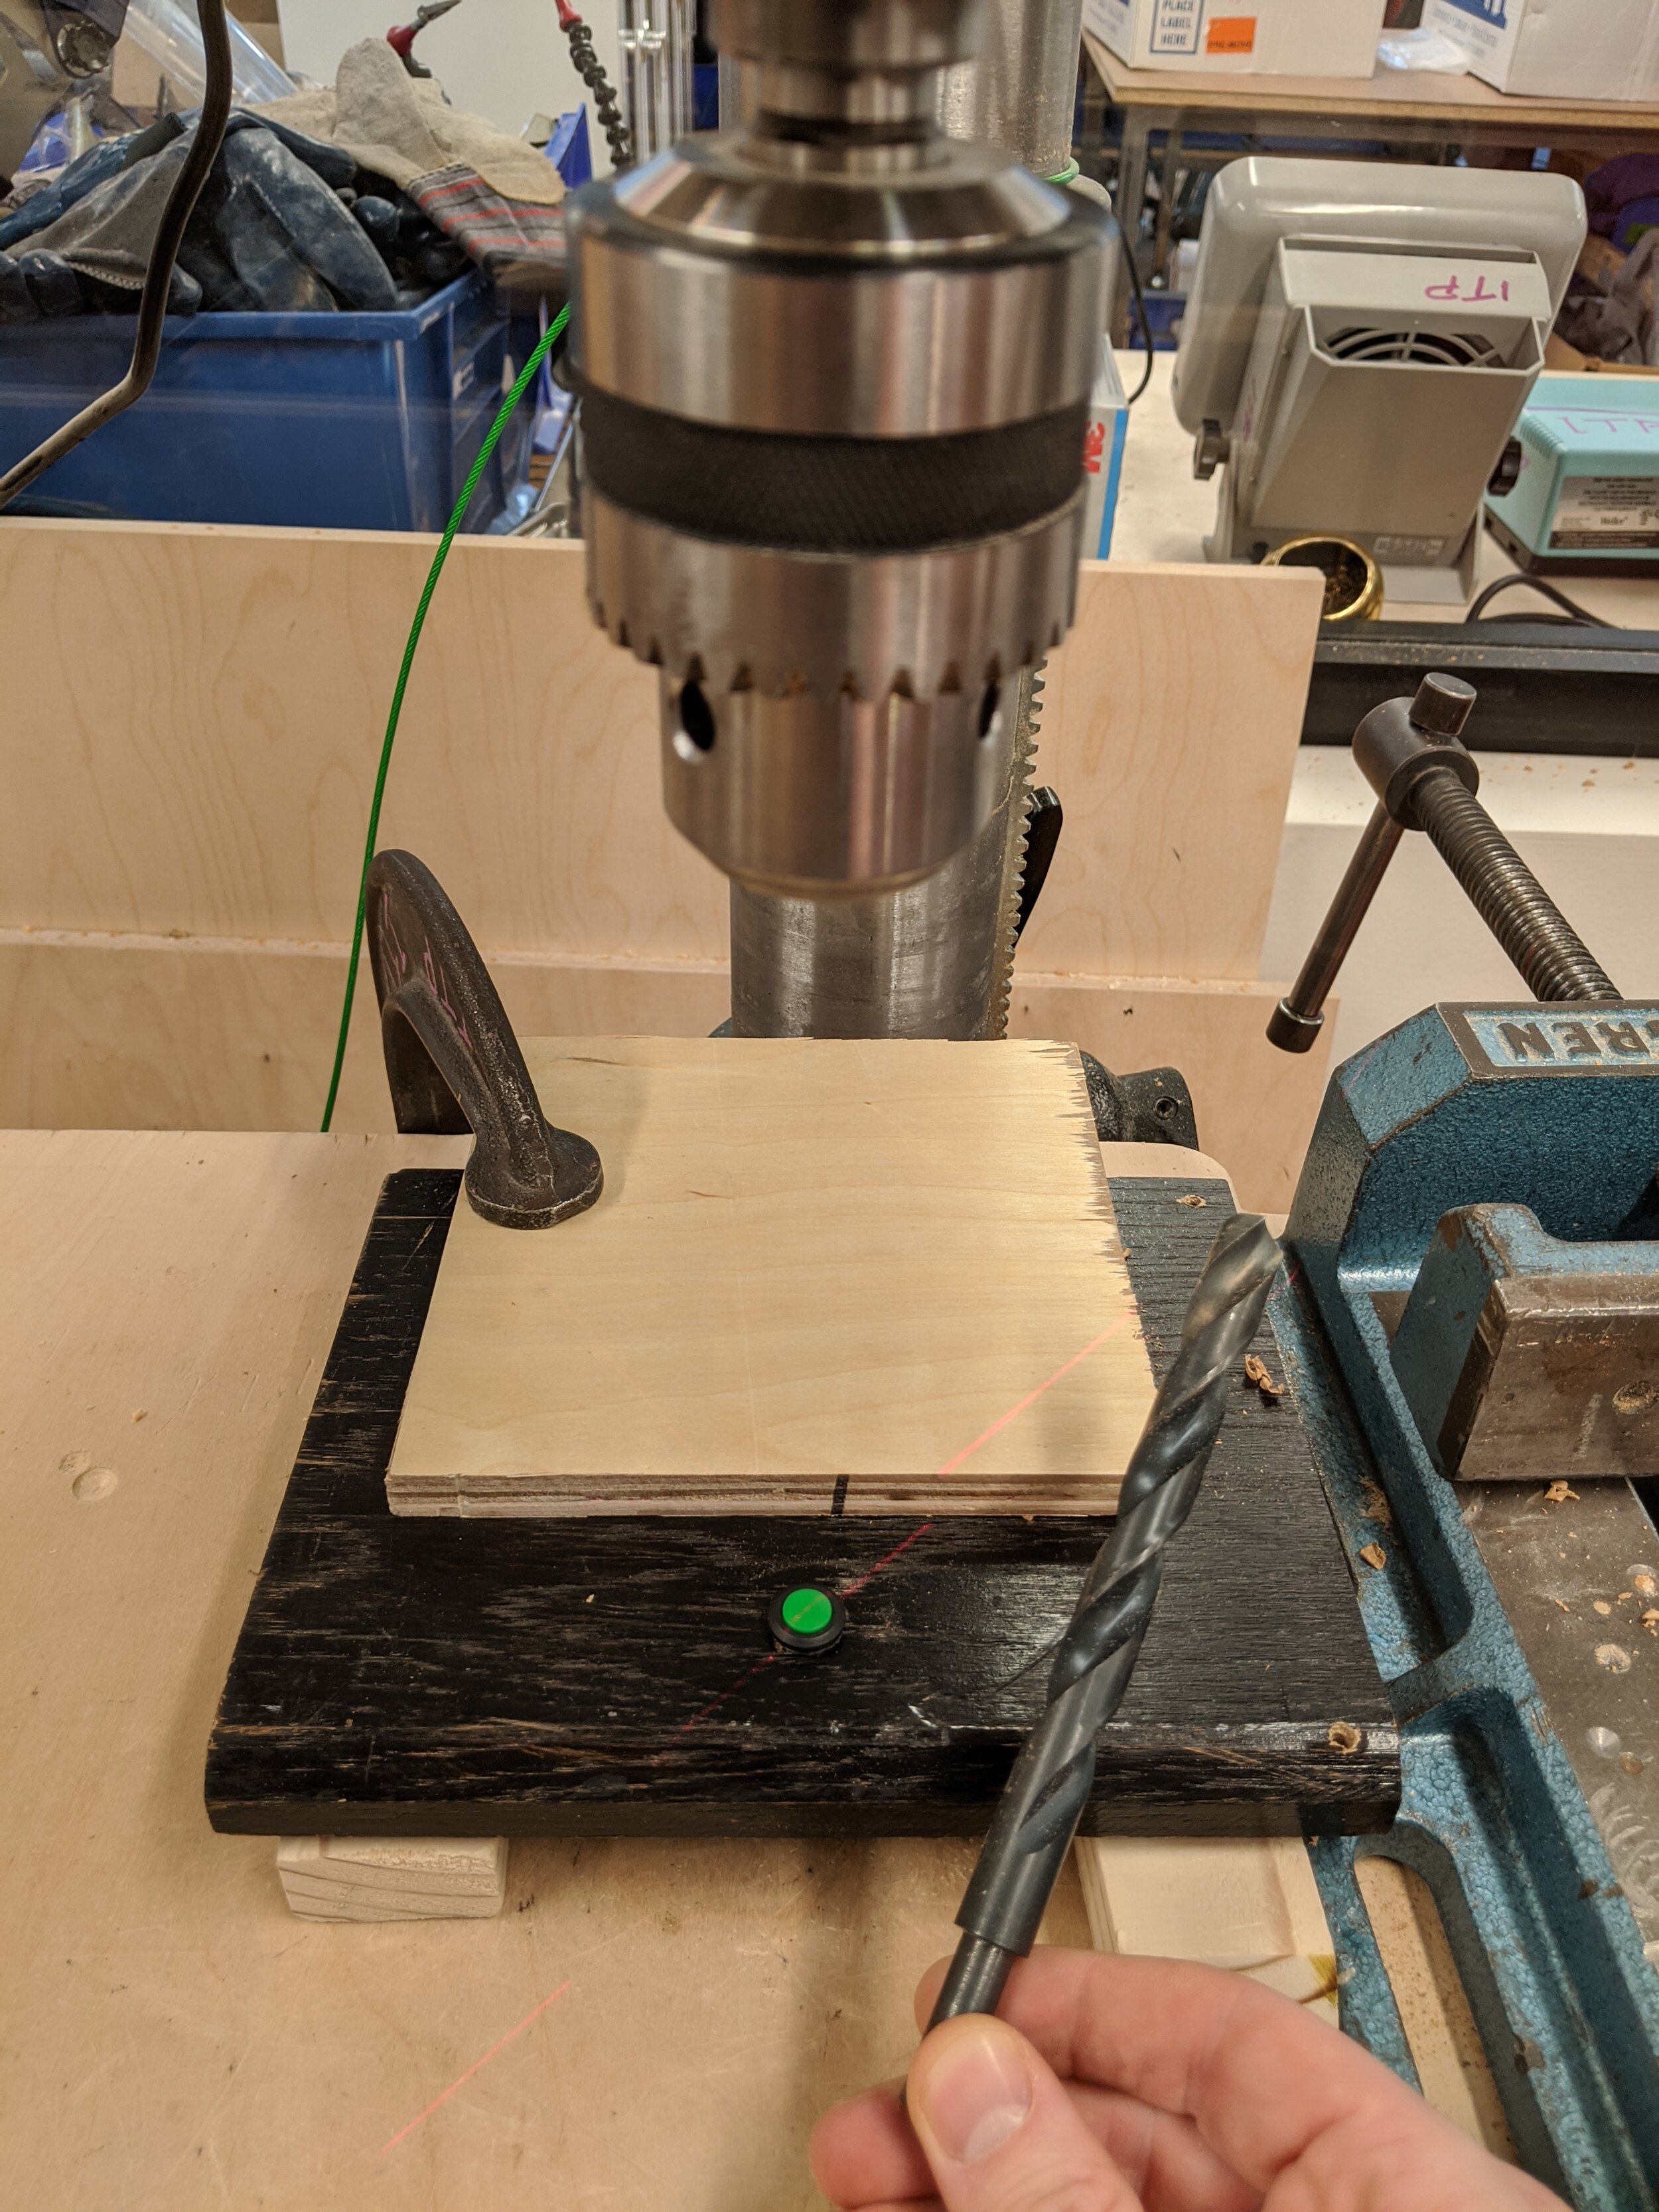
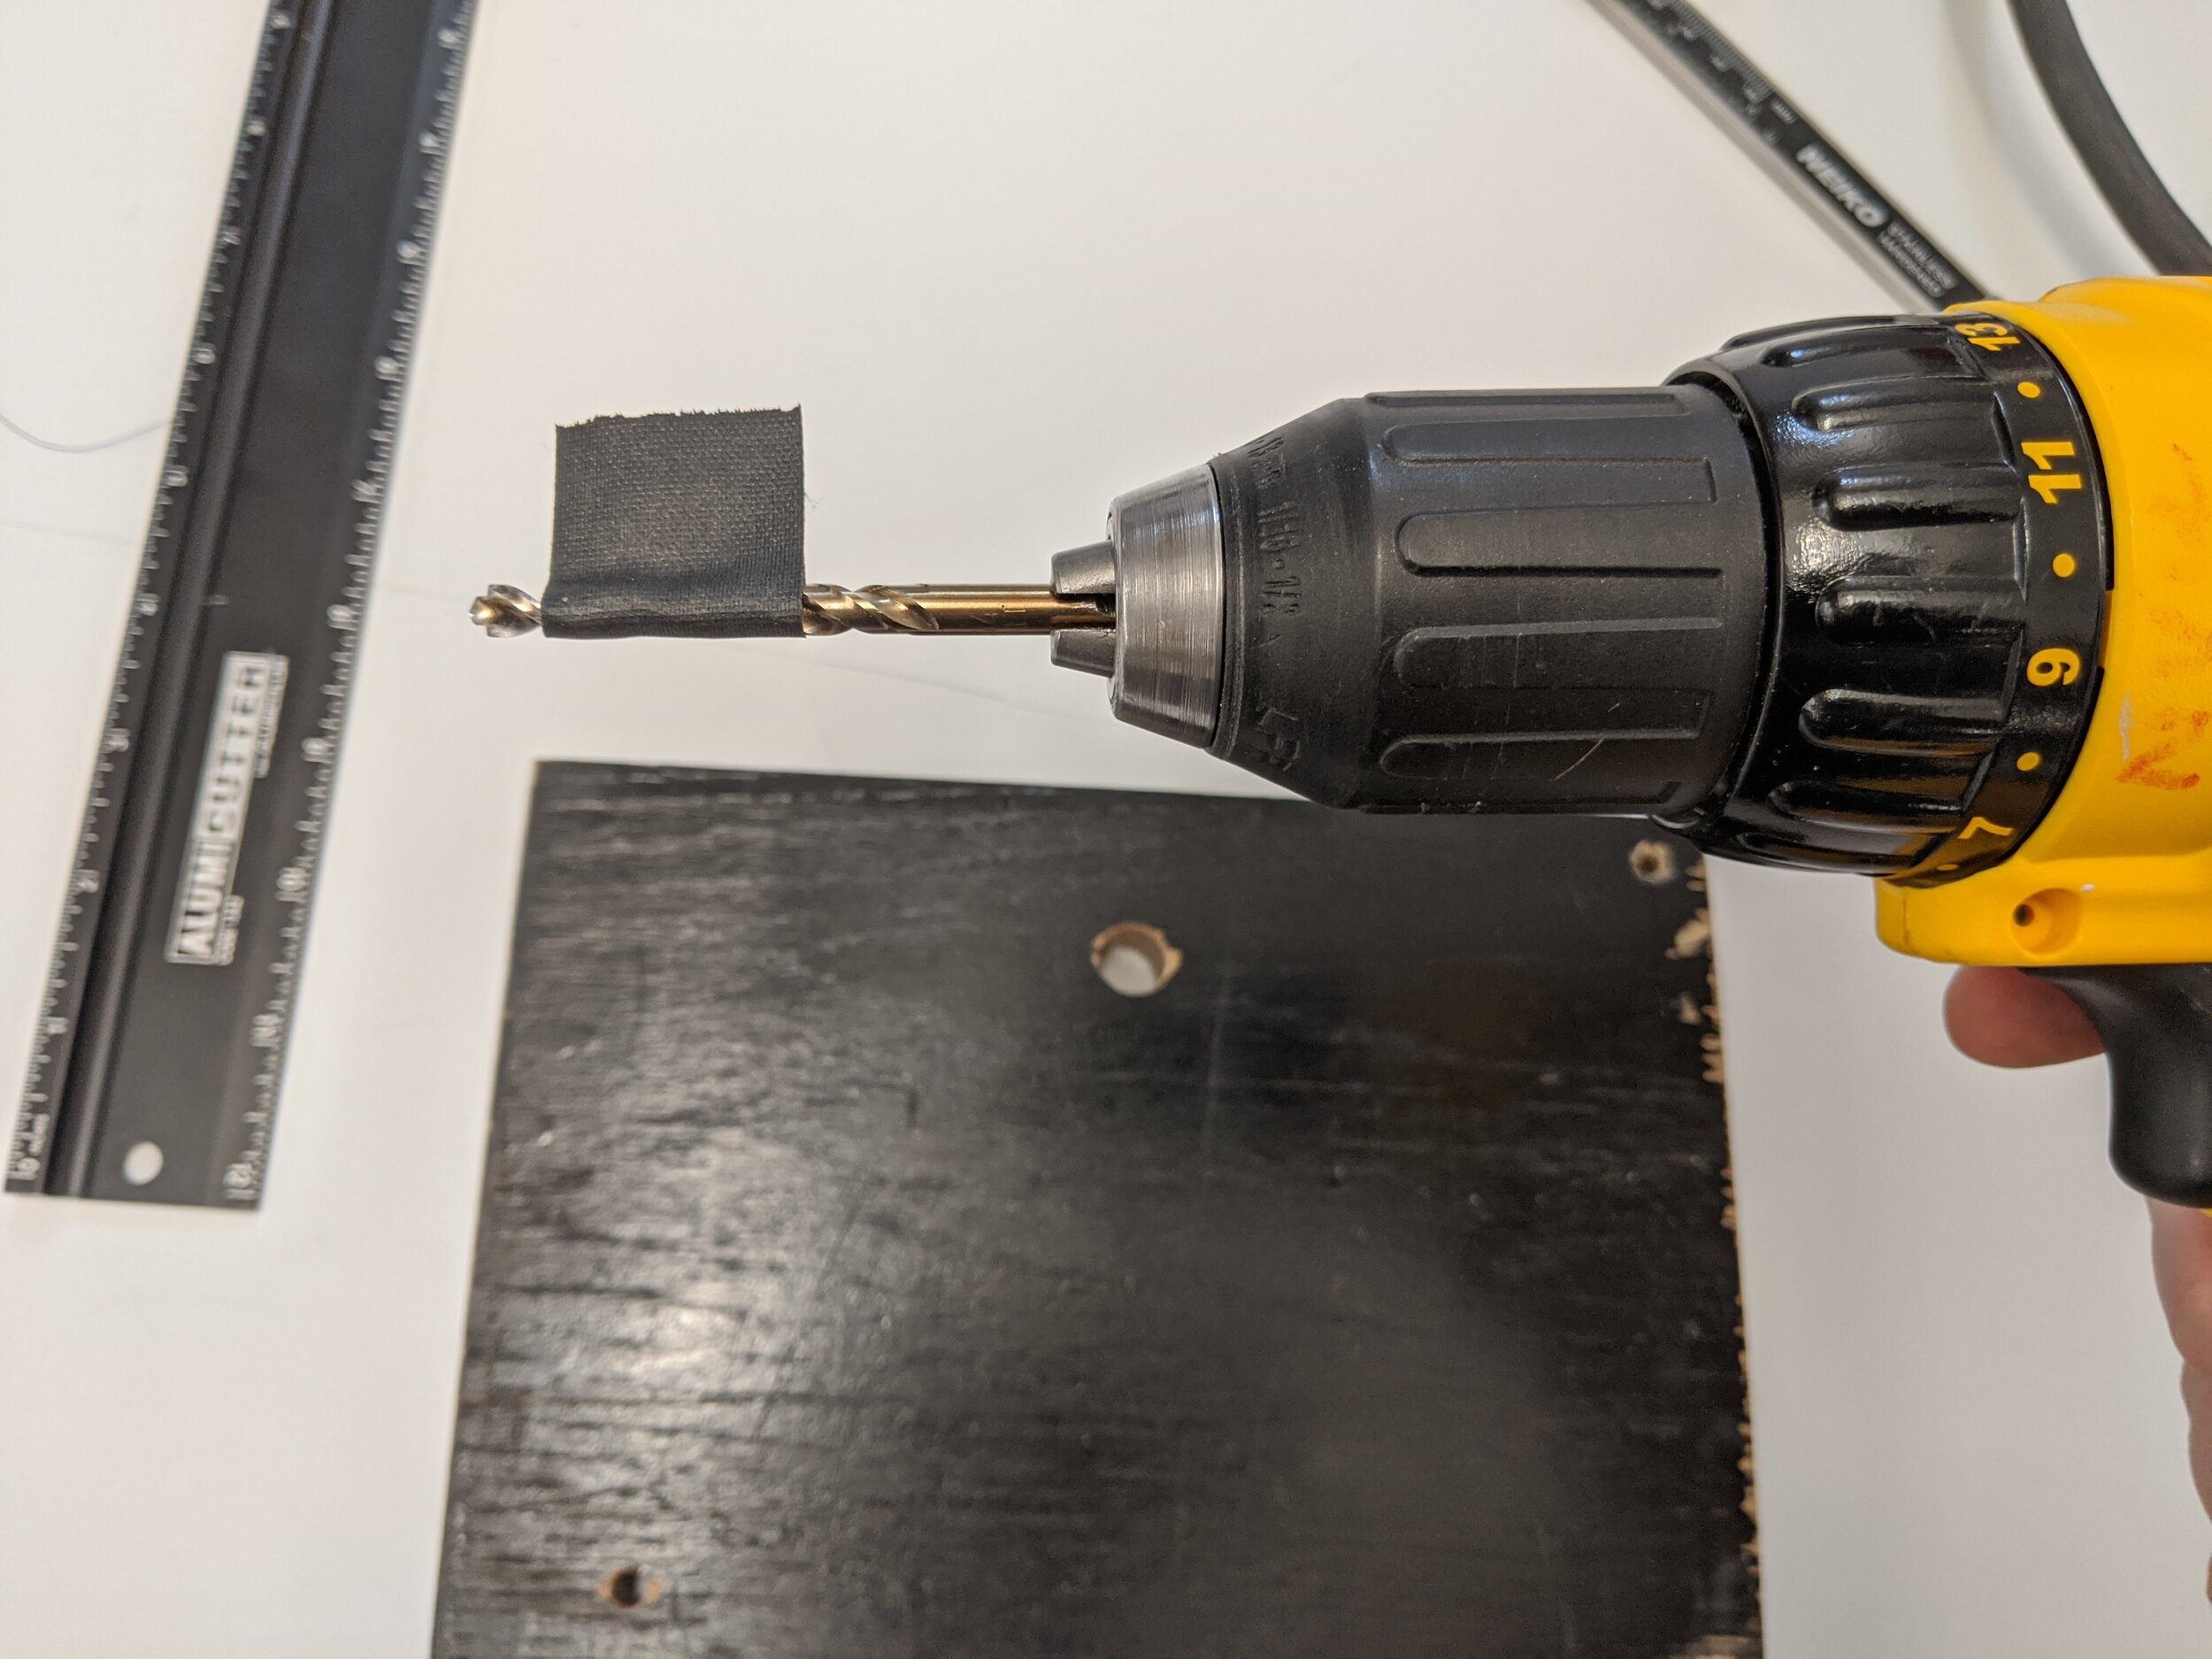
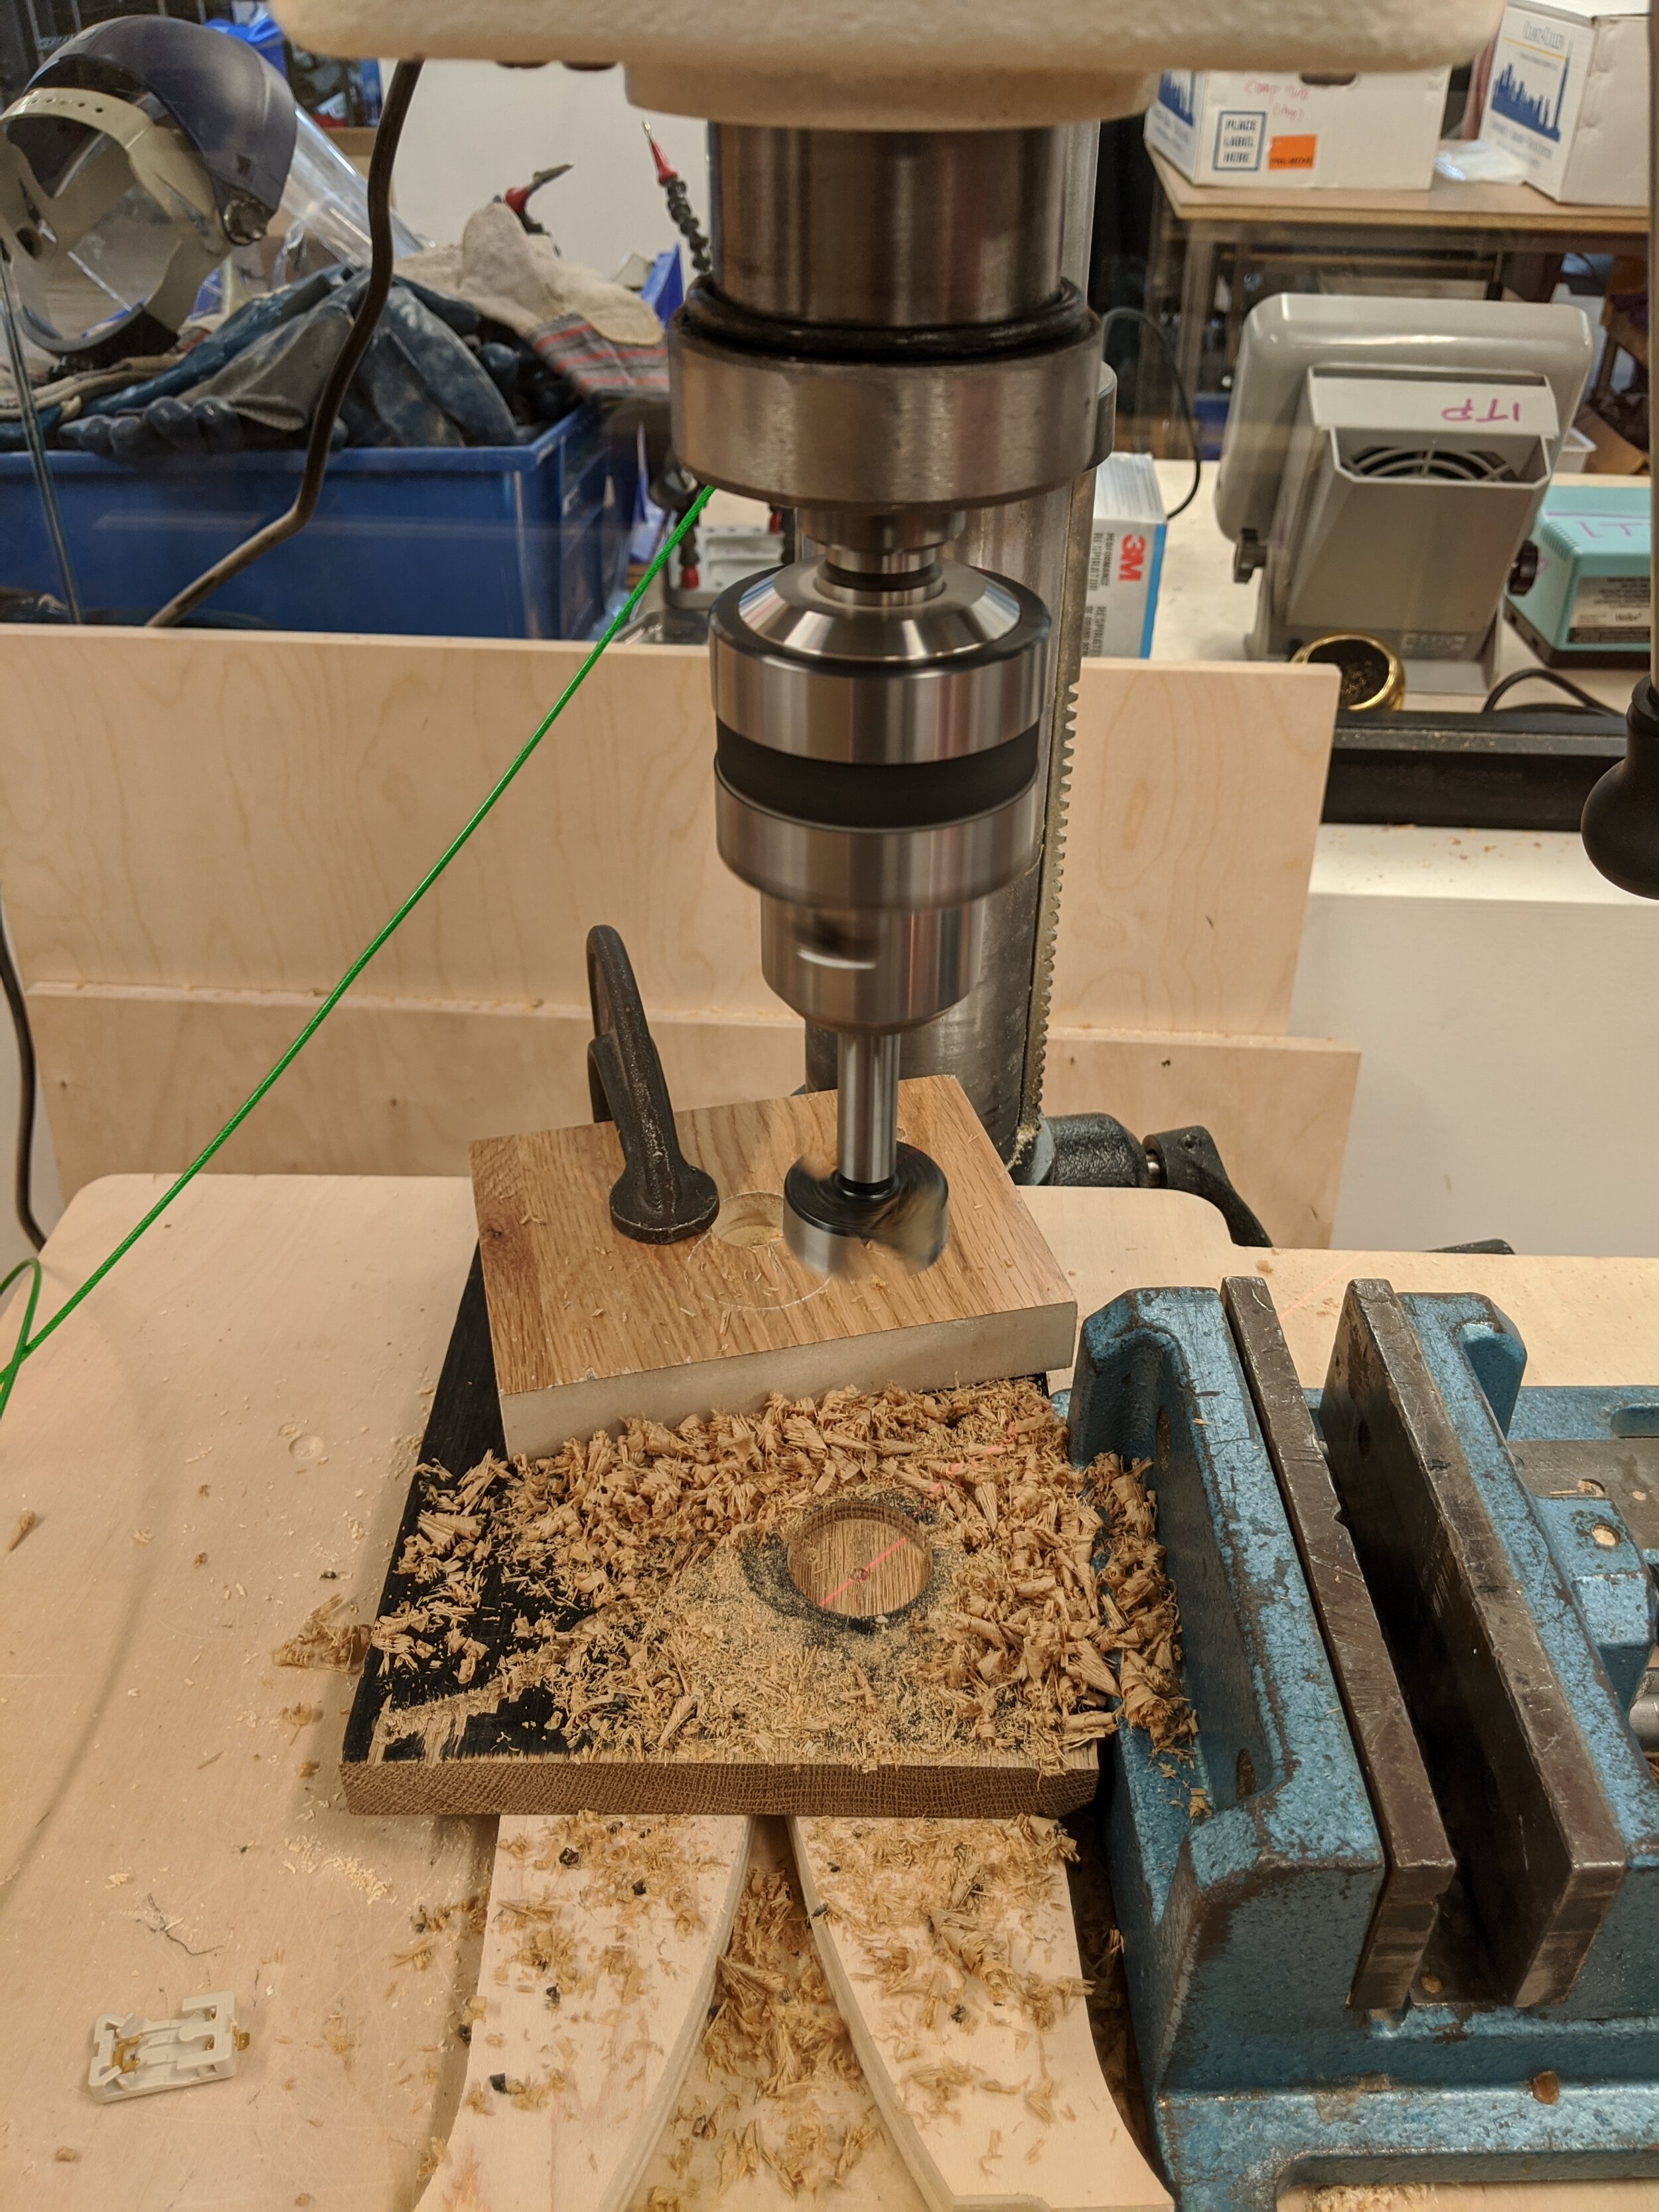
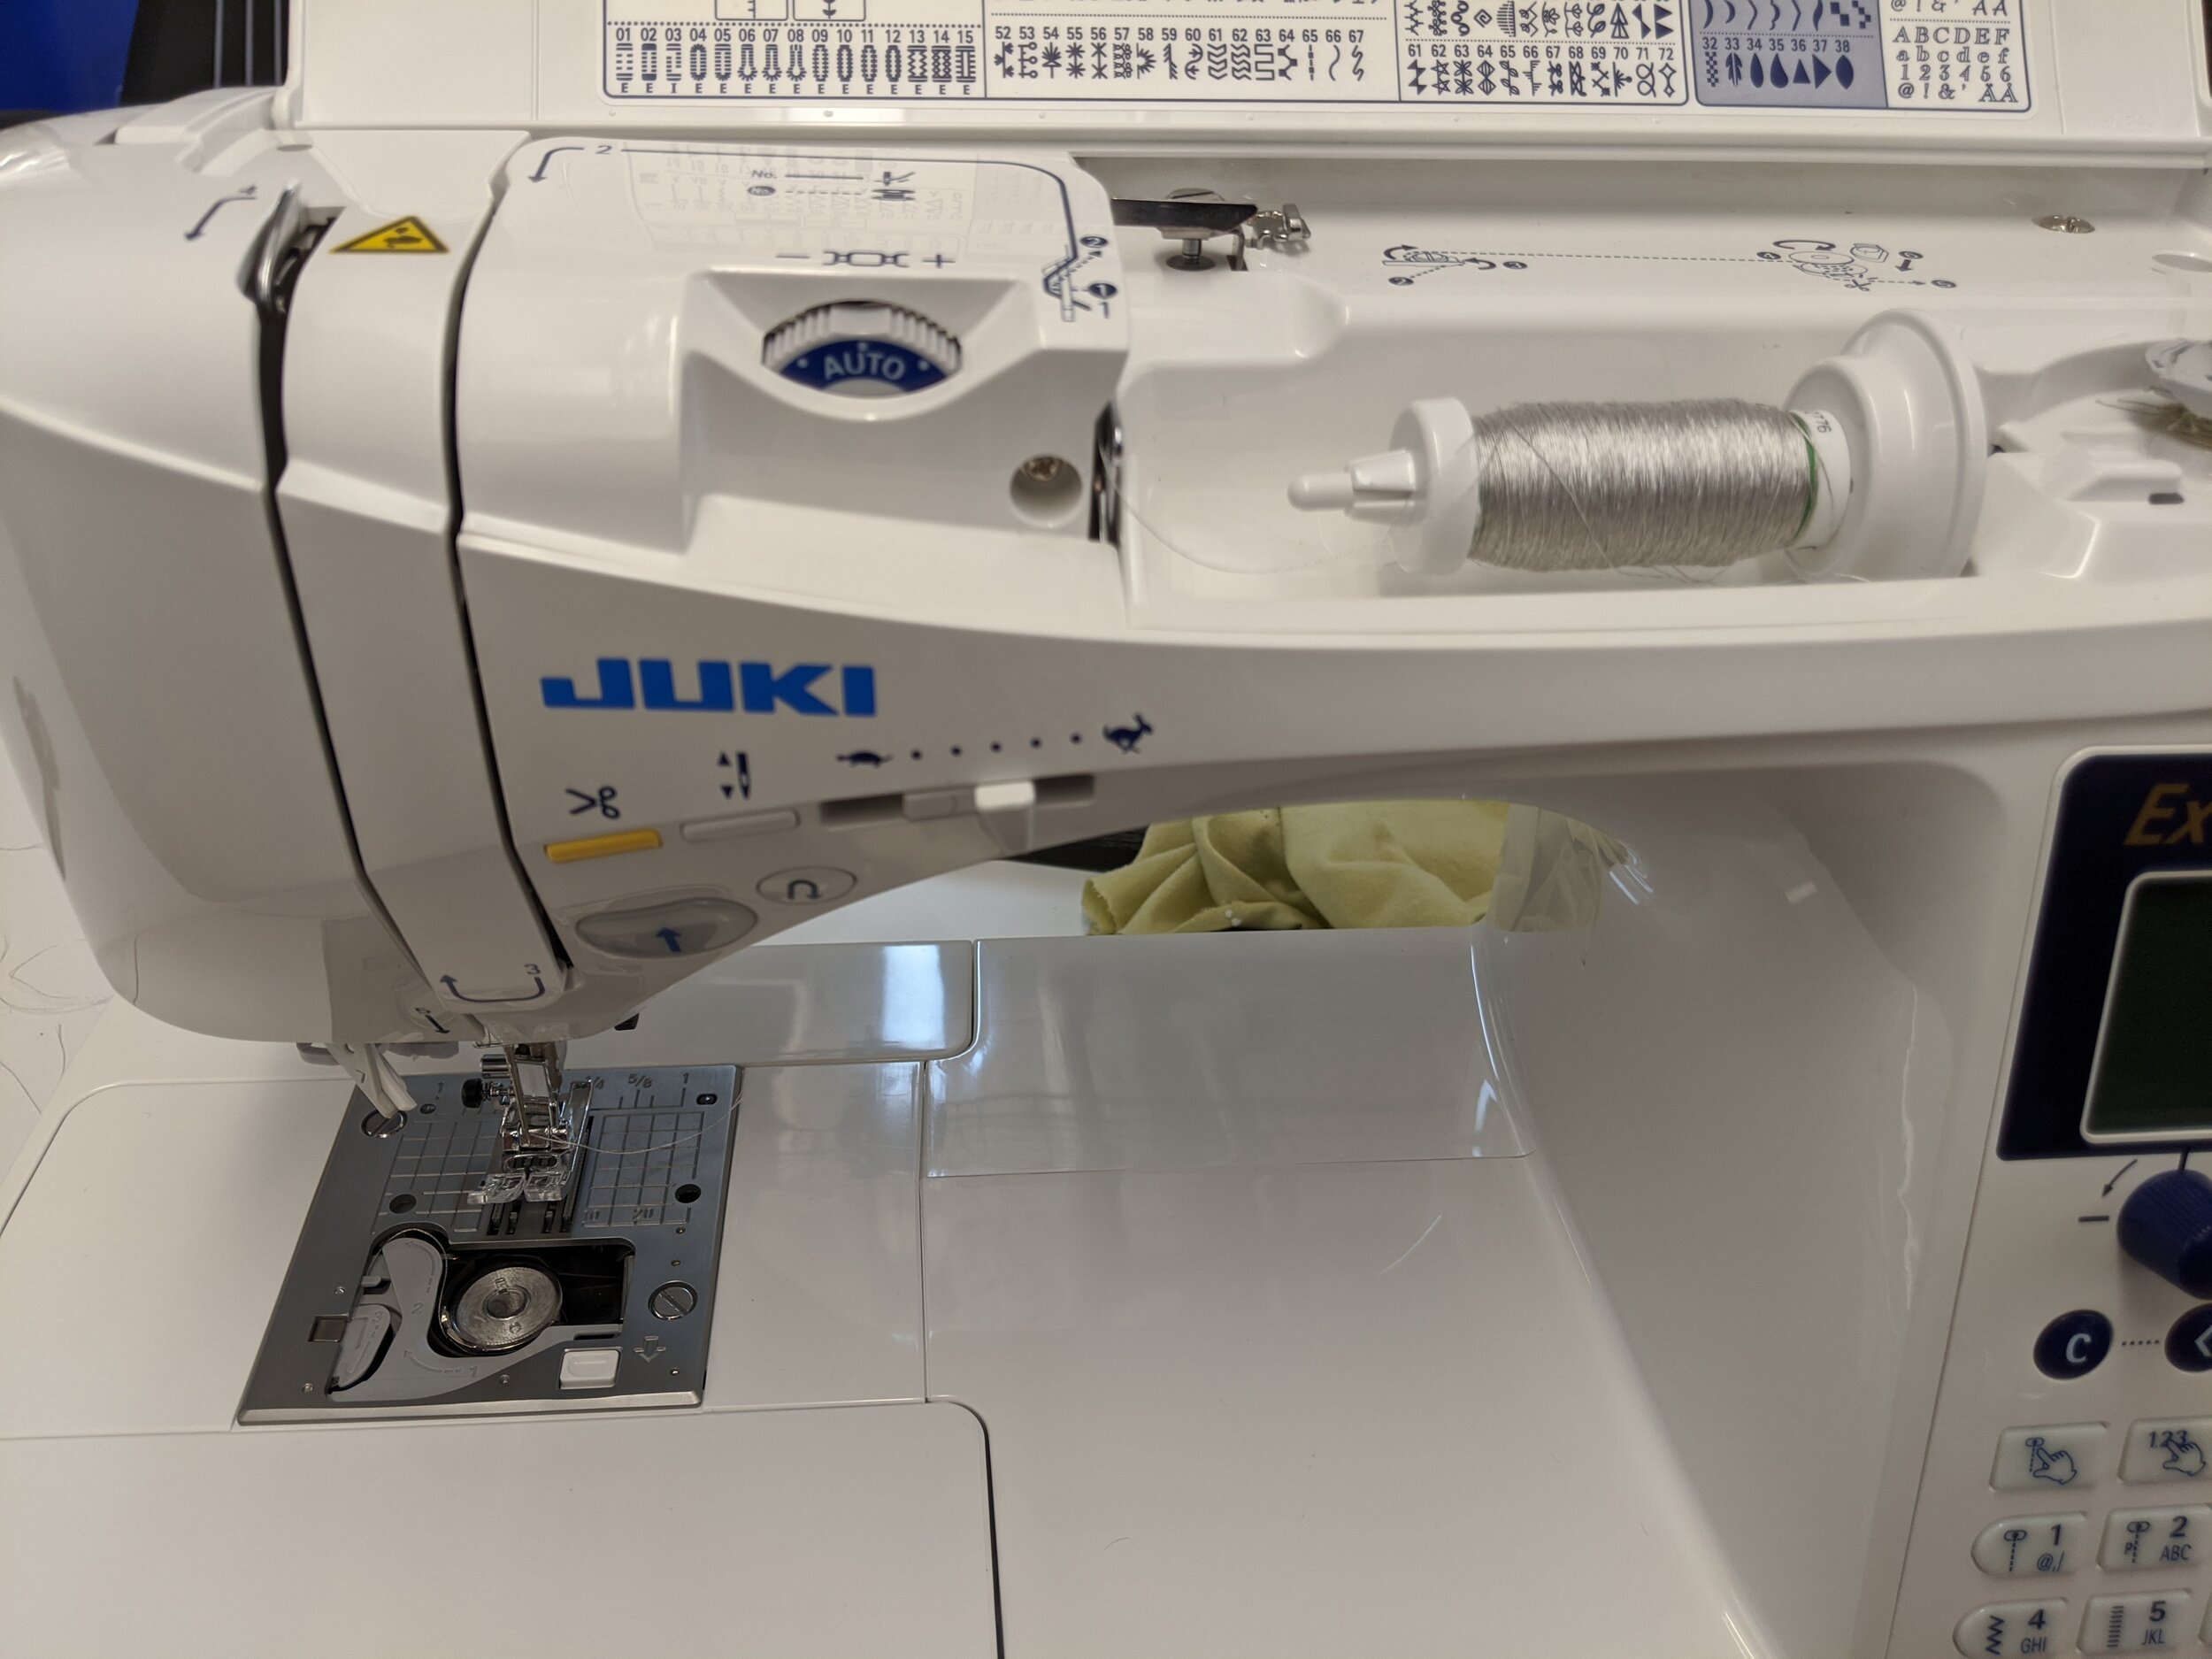
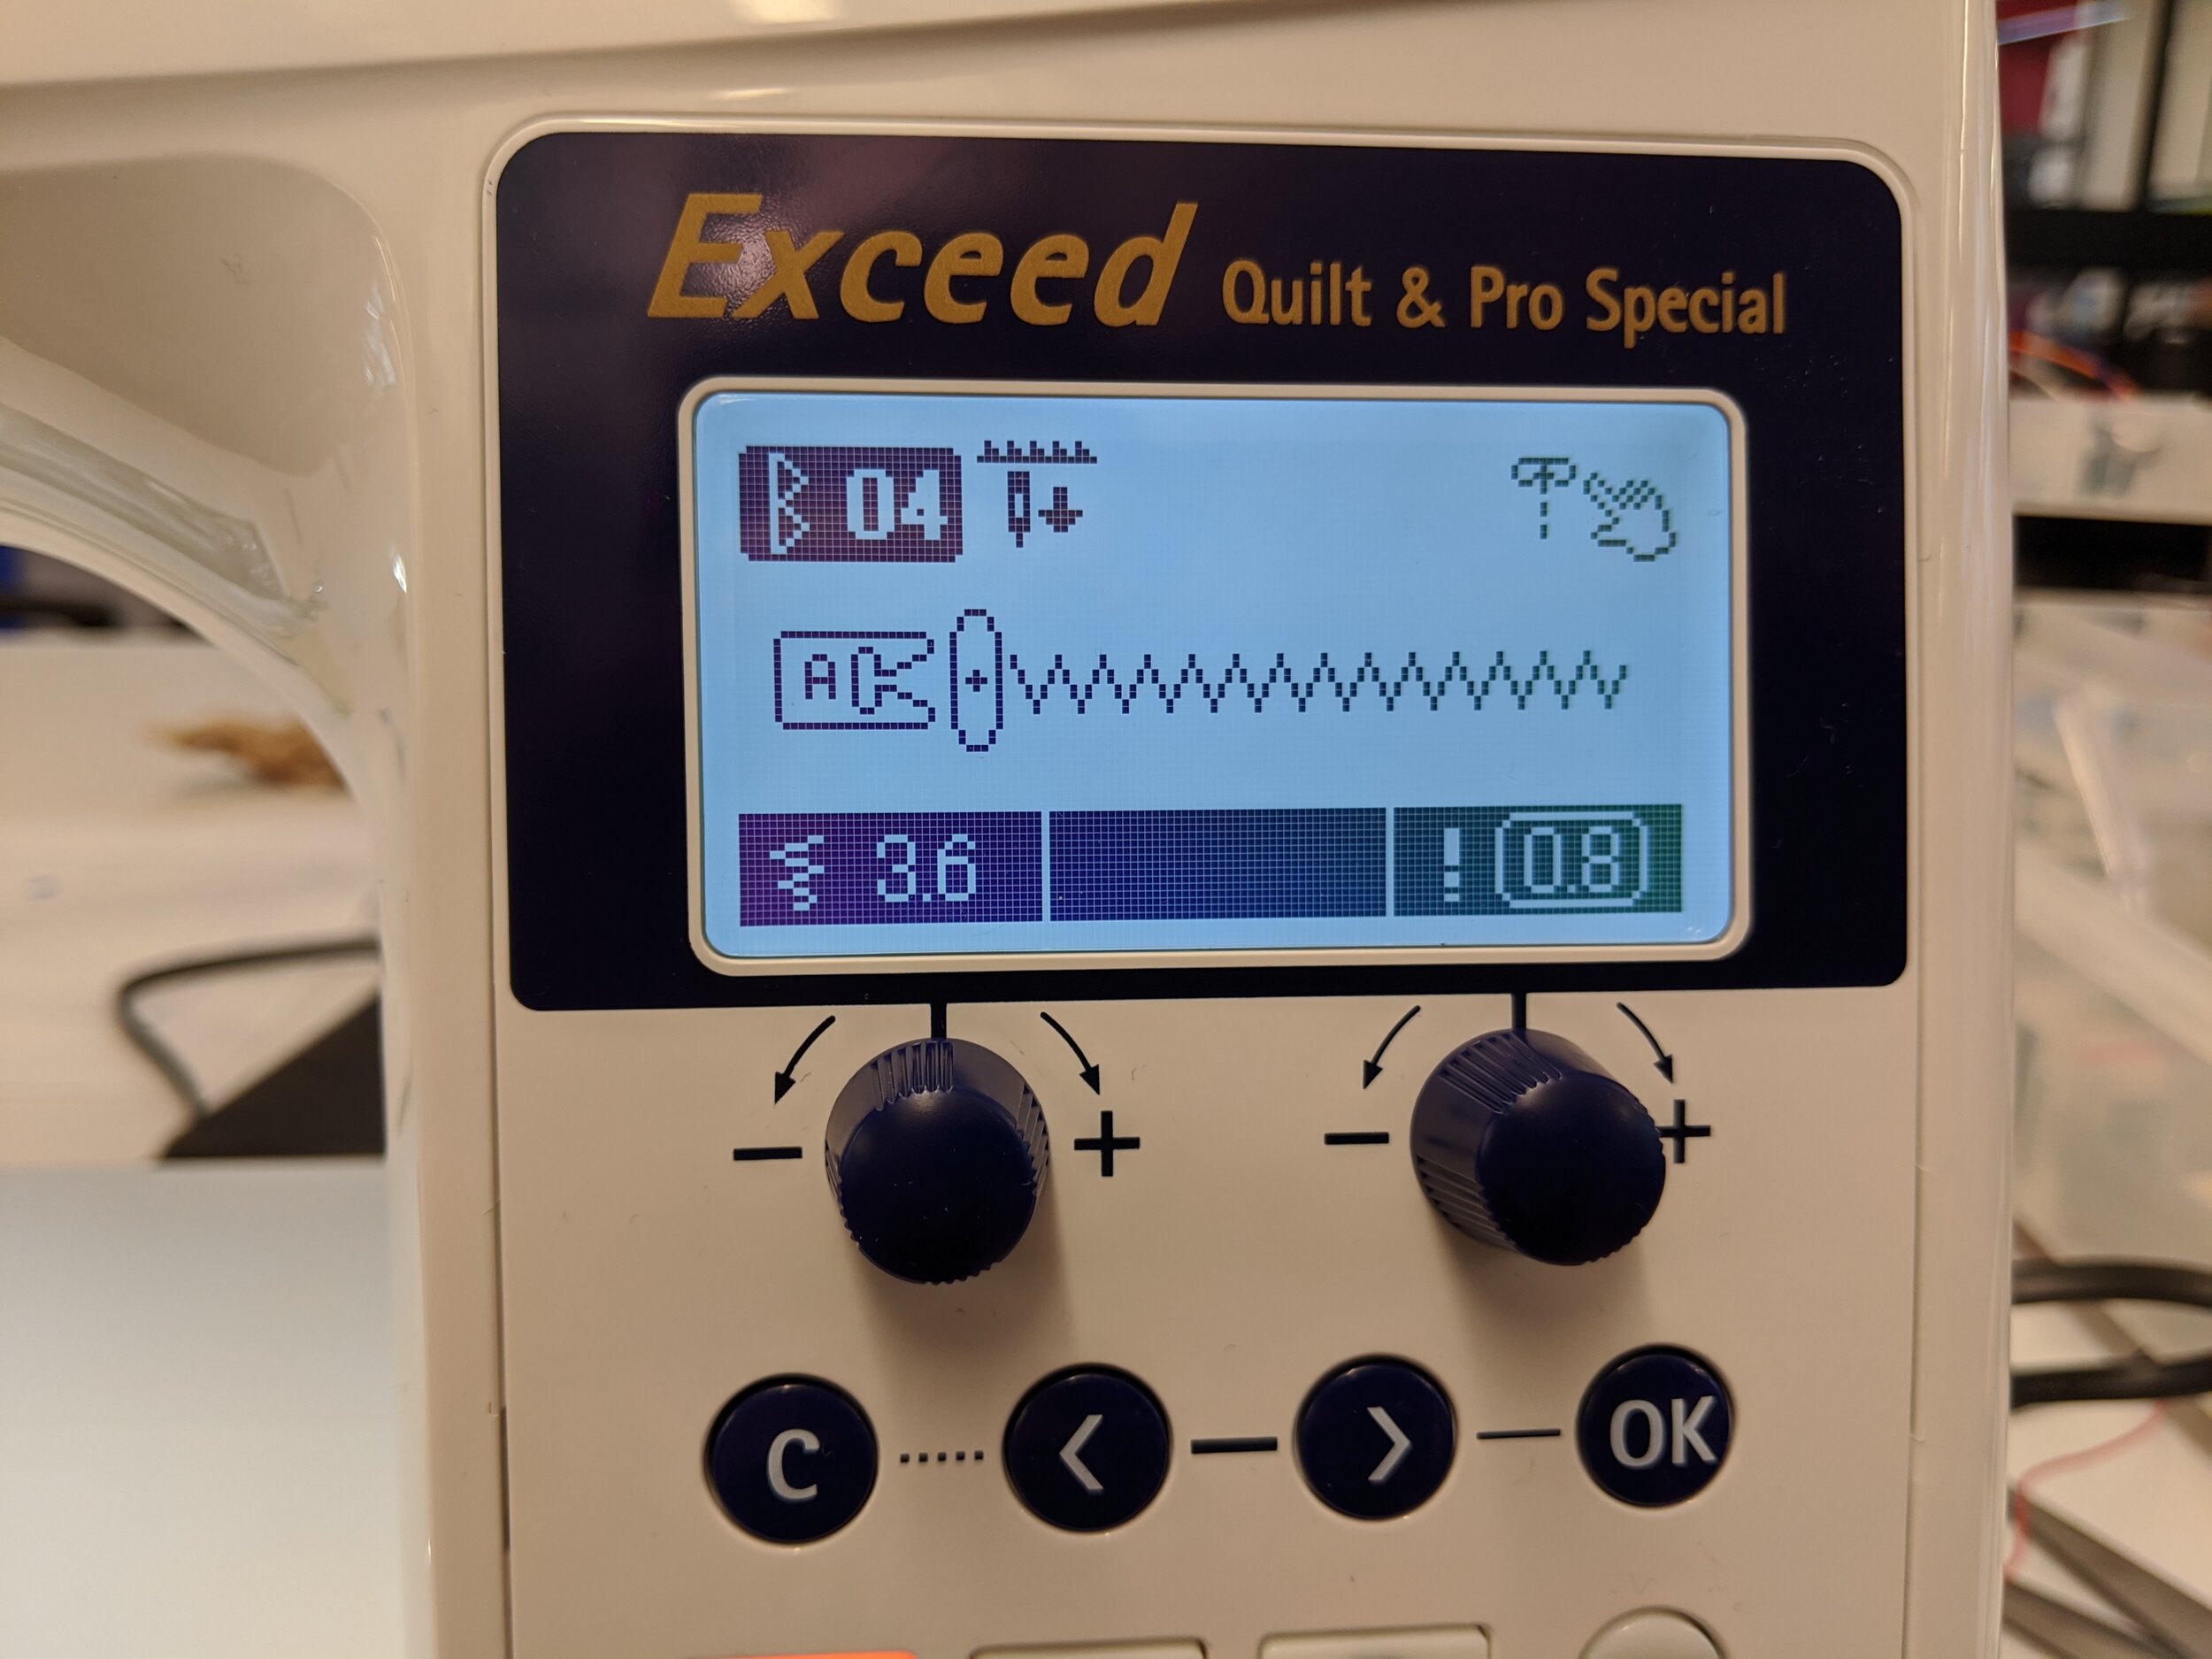
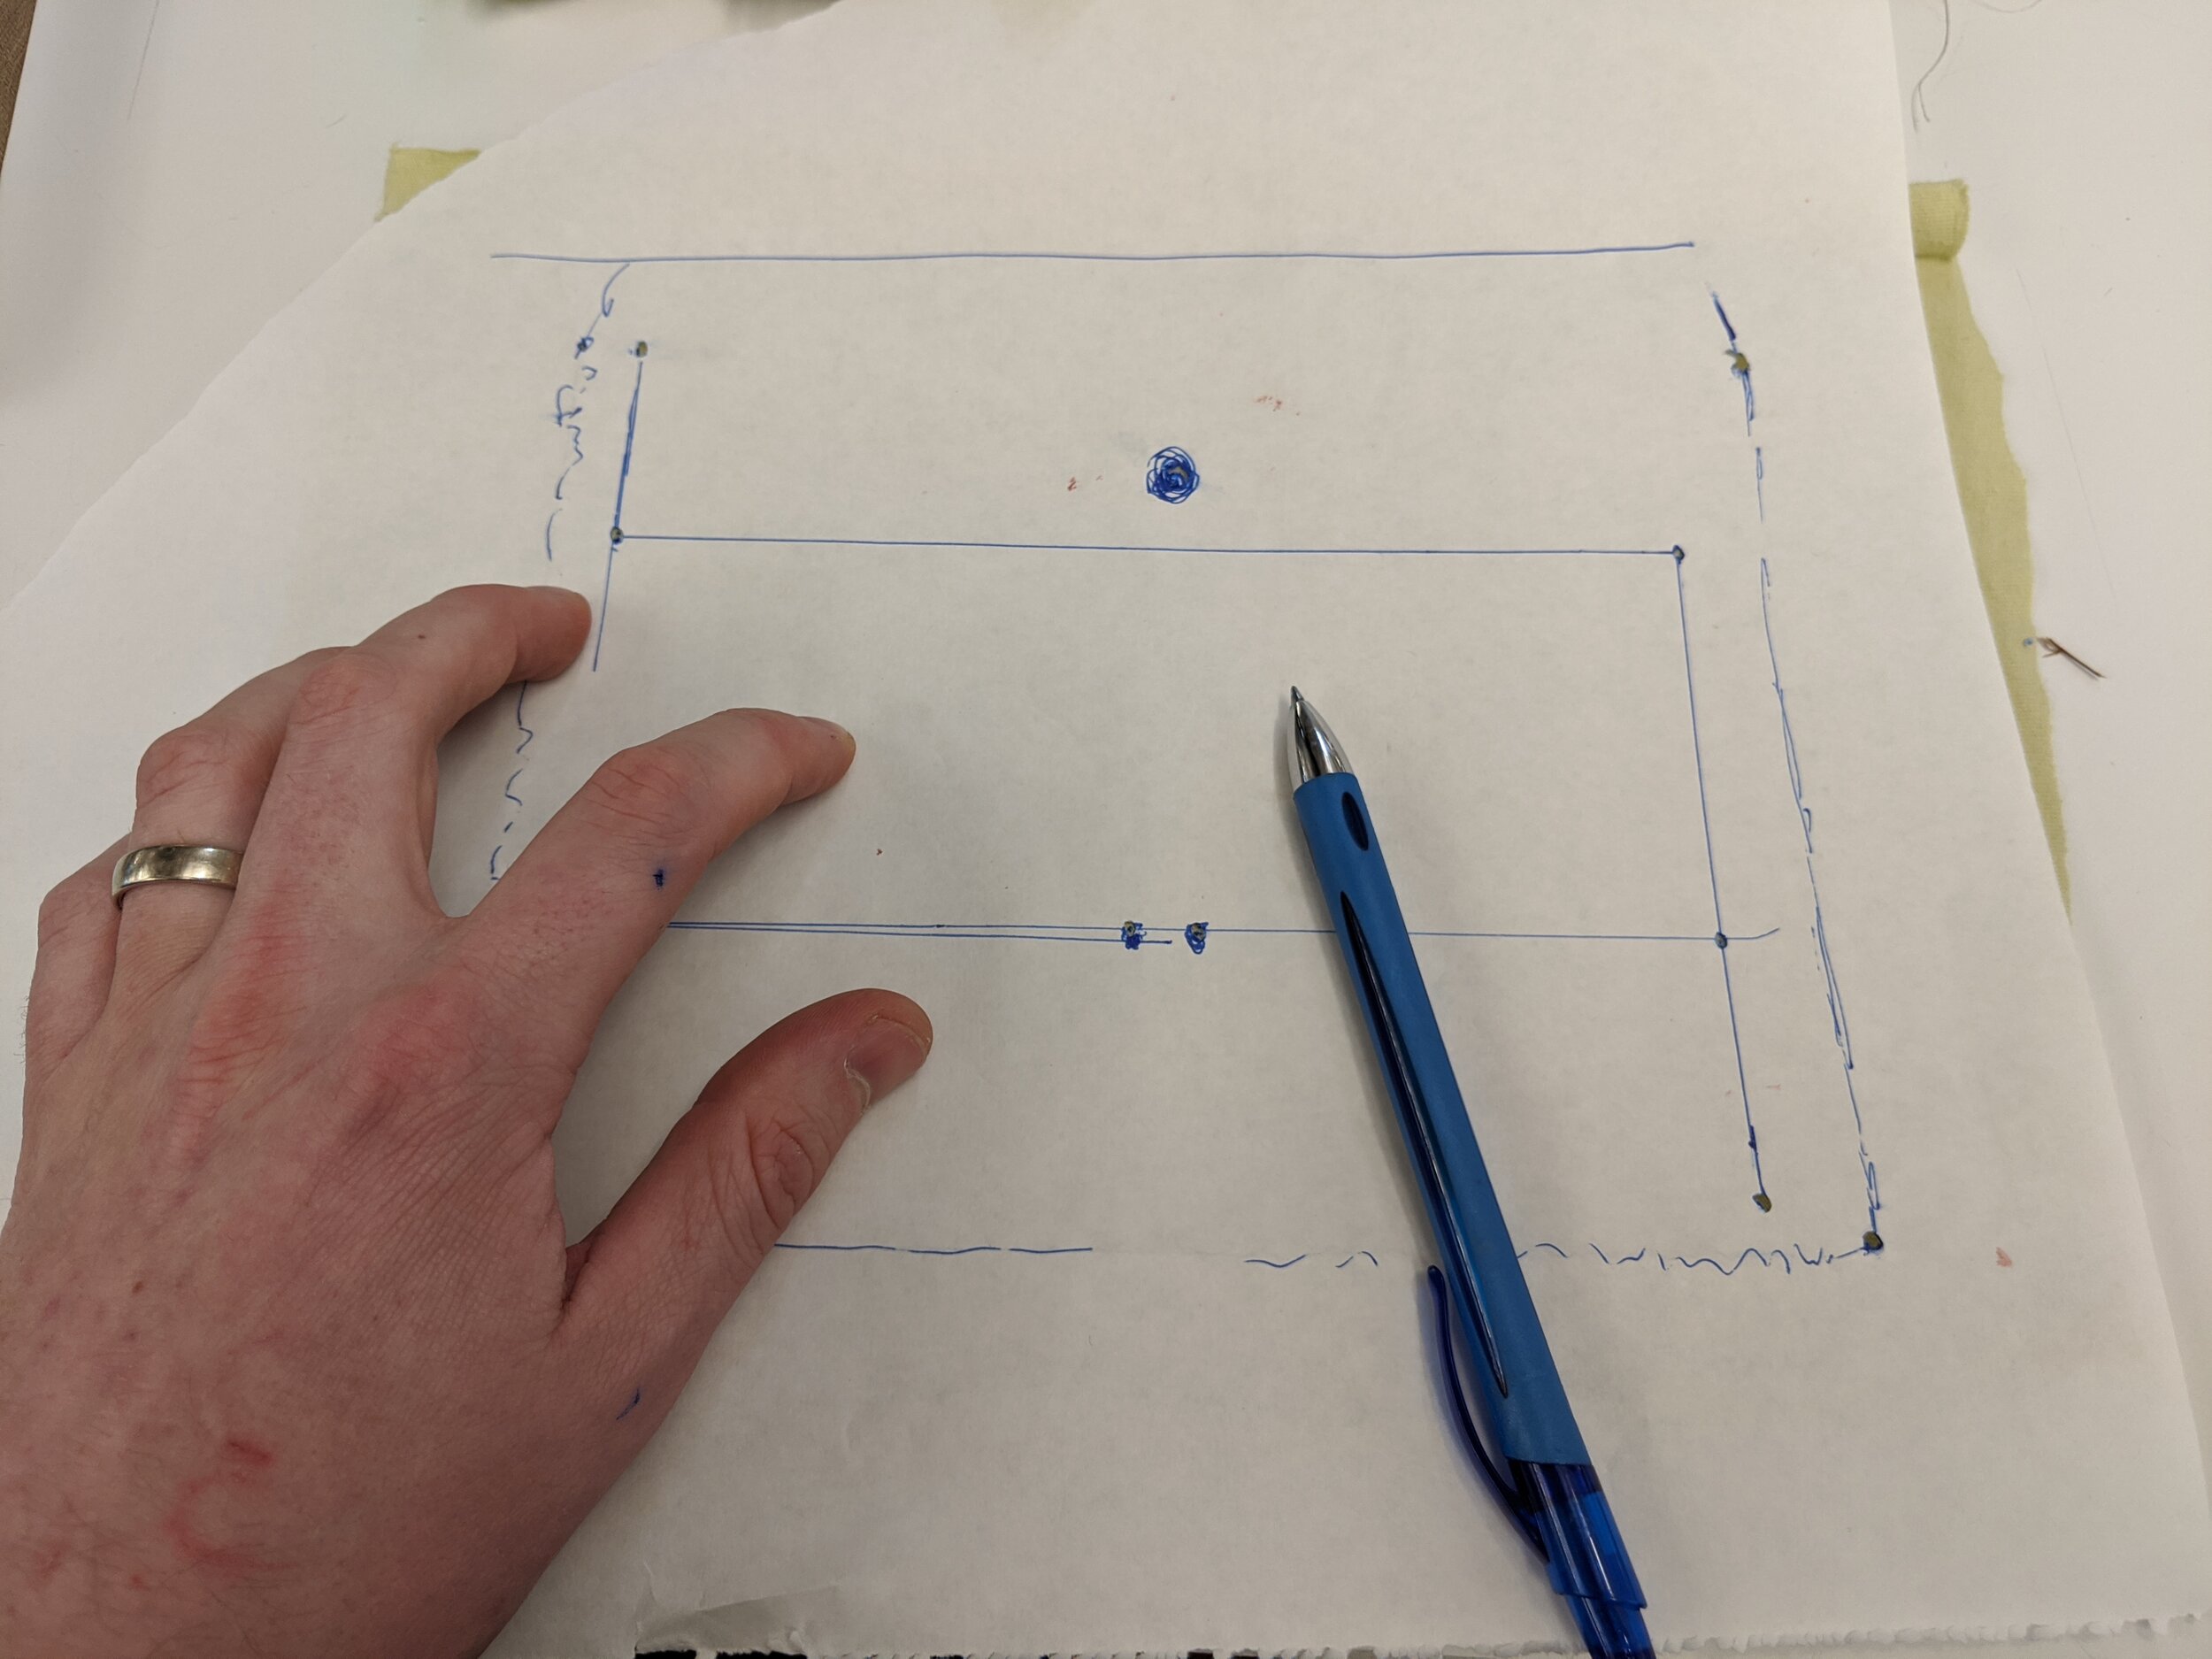
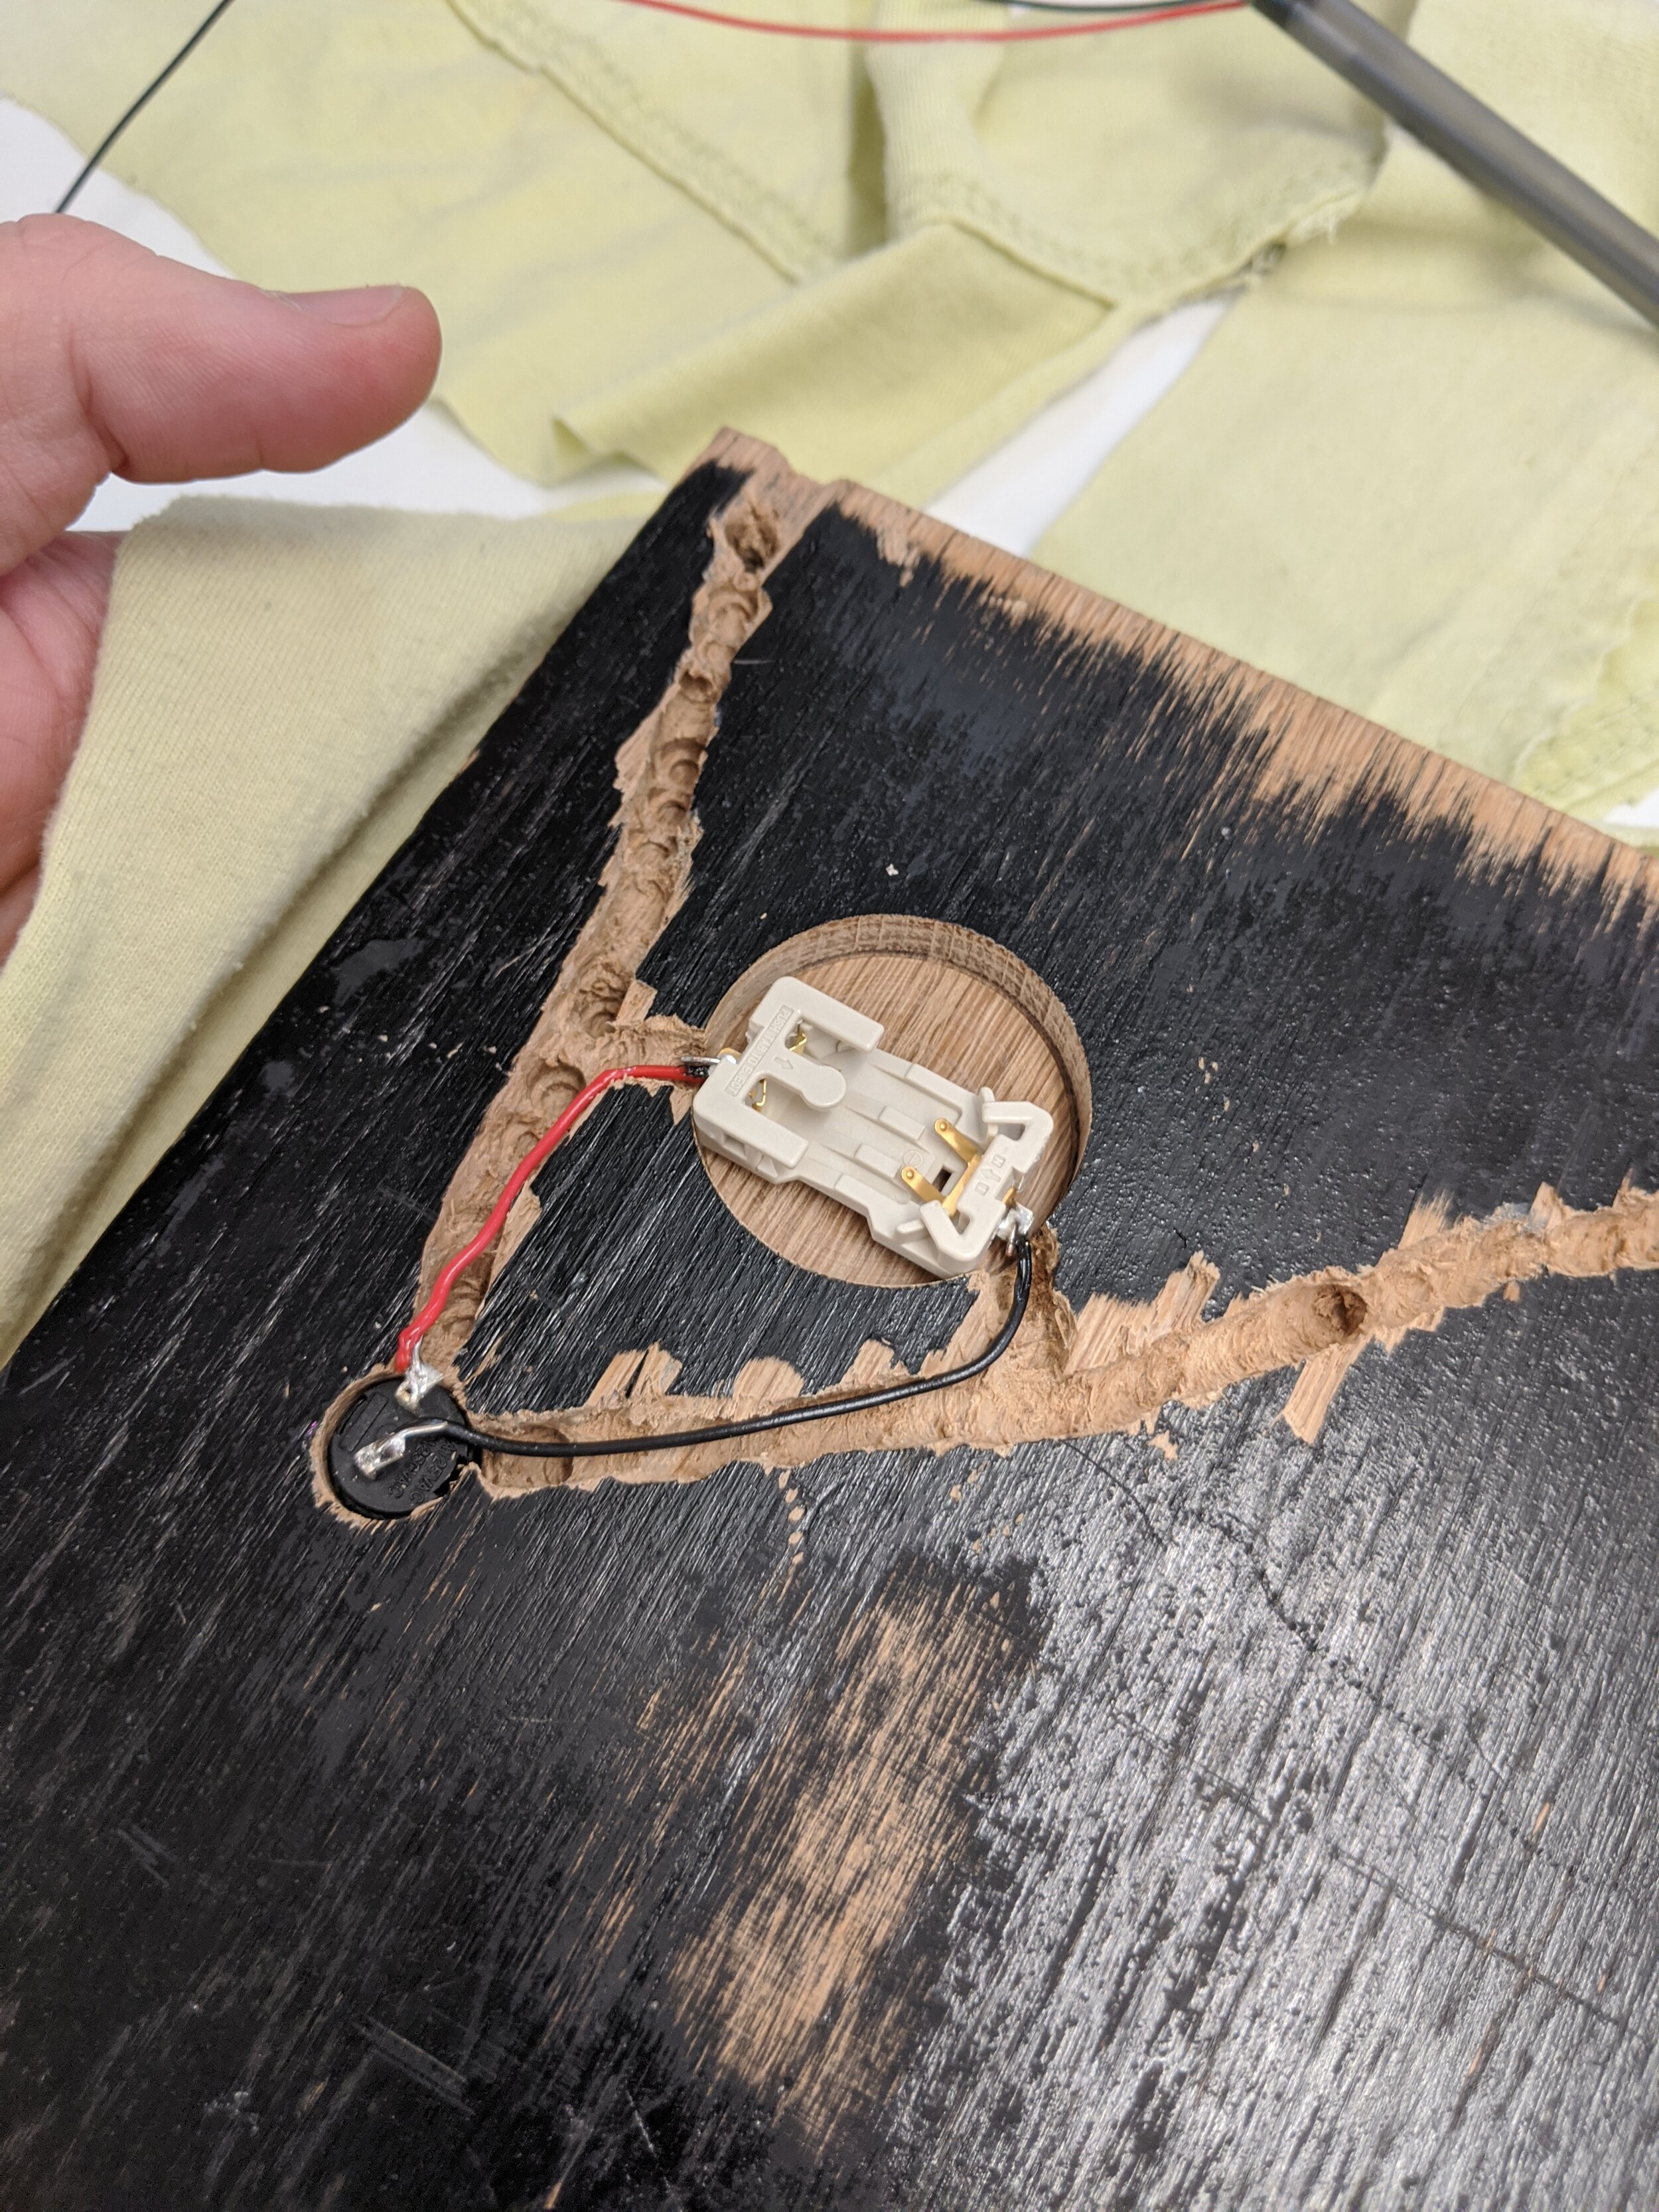
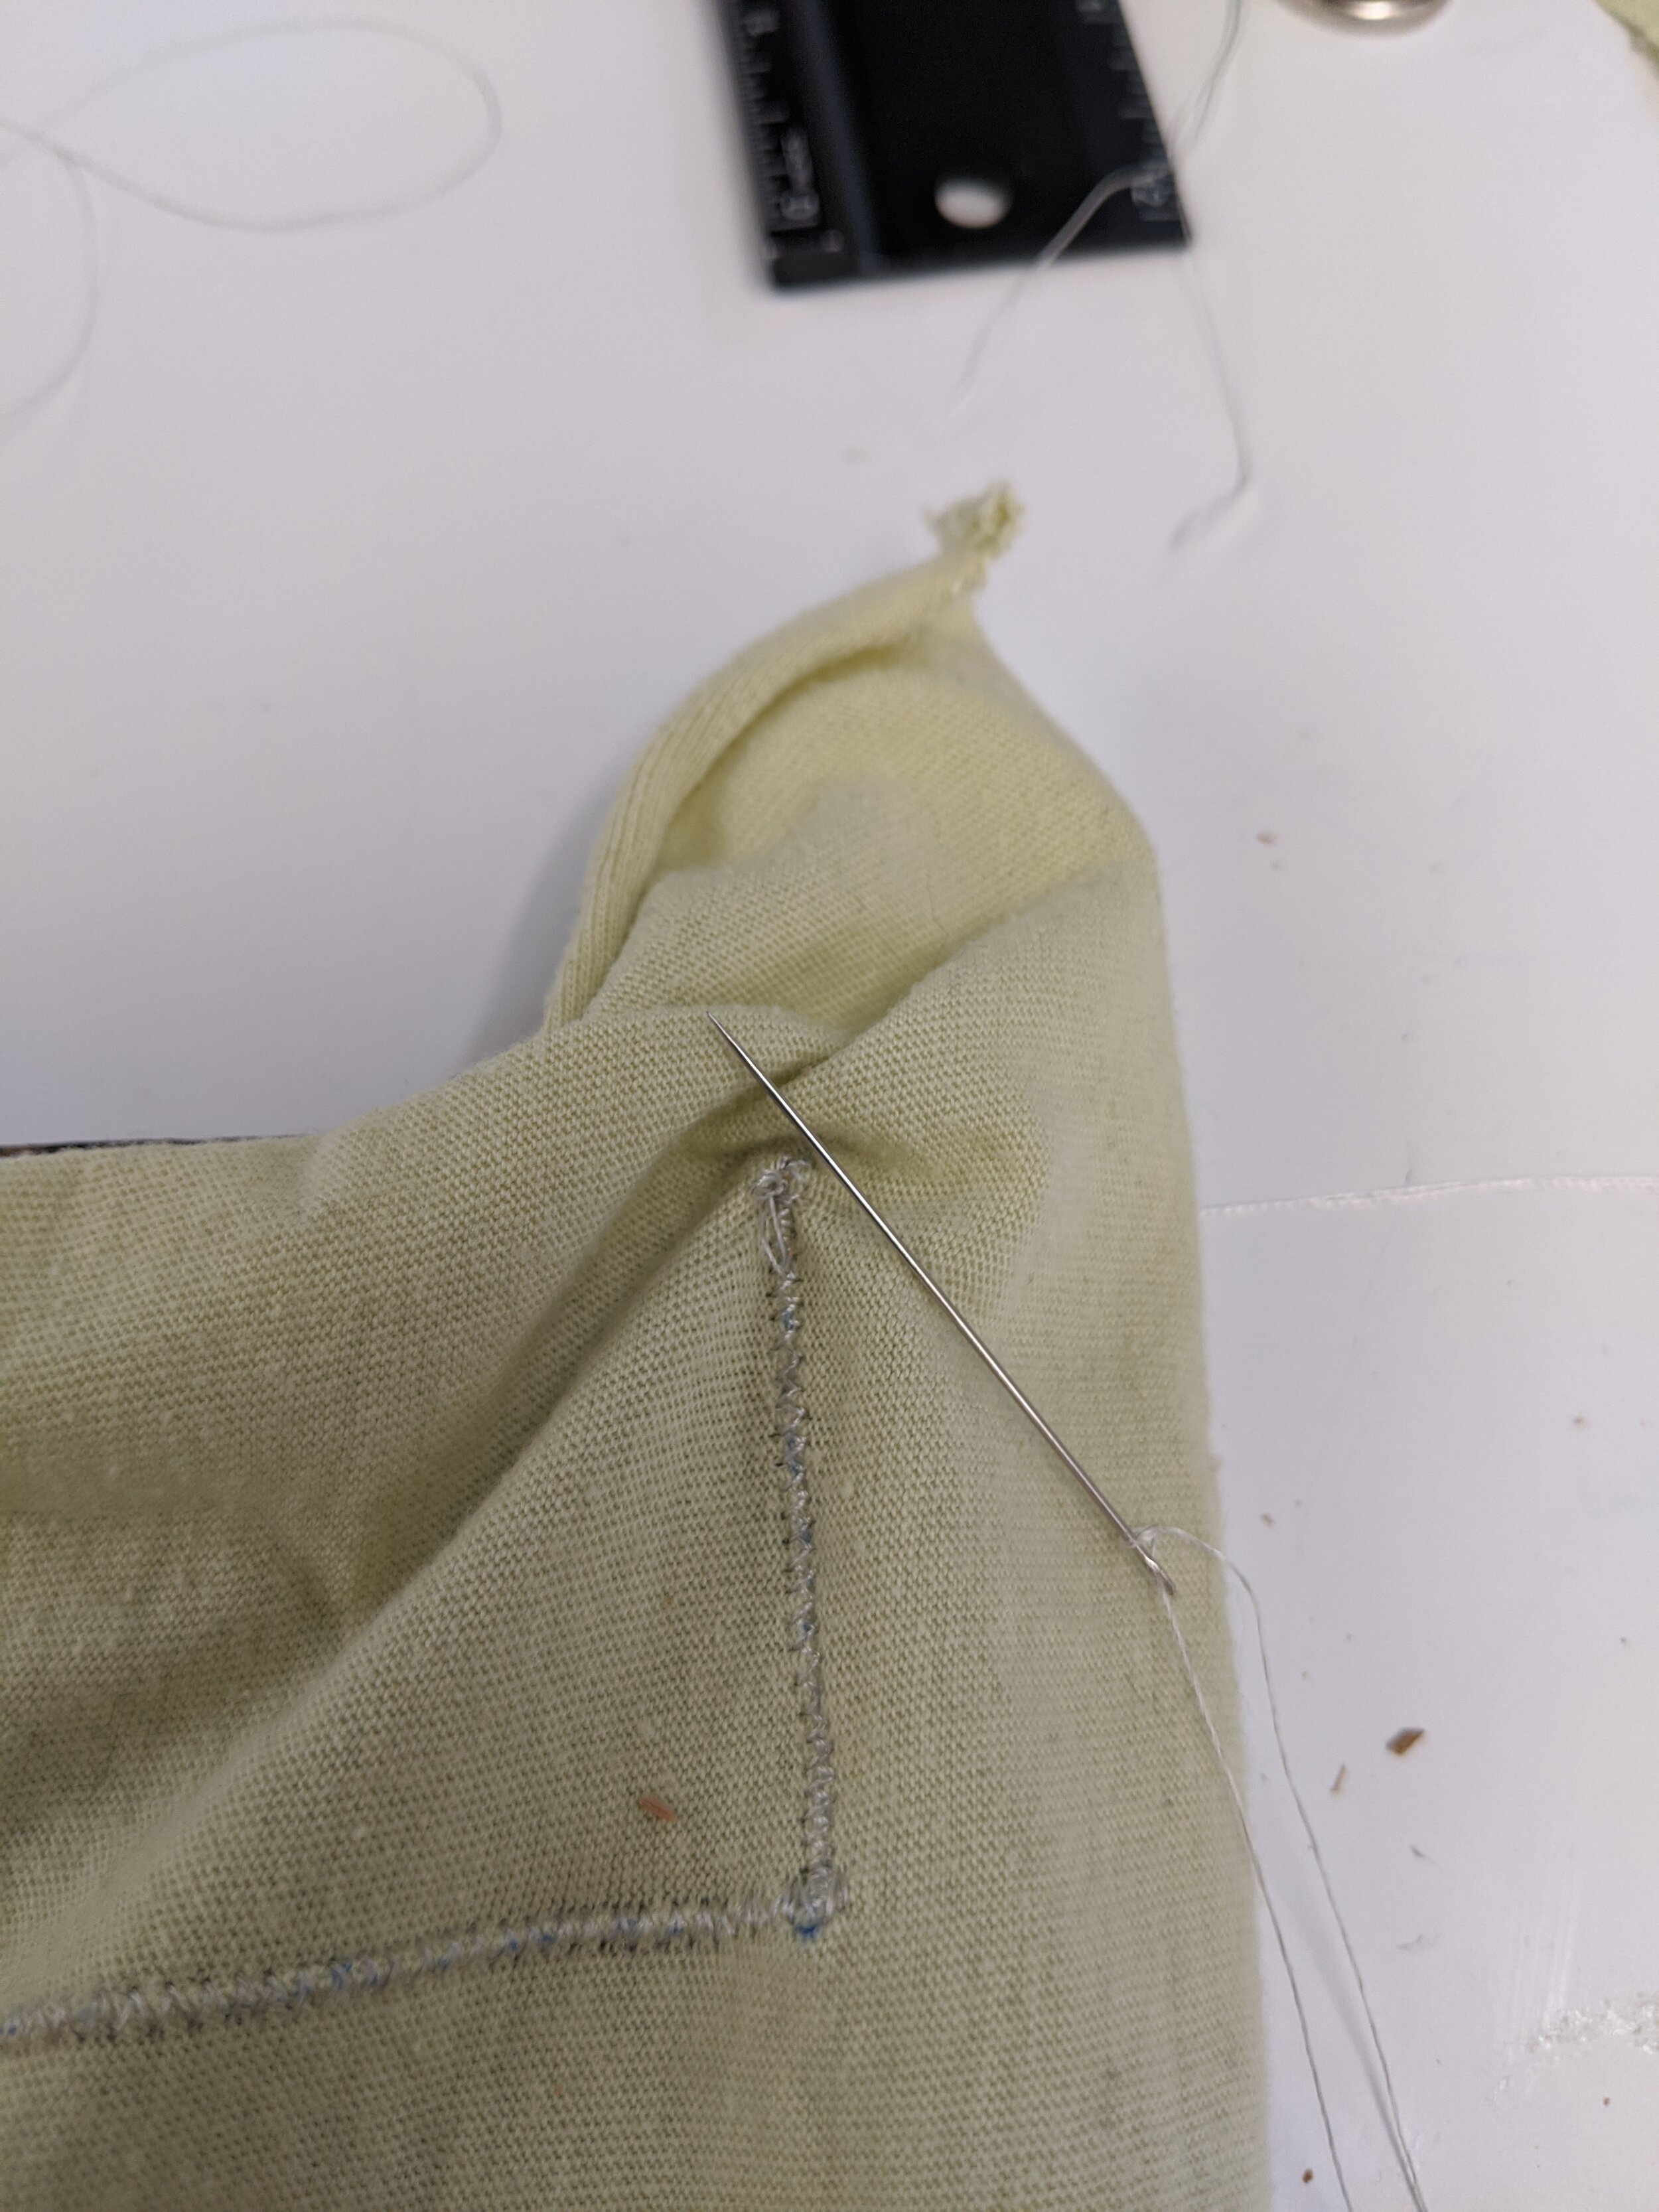
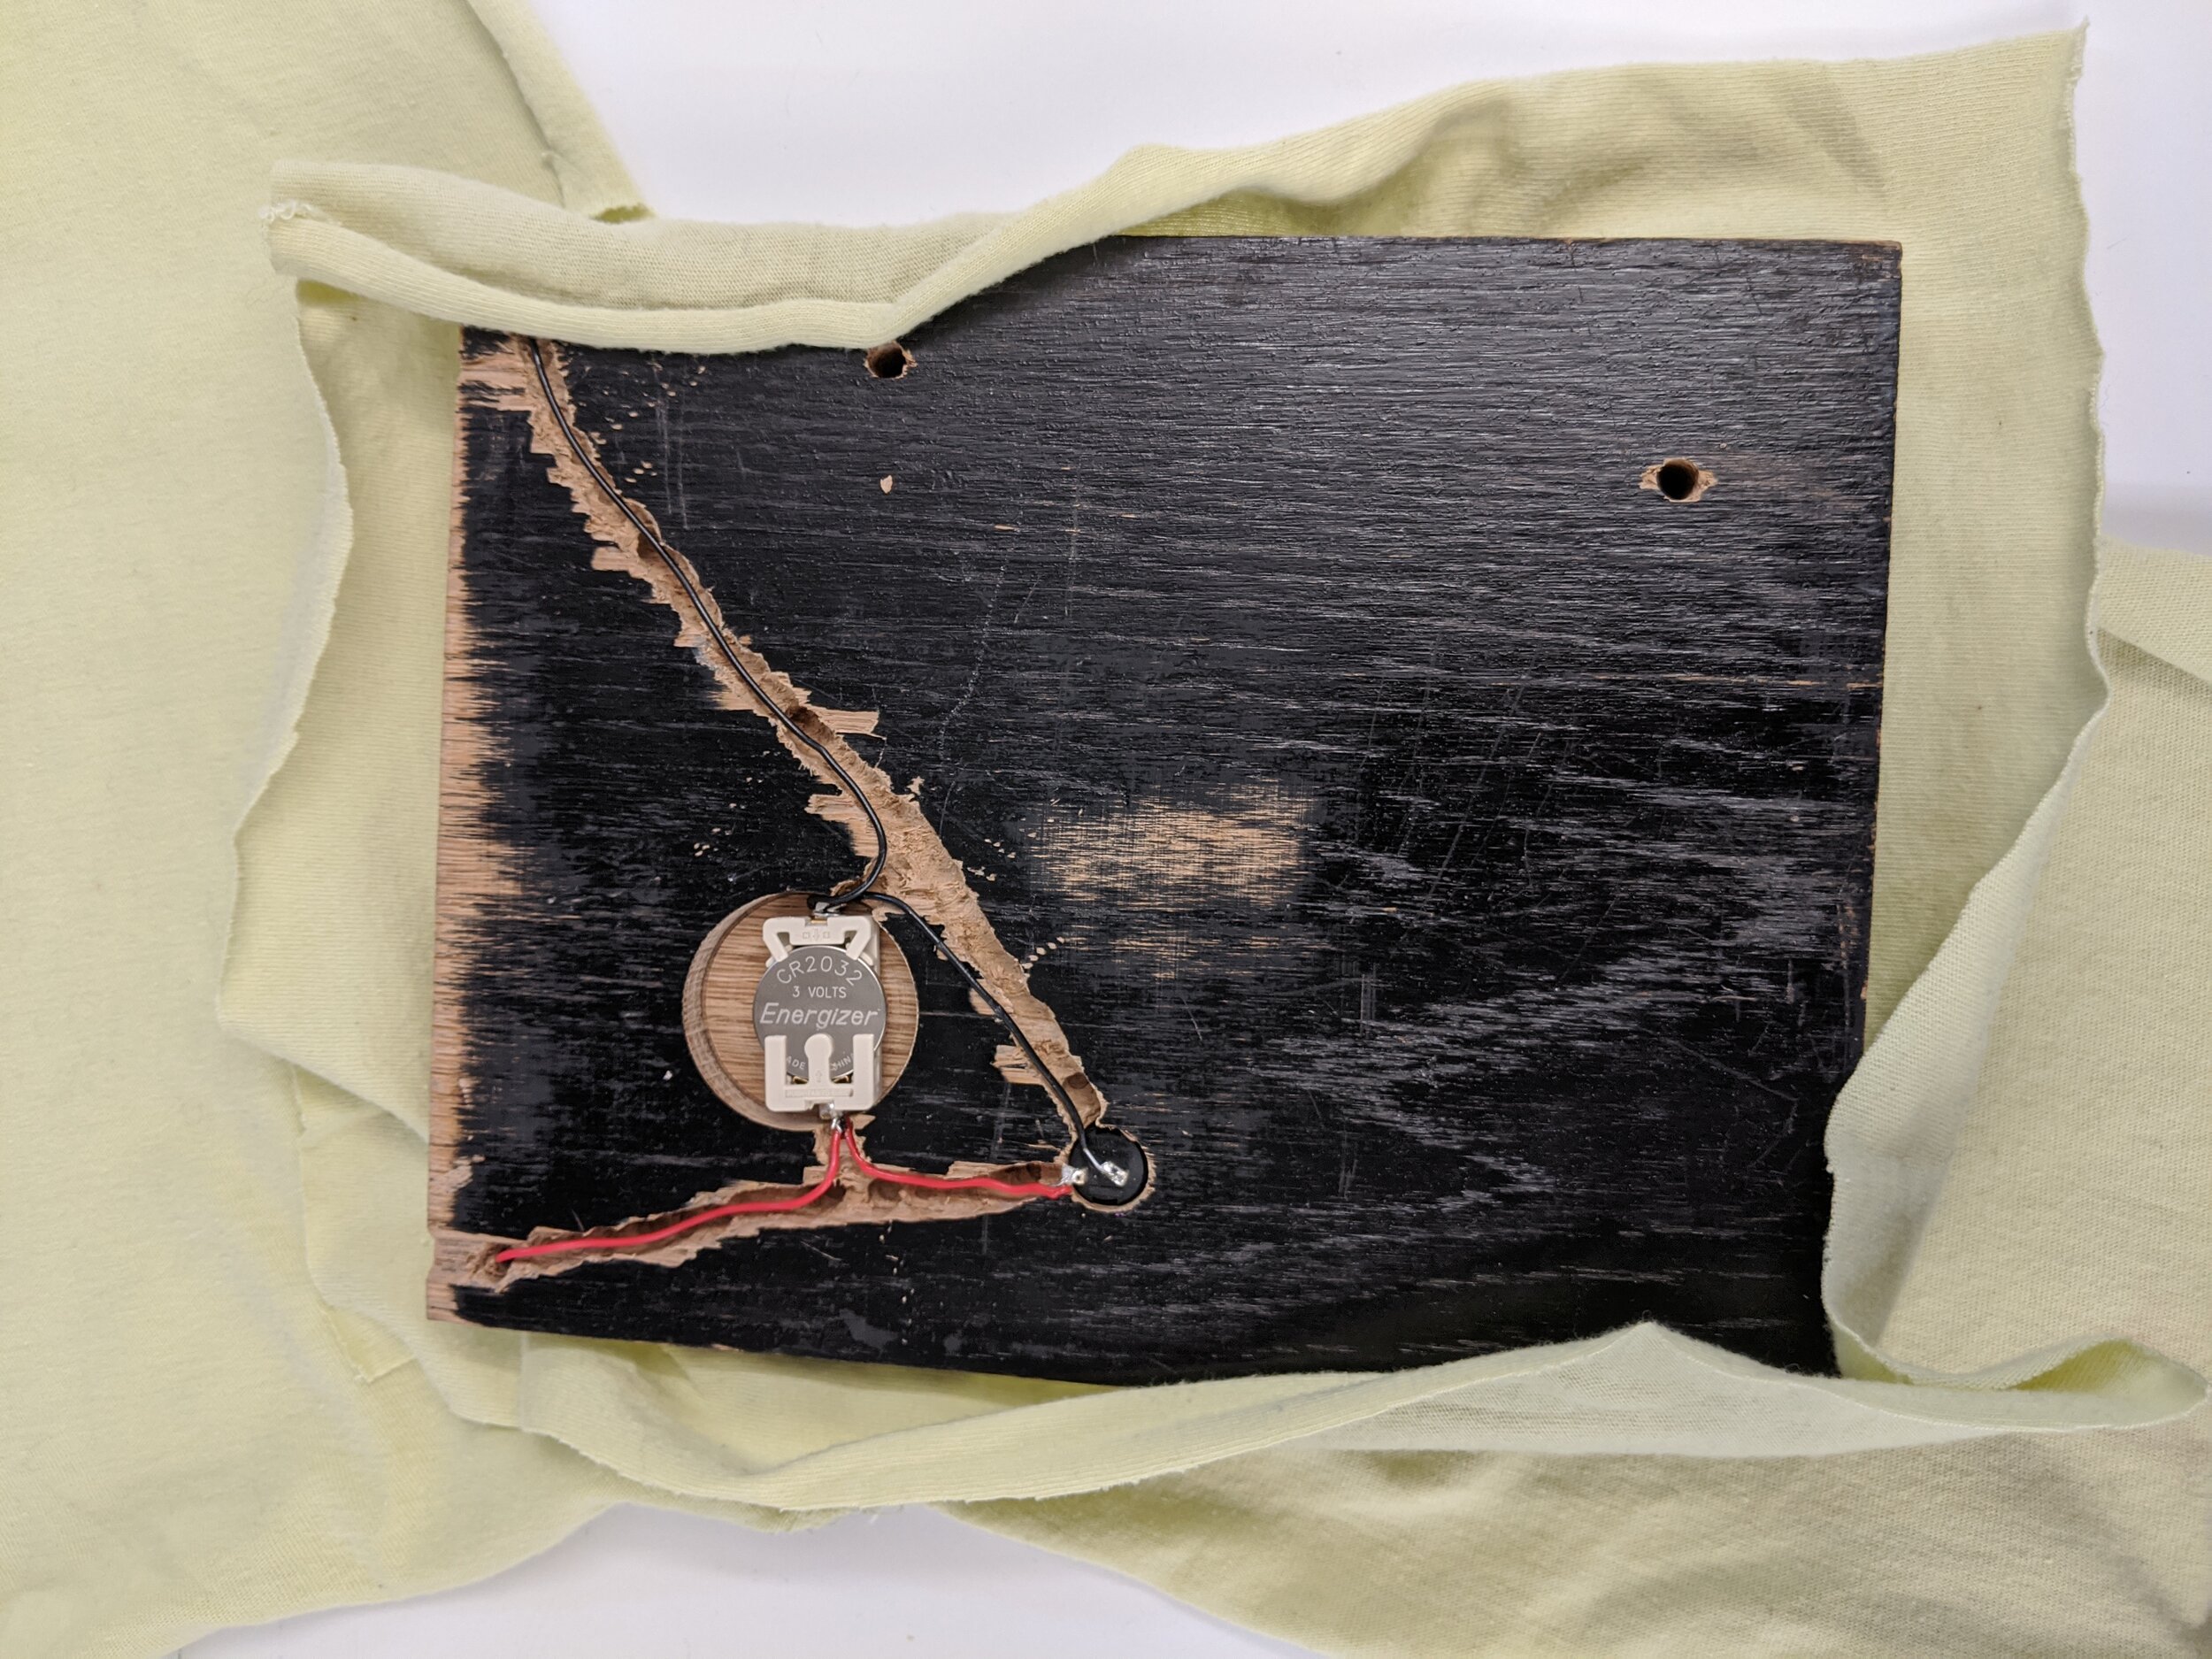
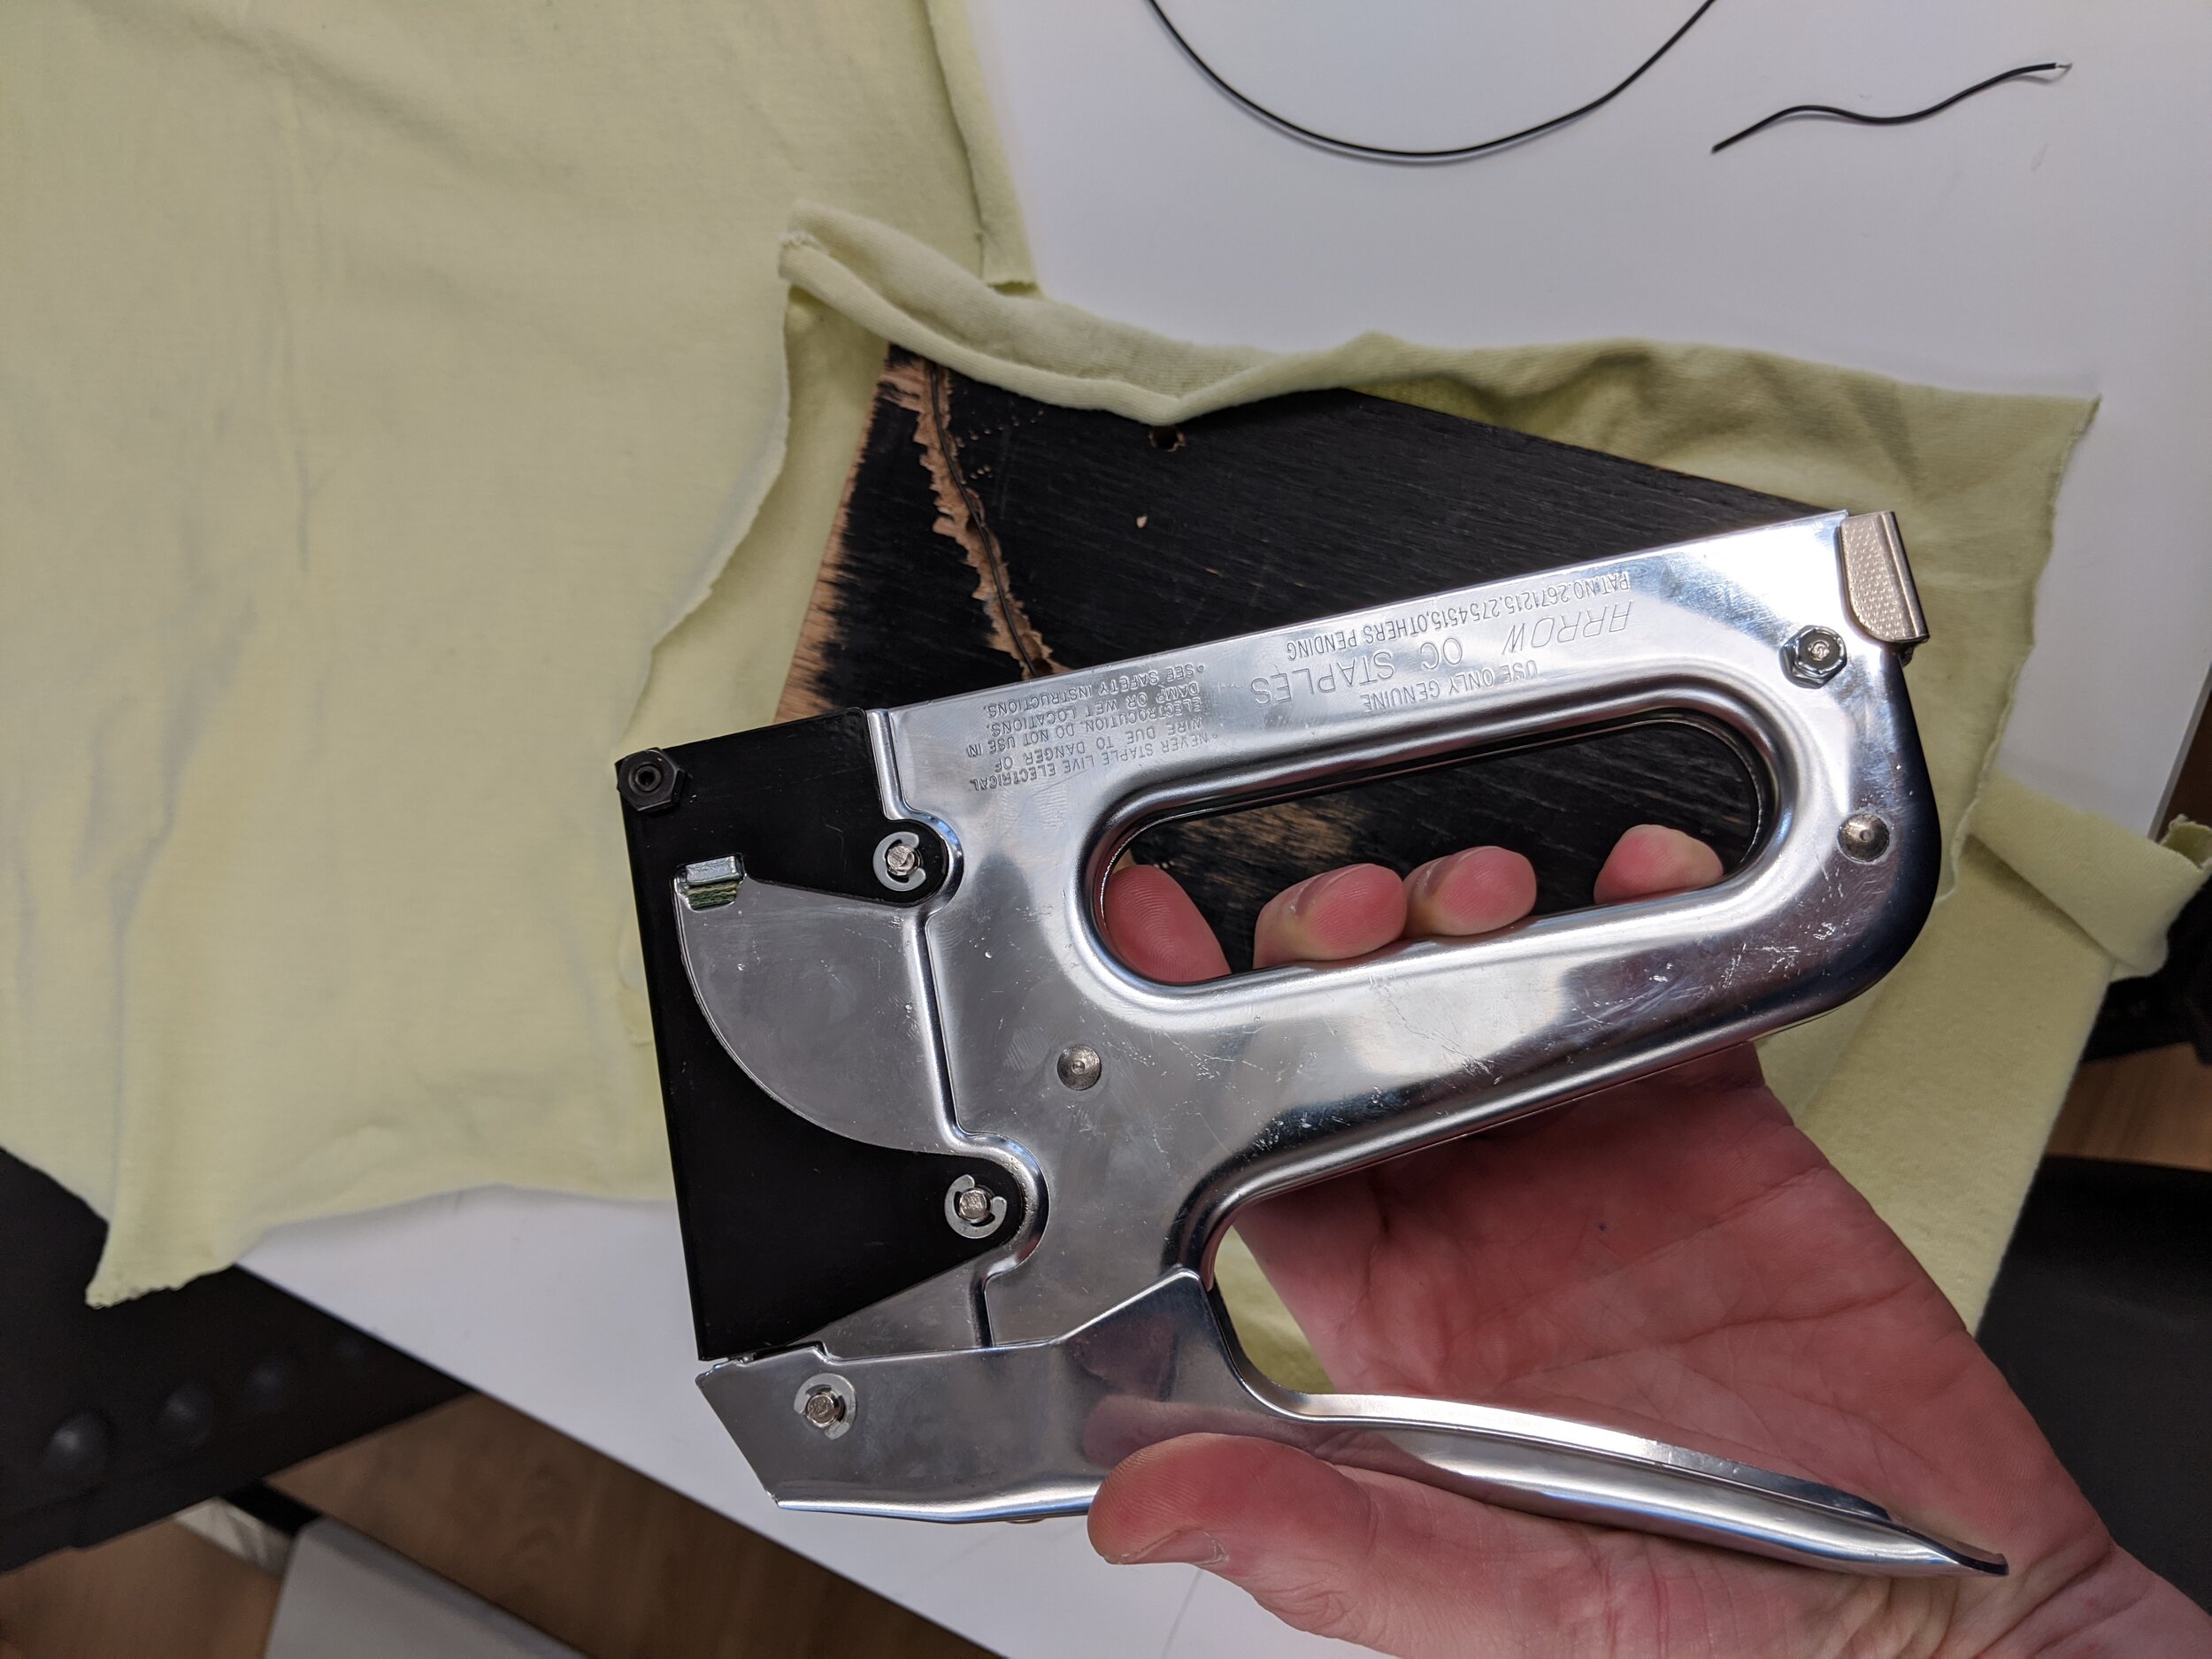
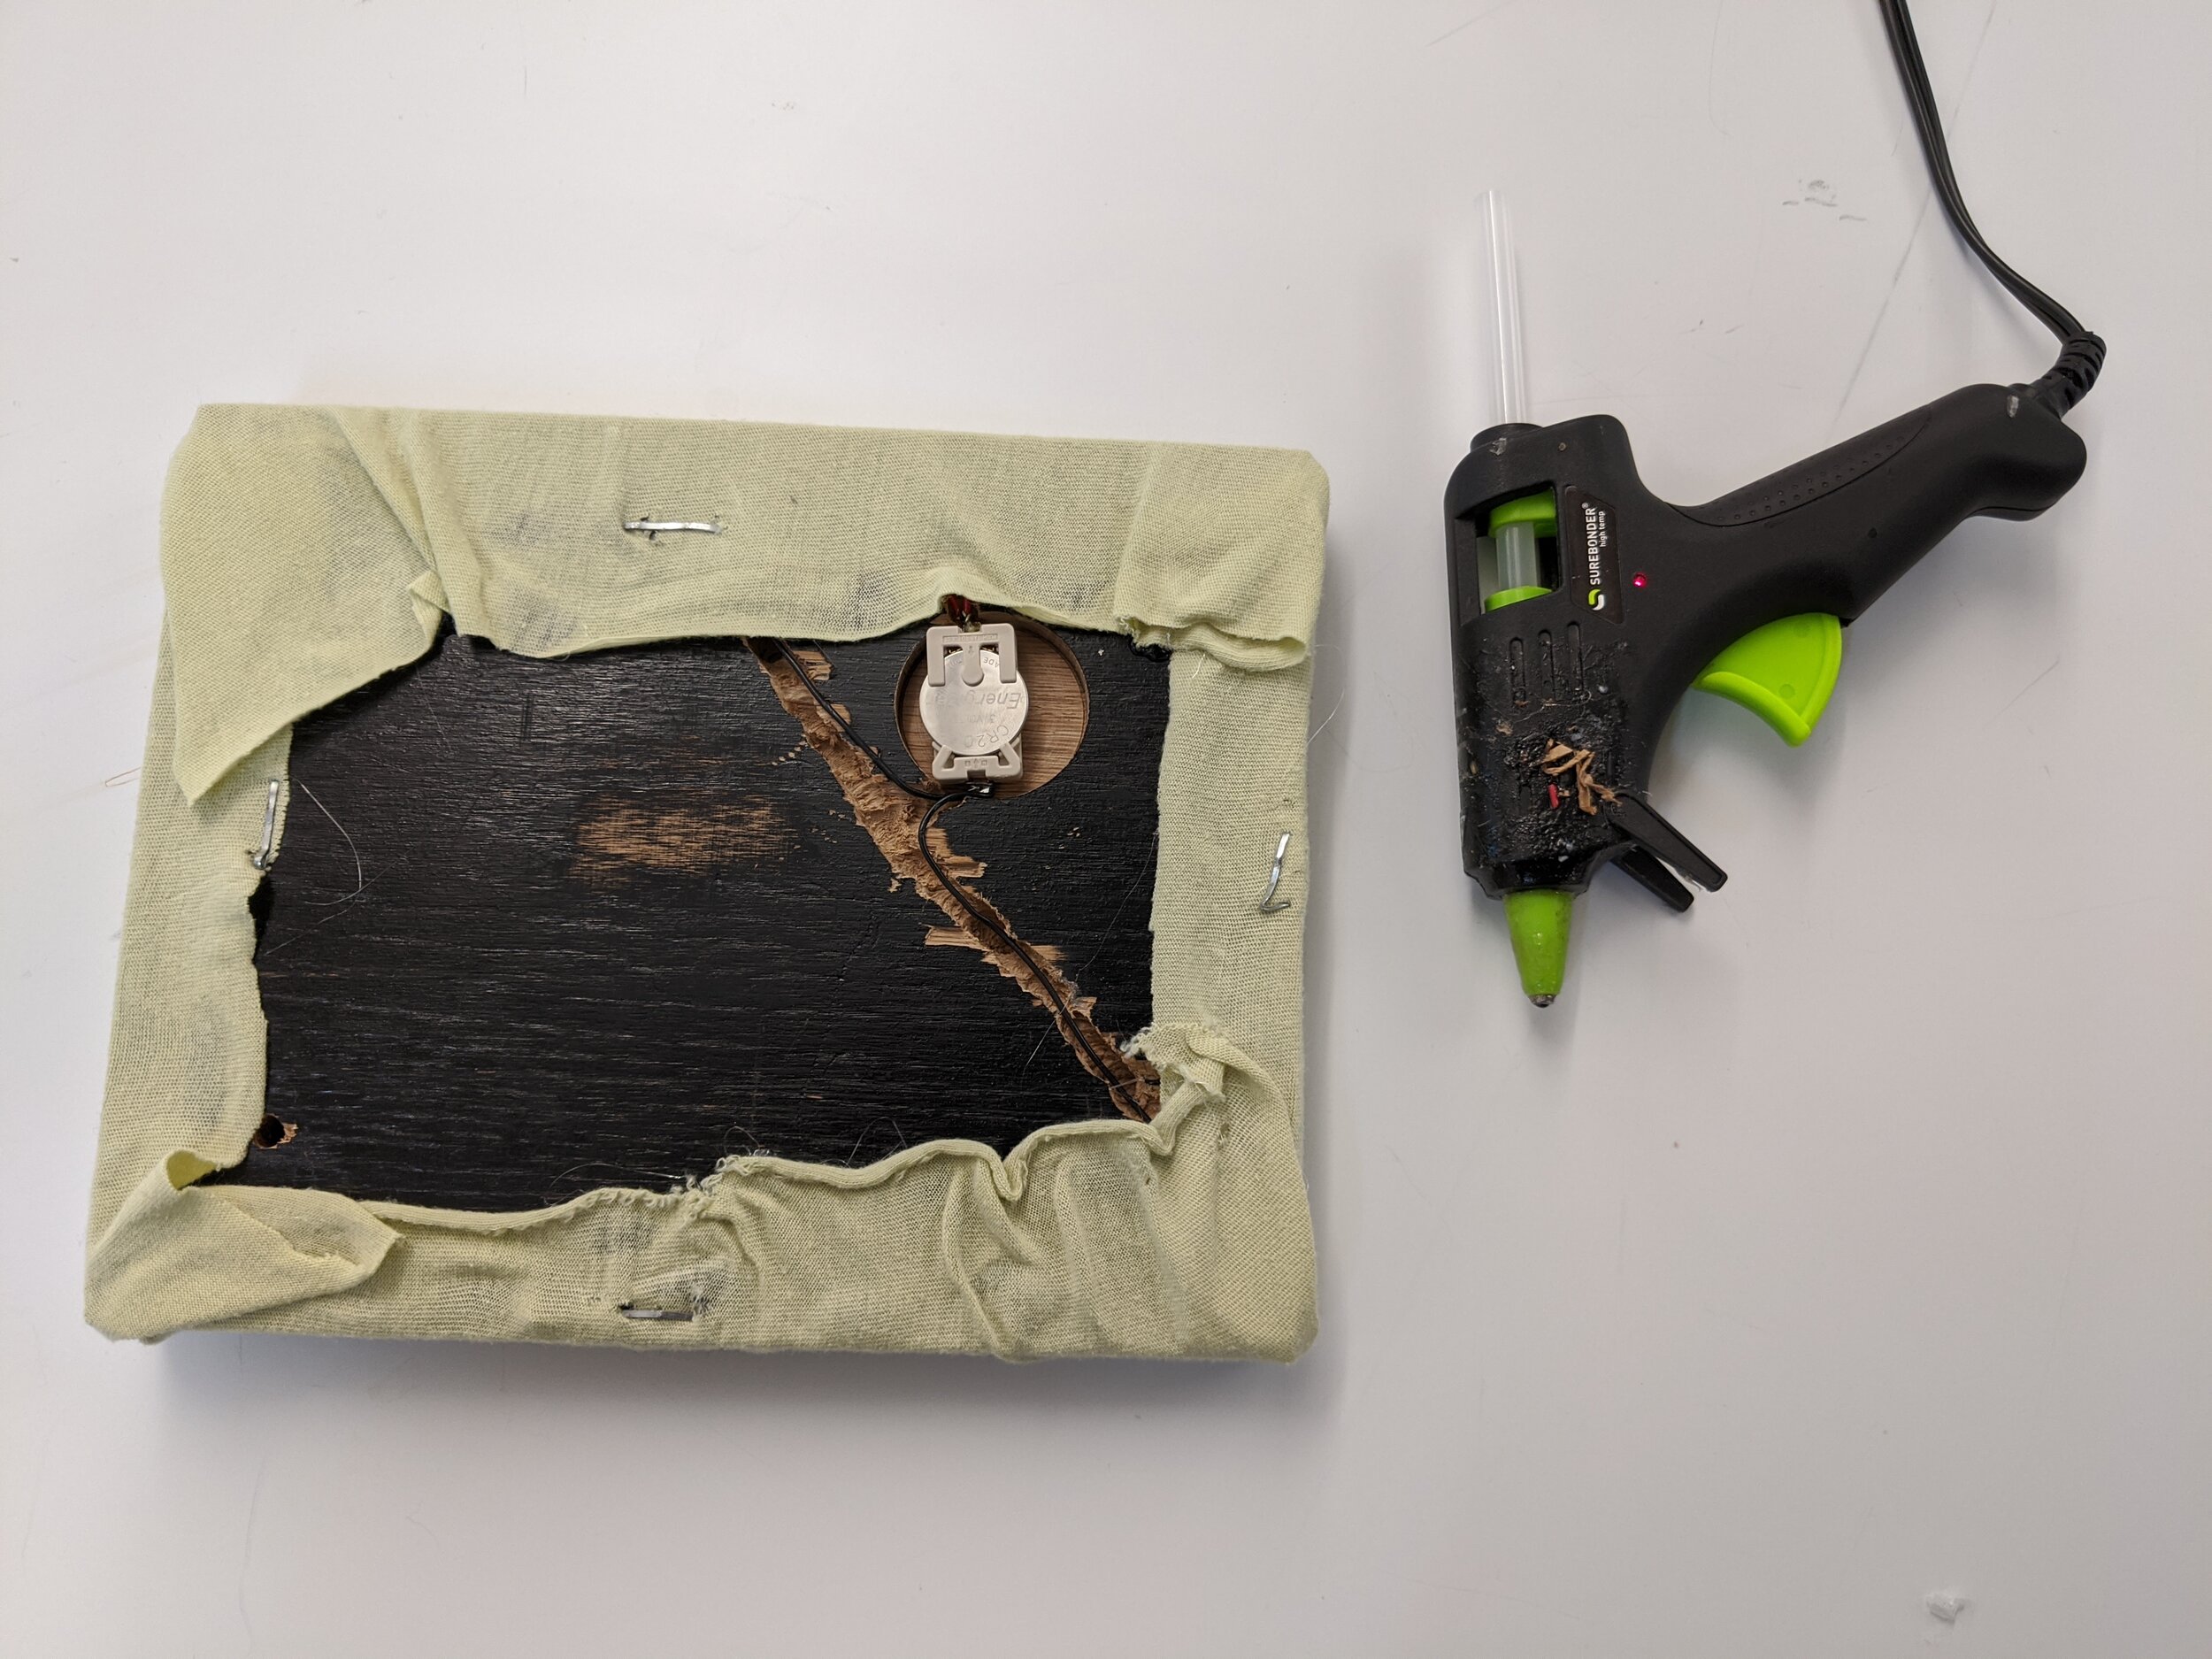
I started with a piece of wood. I drilled an appropriate size hole in it for my button (using the calipers to measure the diameter). Then I extruded the back to make room for my hard wires. Then I used a forstner drill bit to make a little cubby for my watch battery holder. I soldered solid copper wire to my switch, set it aside, and then I sewed my circuit with a sewing machine. Then I poked a hole in the fabric for my switch, fed it through, soldered the rest of the circuit in the back, fed it back through, and then sewed it back to the soft circuit by hand. Oh, here’s how to transfer conductive thread to a sewing-machine-sized-spool like a boss:
And here’s a slide show of my process:
