In my last post I shared the basics of soft switches and soft circuits. For this post, I wanted to talk about my wearable prototype, but also where you can find some good resources if you, yourself want to get into this stuff. Firstly, watch this video. And secondly, check out this site. Also, I’d like to say thanks to Kate Hartman for showing us the ropes on conductive textiles. It really opened up a lot of possibilities in terms of the way I think about making circuits and sensors.
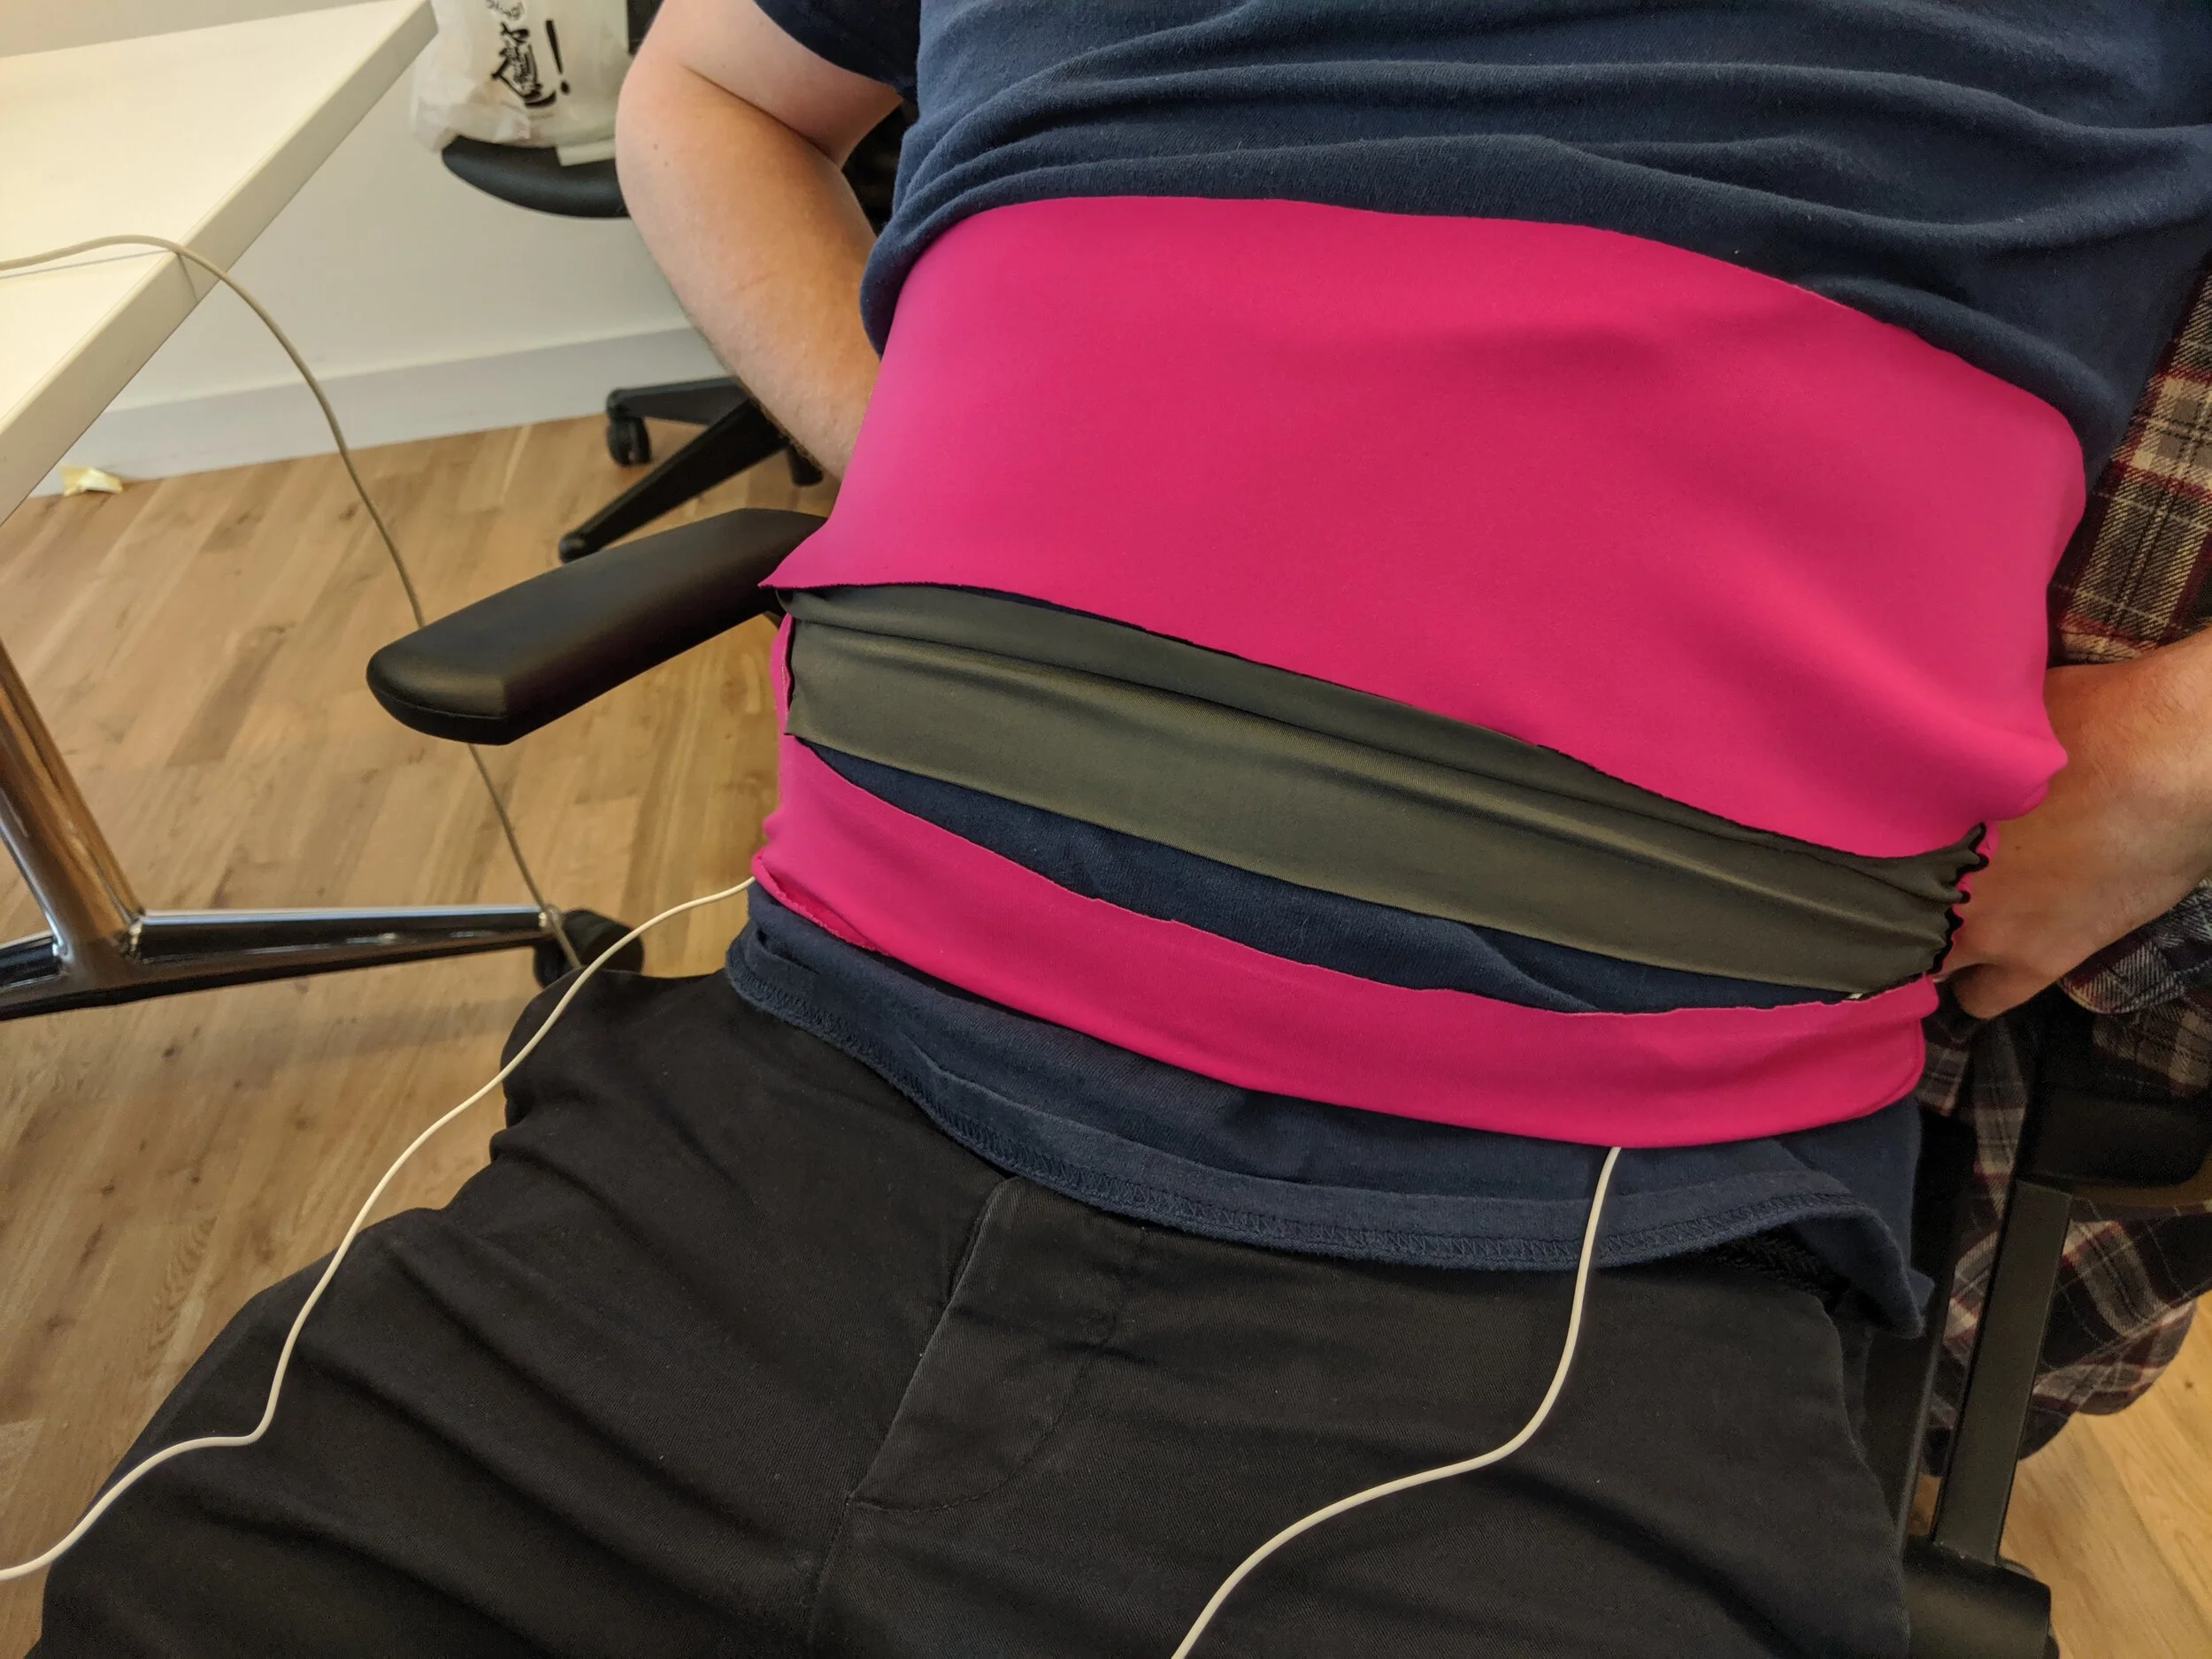
For my textiles prototype I wanted to create a wearable fetal kick sensor that transmits real-time data to the web. My wife, Marina, is pregnant, and I want to image our baby’s kicks using wearable sensors for her belly. When I say image, I’m not talking about high resolution imaging or anything like that, but more of an abstract visualization that would show the baby’s movements along X and Y coordinates of a .p5js sketch. I also want the data from her wearable to be able to be transmitted wirelessly to a website that would run the P5 sketch. The ultimate iteration being that we could share a URL with friends and family where they could go and see the baby’s movement in real time (Isn’t that nice?). Also, tracking fetal kicks is an important part of monitoring the baby’s health, especially in the third trimester. So, this wearable has medical functionality as well.
I also decided to pursue this concept further as my Physical Computing final project, so you can read more in-depth about that and see some pictures of Marina at this link.
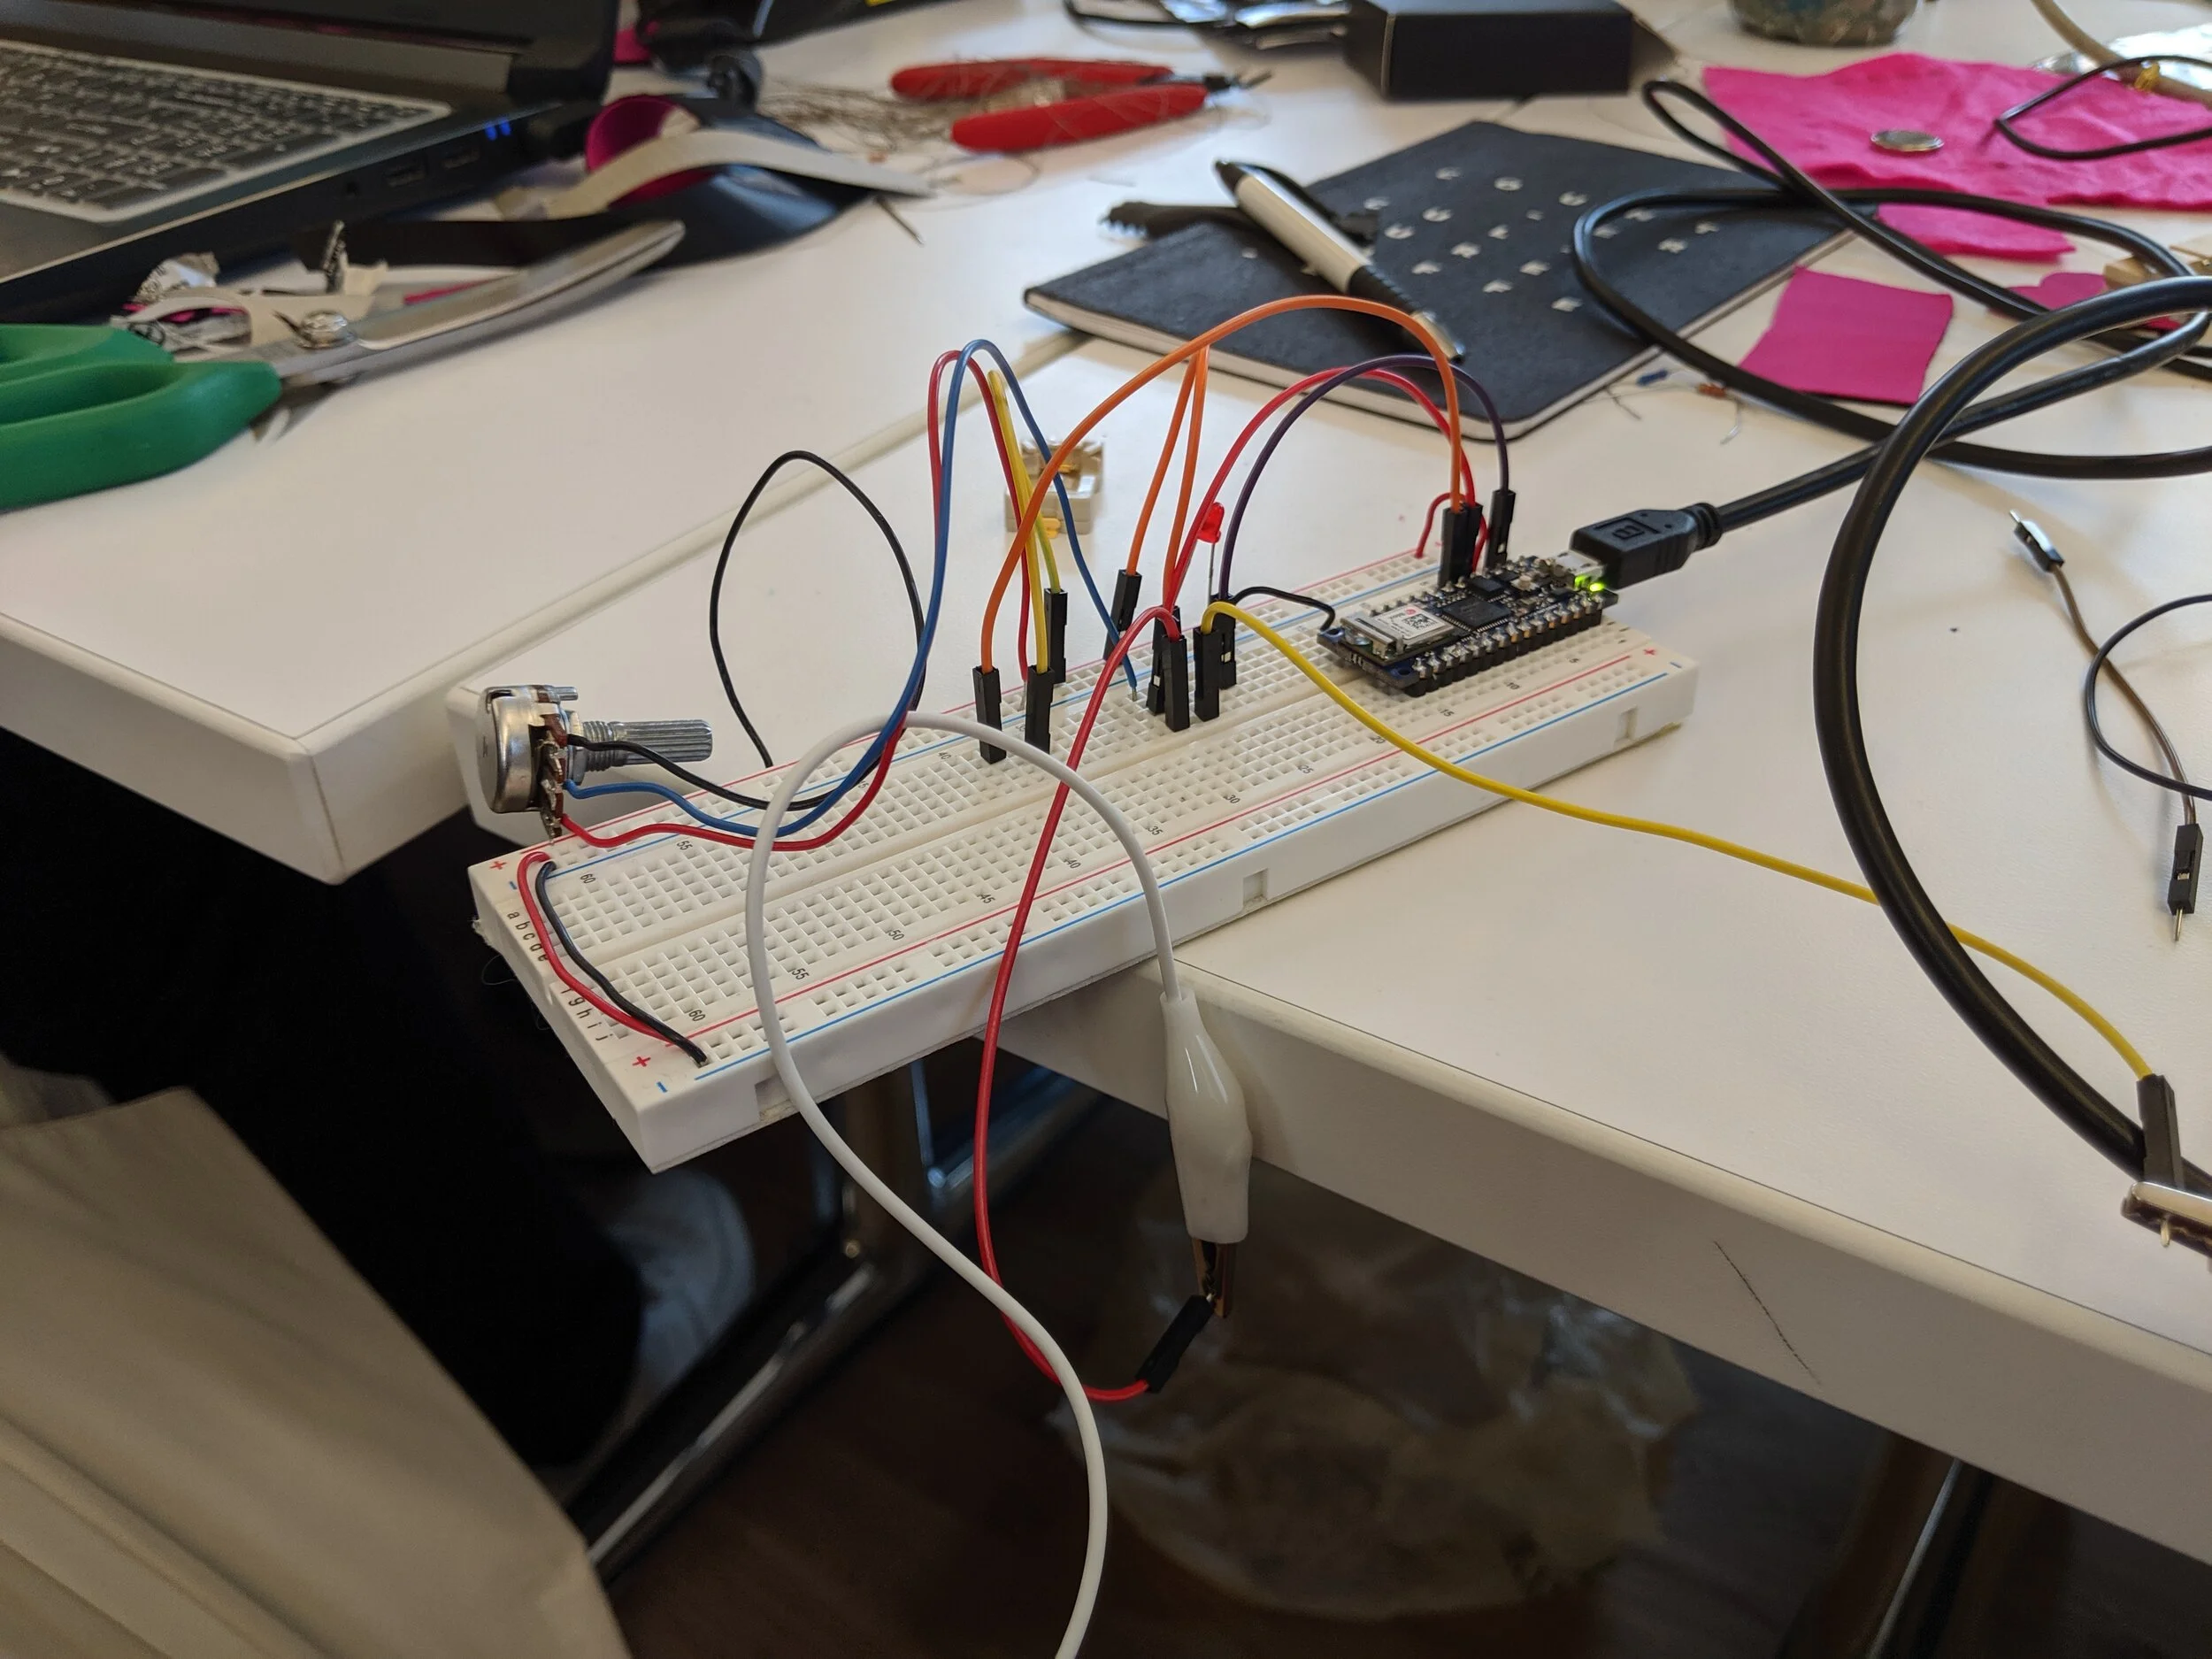
My original idea was to use Eeonyx, a sort of stretchy conductive fabric. I made a prototype of that in class, but it turns out that it’s really just kind of a stretch sensor, which doesn’t work for what I’m trying to do.

This is my original prototype using Eeonyx. It did generate data, but not the way I needed it to.
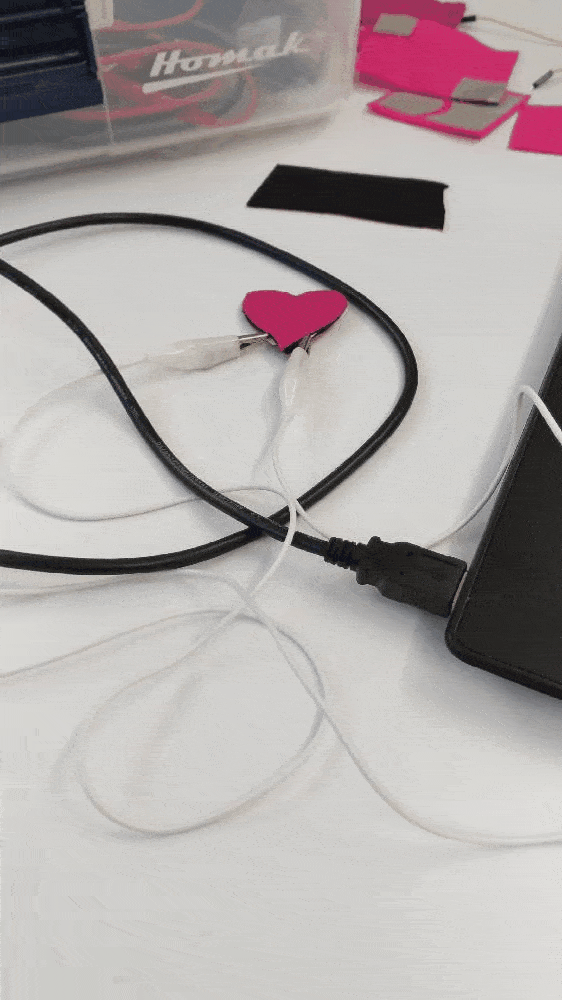
As an alternative material, I found a link on “How to Get What You Want” on how to make a pressure matrix using Velostat and fabric that I think will work nicely. I made a paper prototype (literally), based on one of their examples. I was only able to get a read from one contact because all of the alligator clips were gone in the bins on the floor (I suspect they were used up by other Textile Interfaces students scrambling to finish their prototypes), but it was enough to make a proof of concept at any rate. It will work as a starting point, and once I hammer out the finer points of that circuit, I can sew it into a wearable using conductive thread.

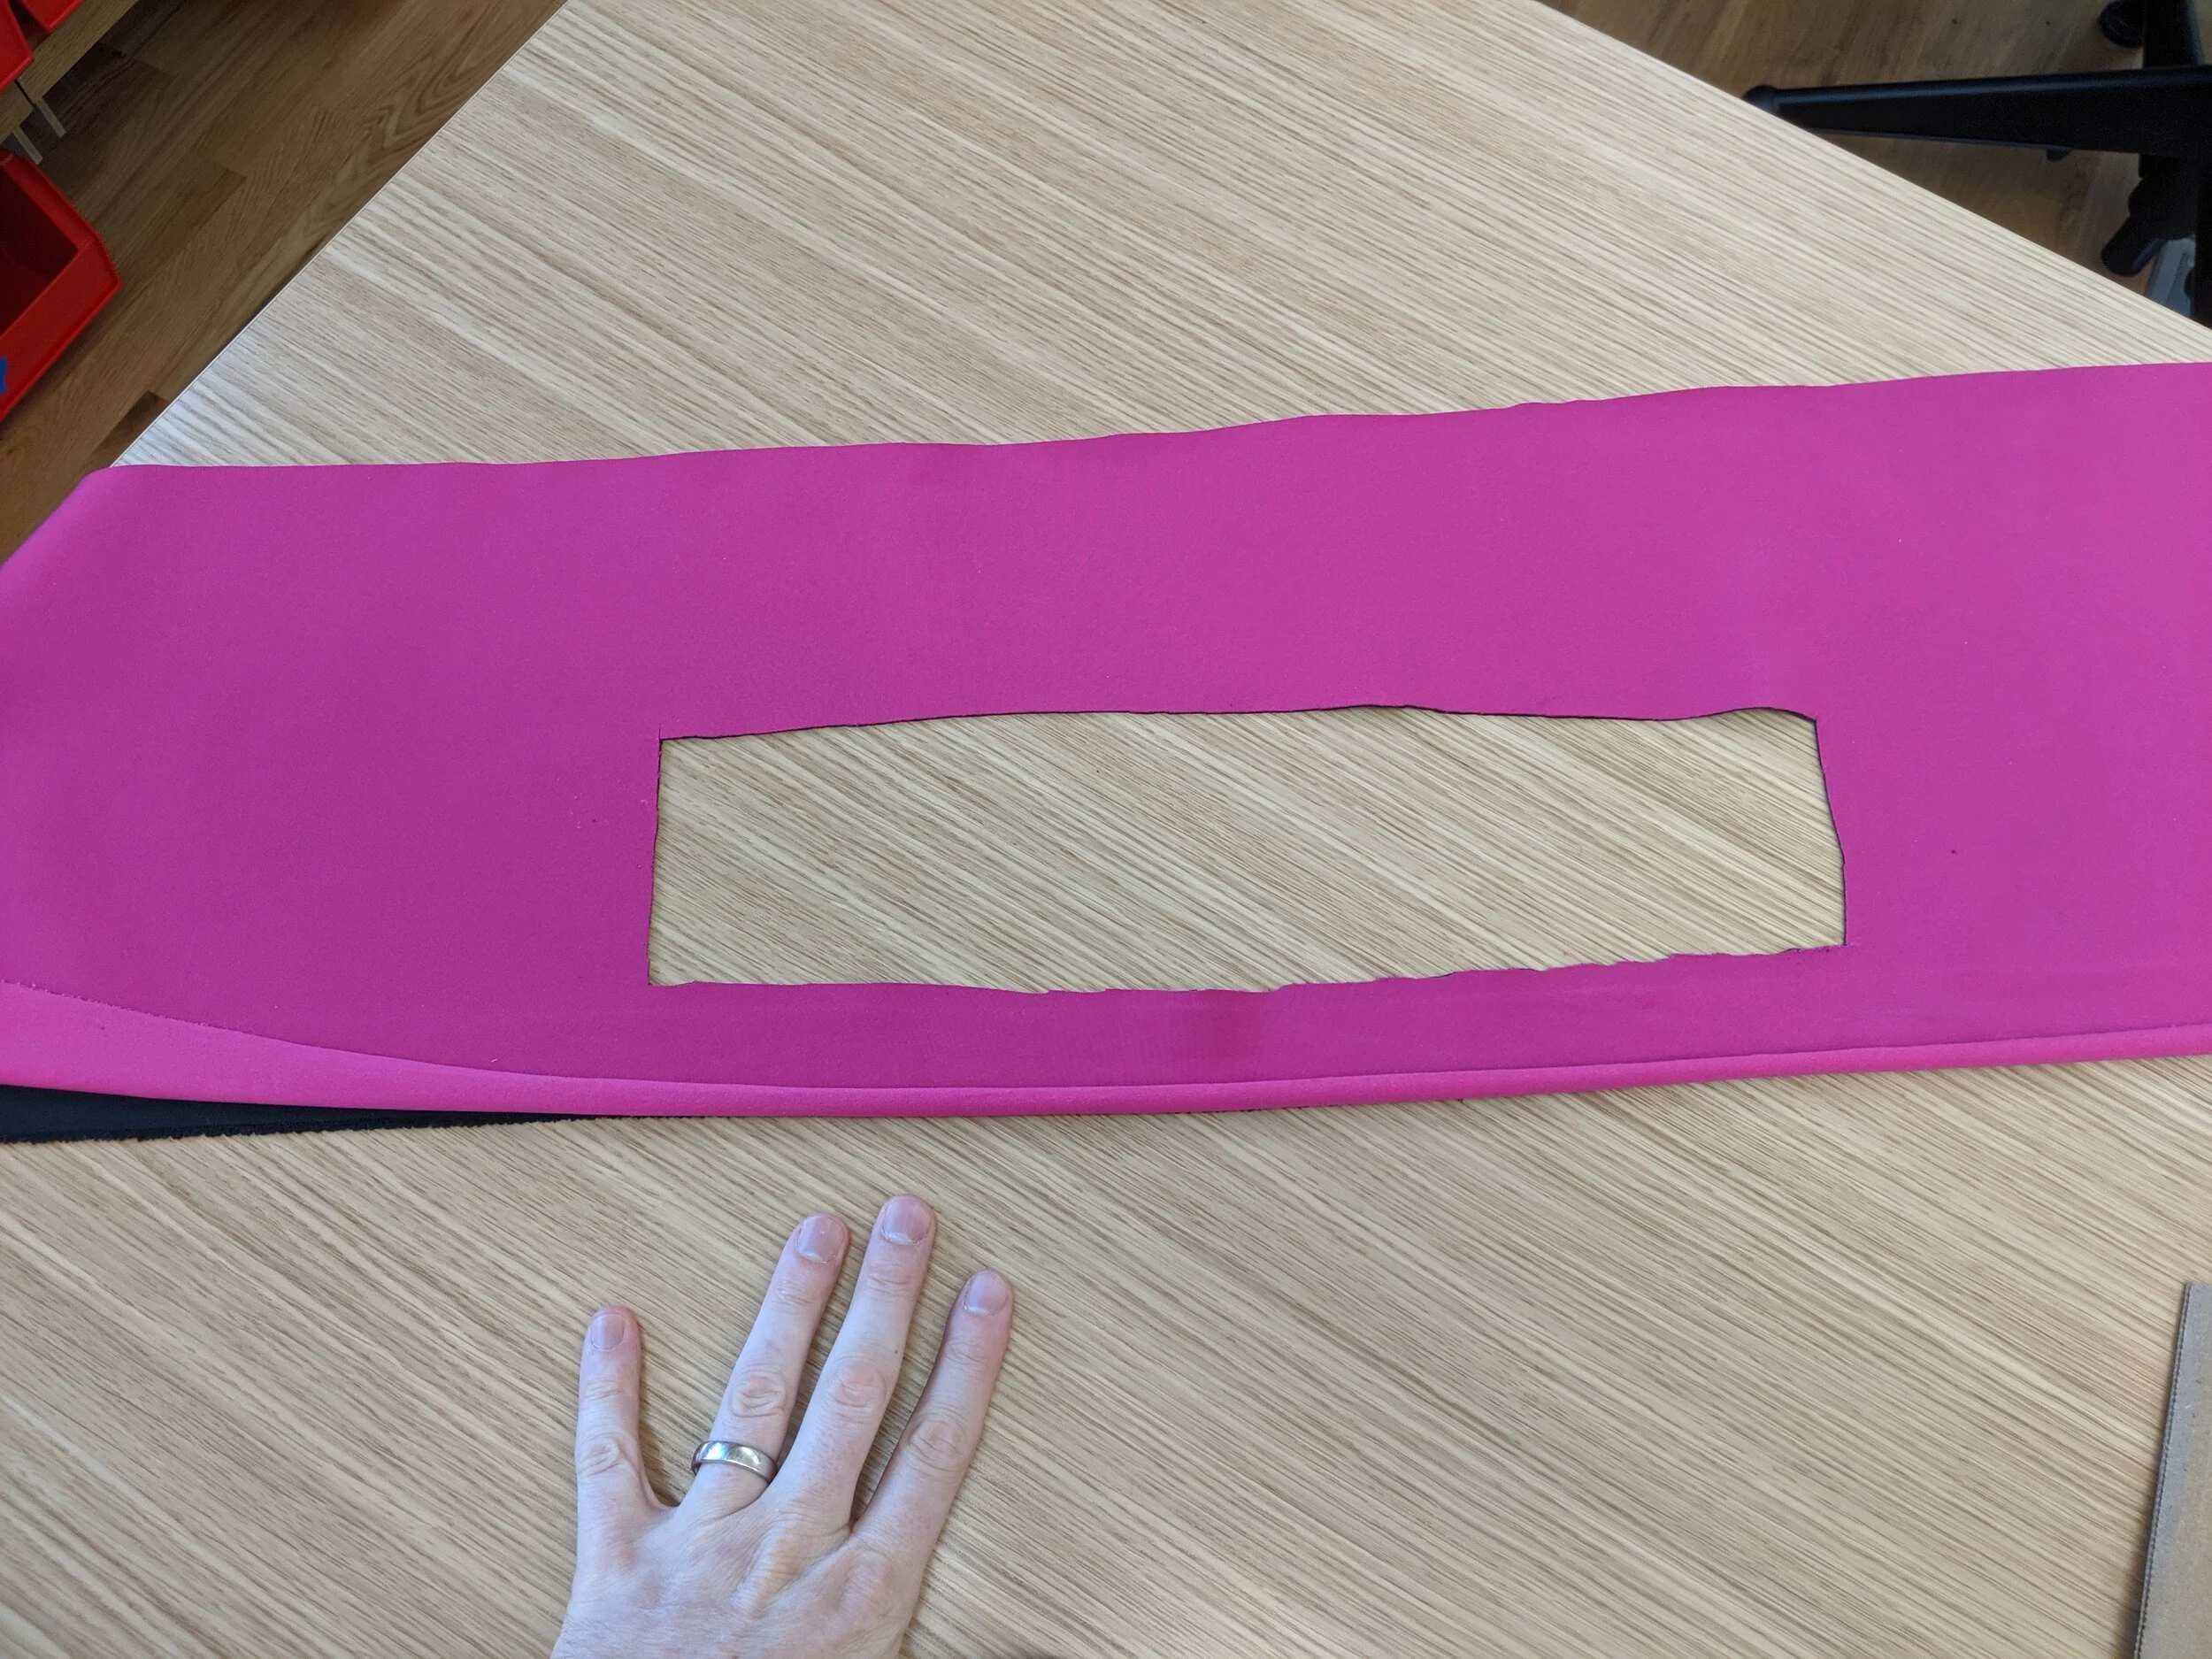
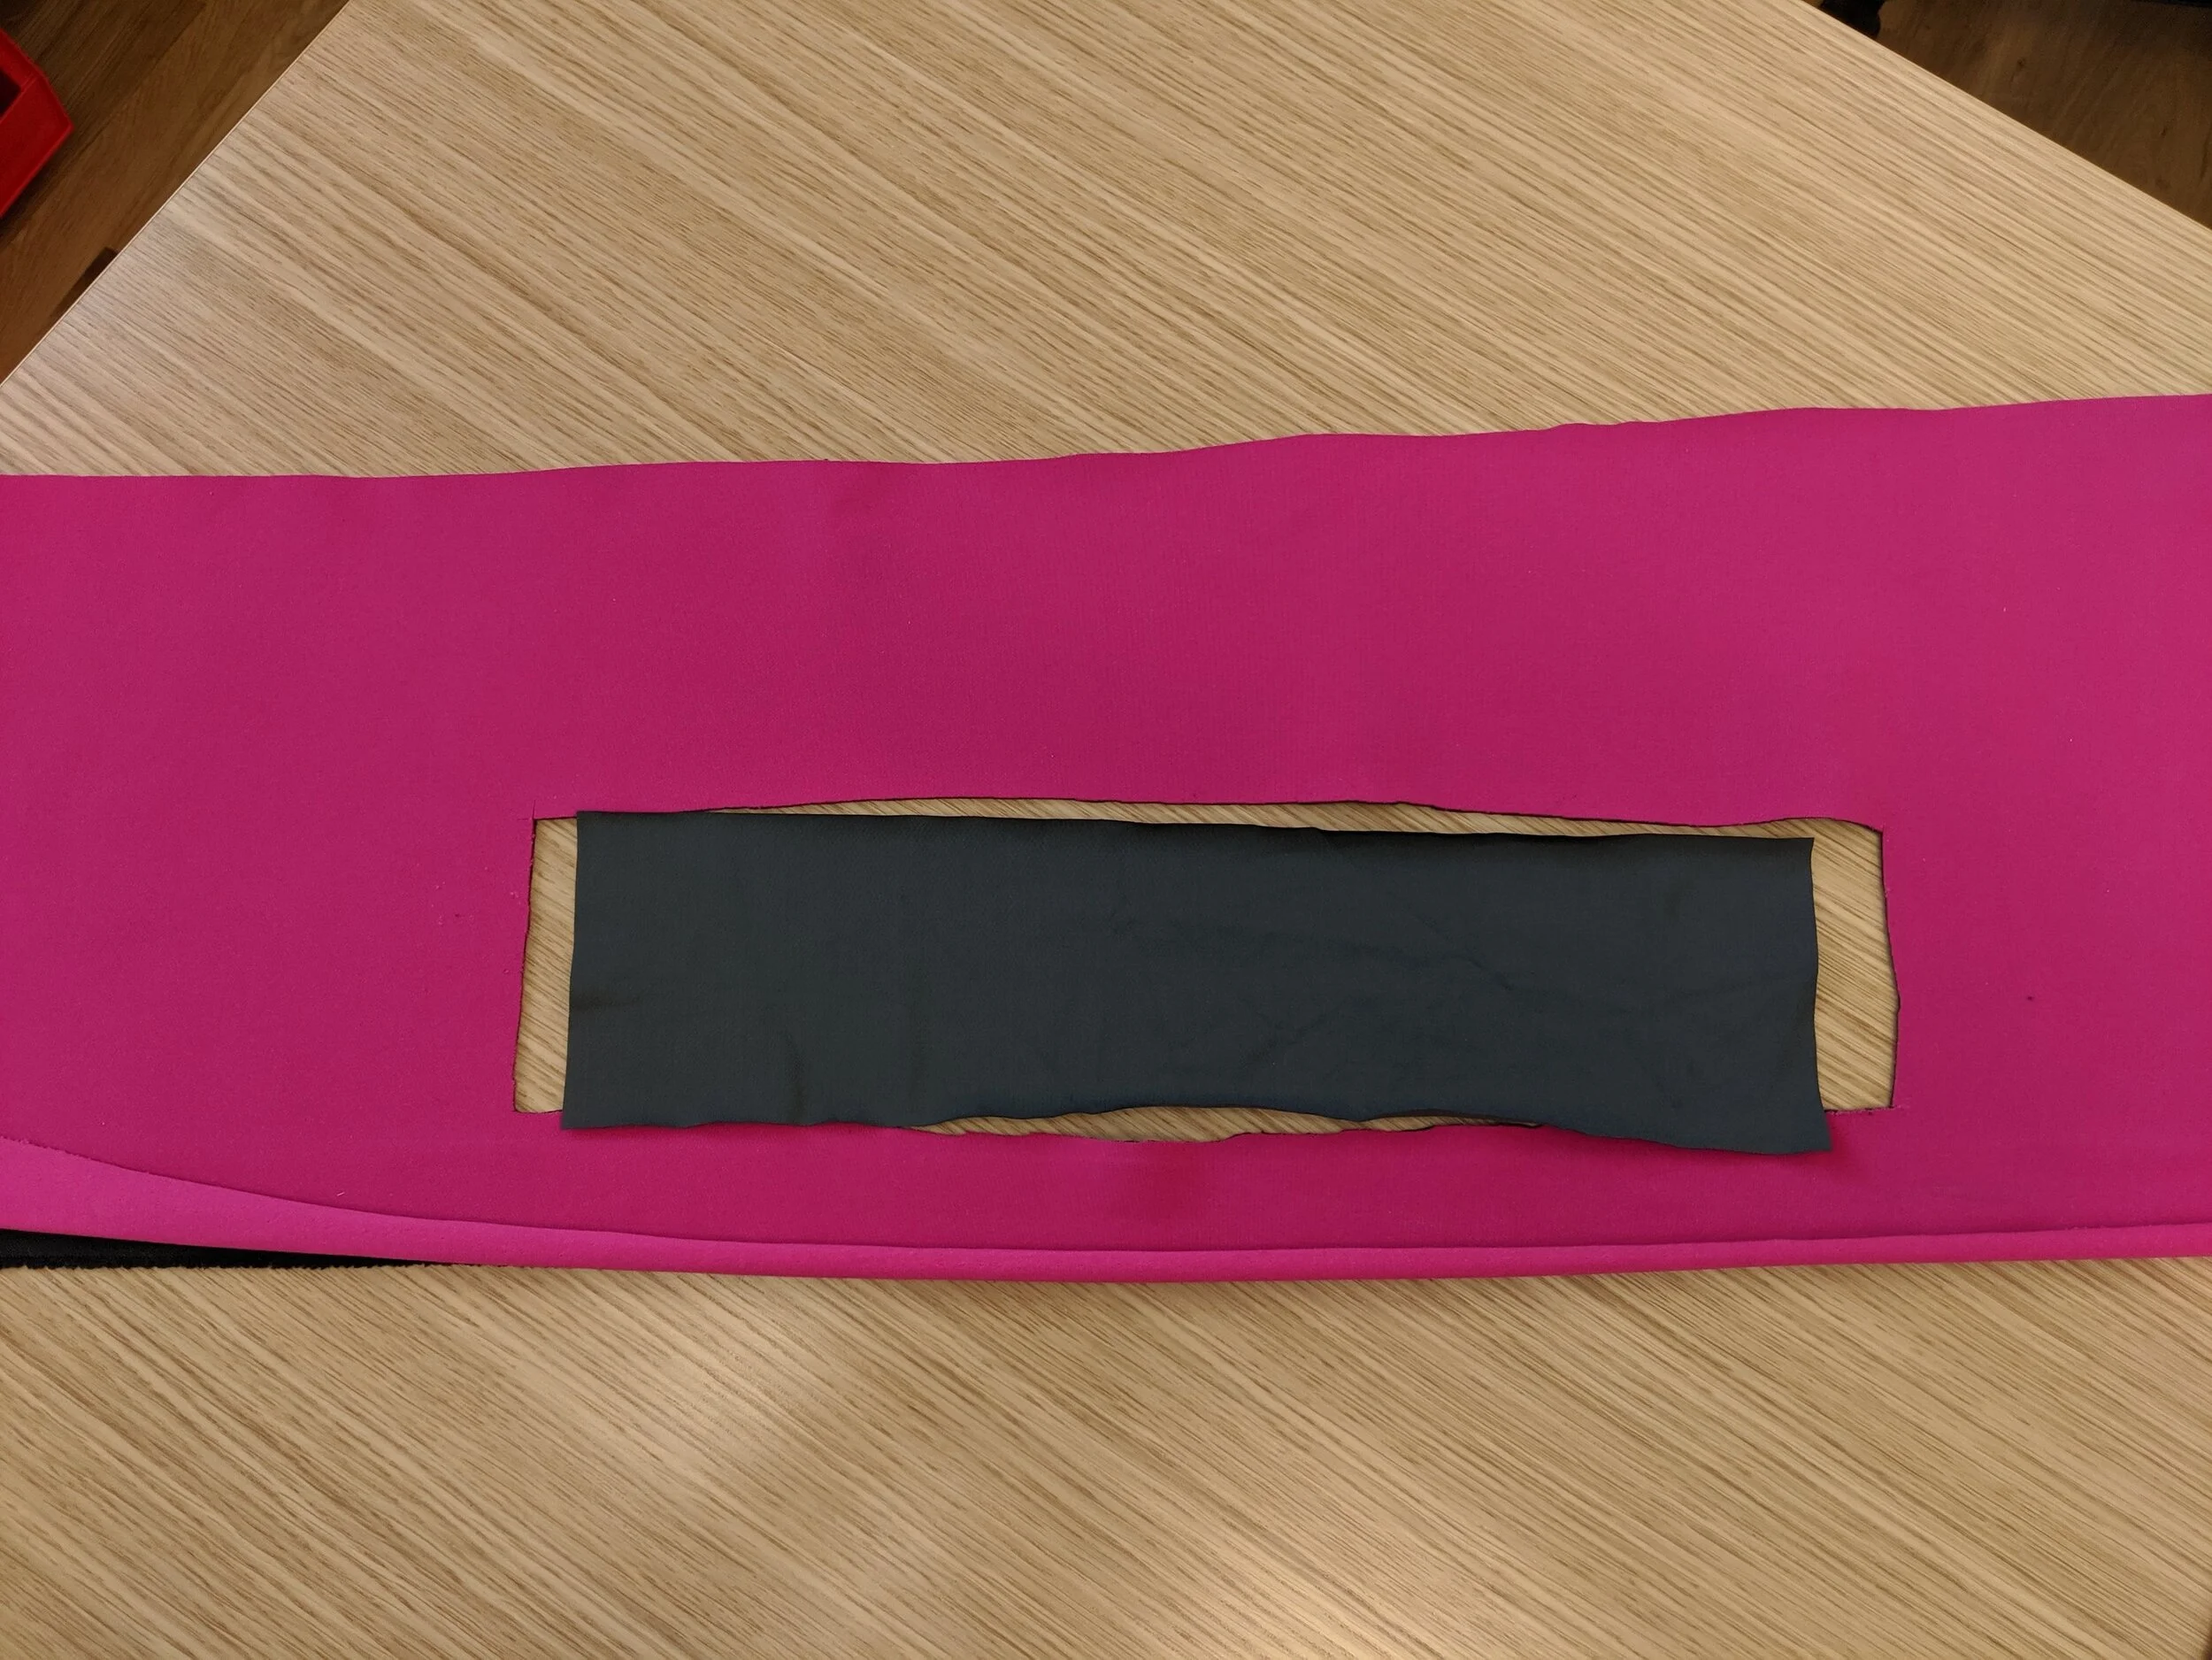
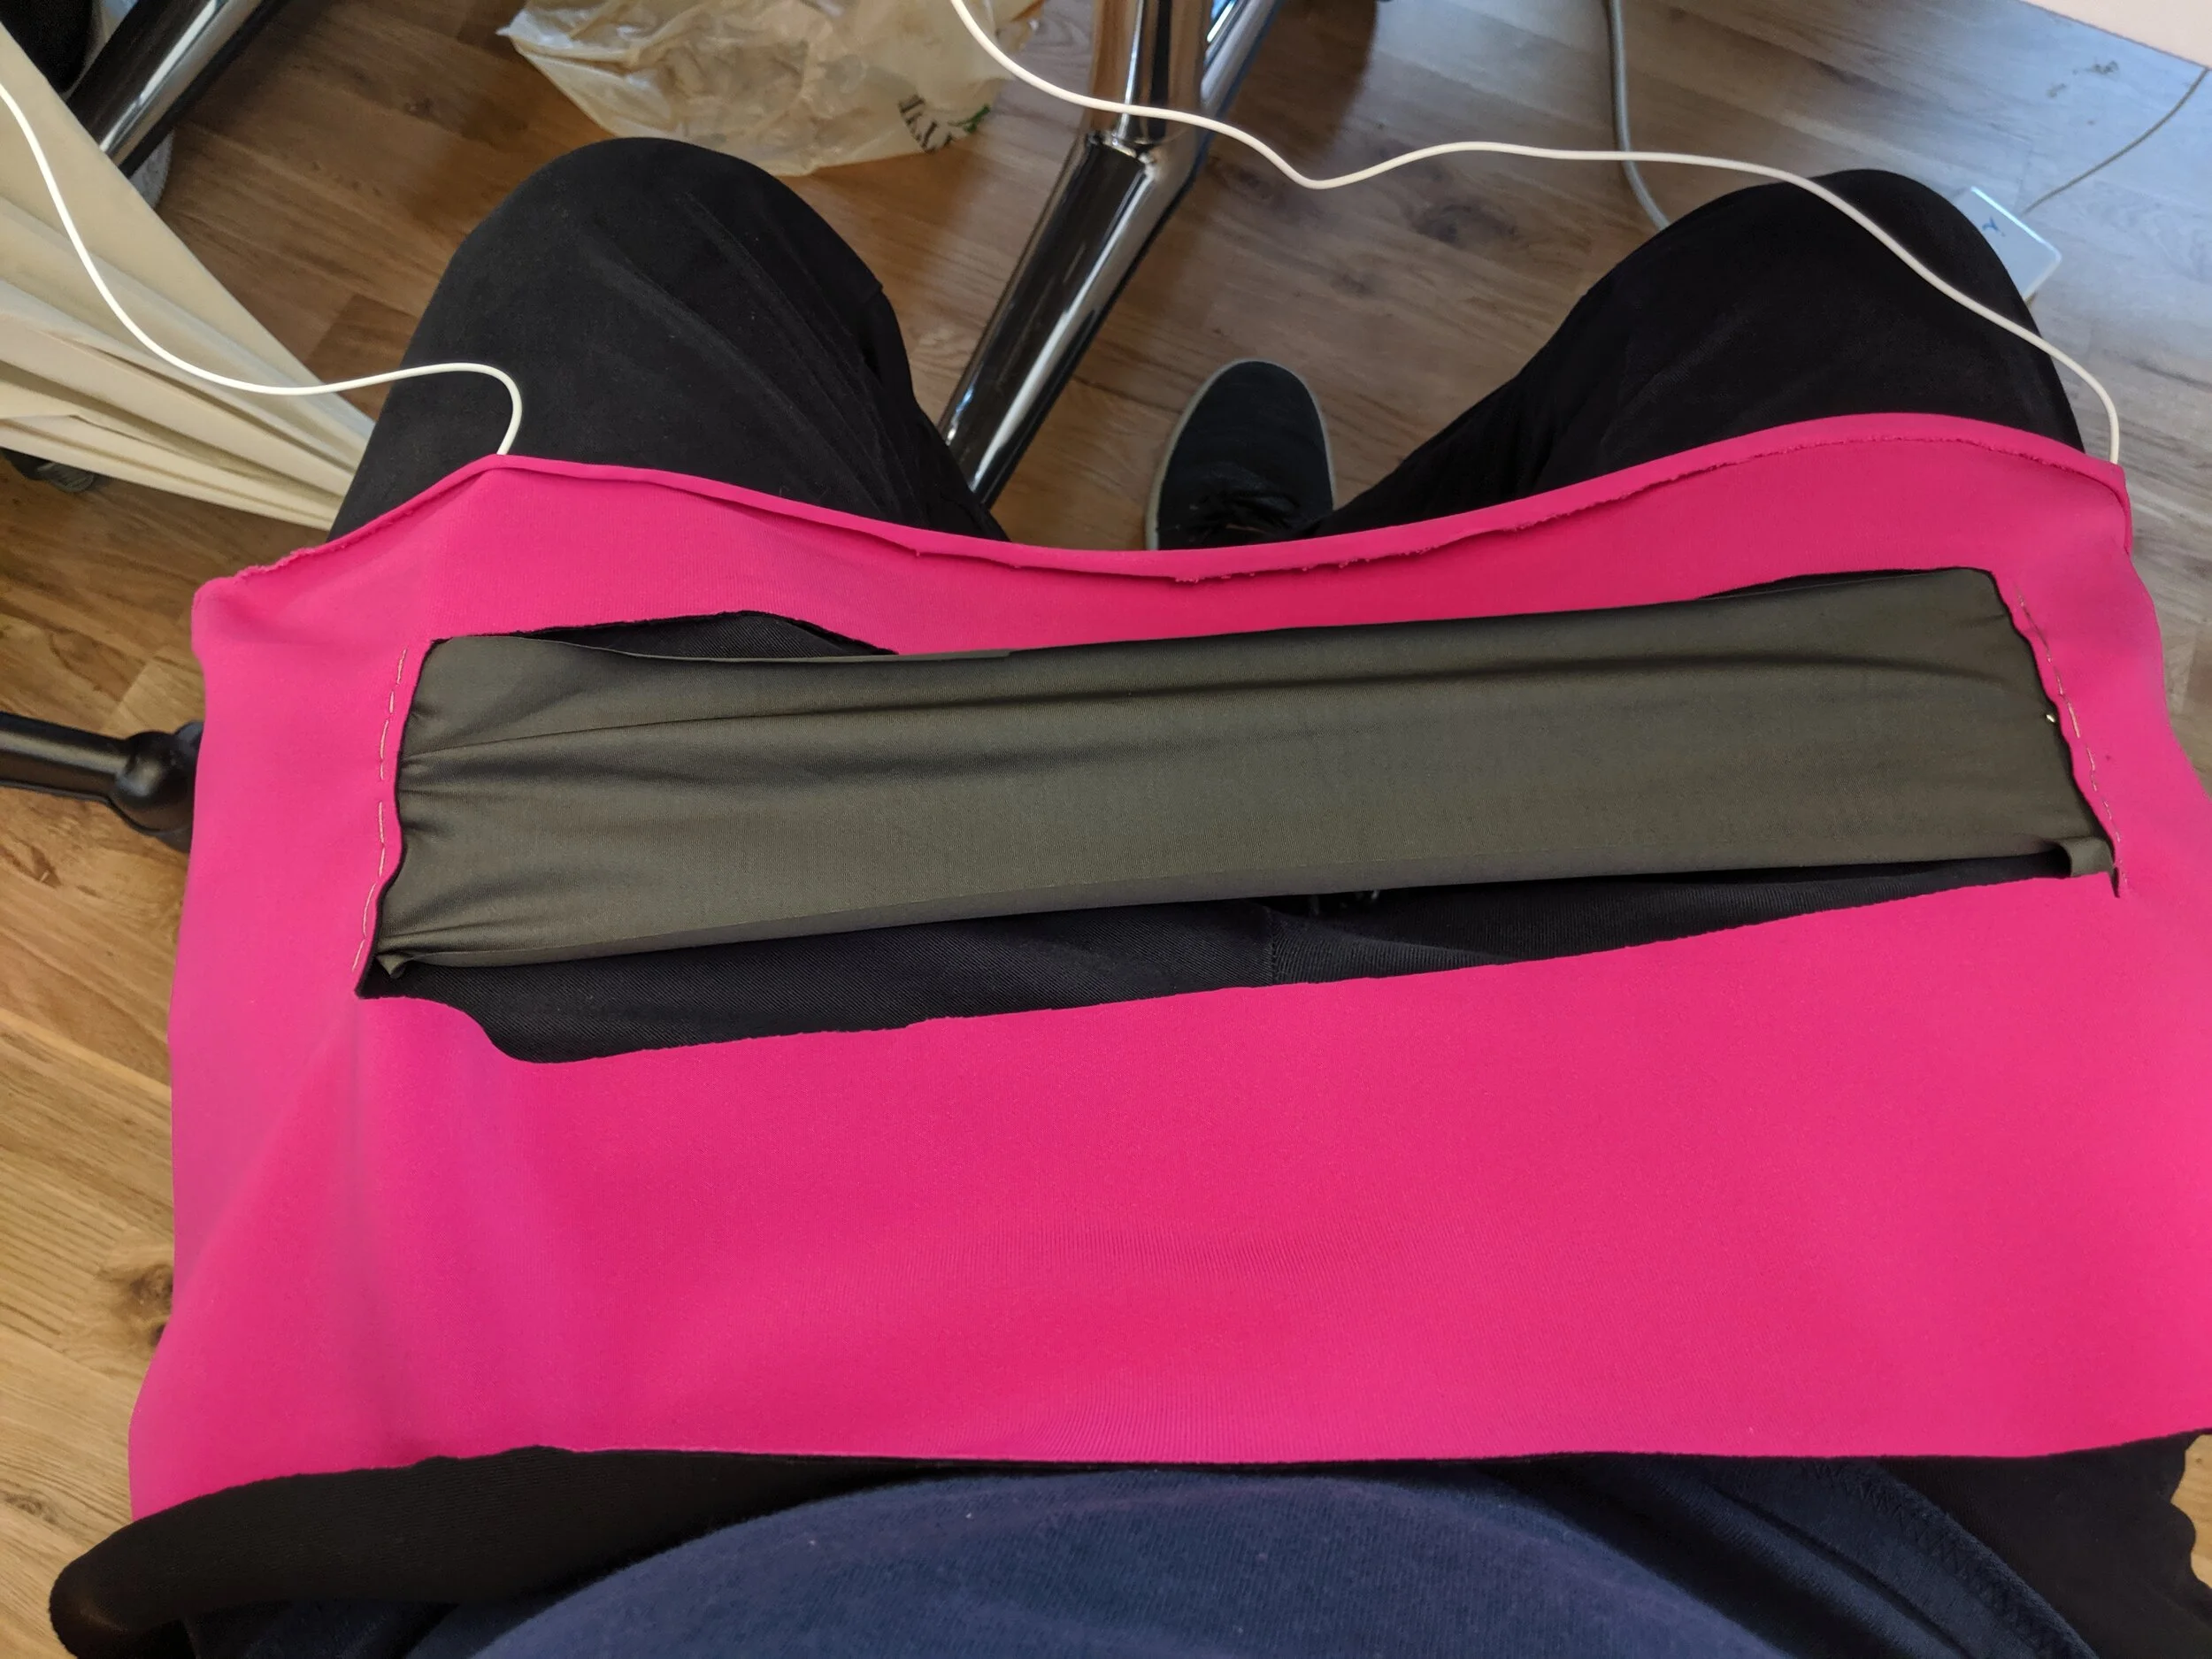
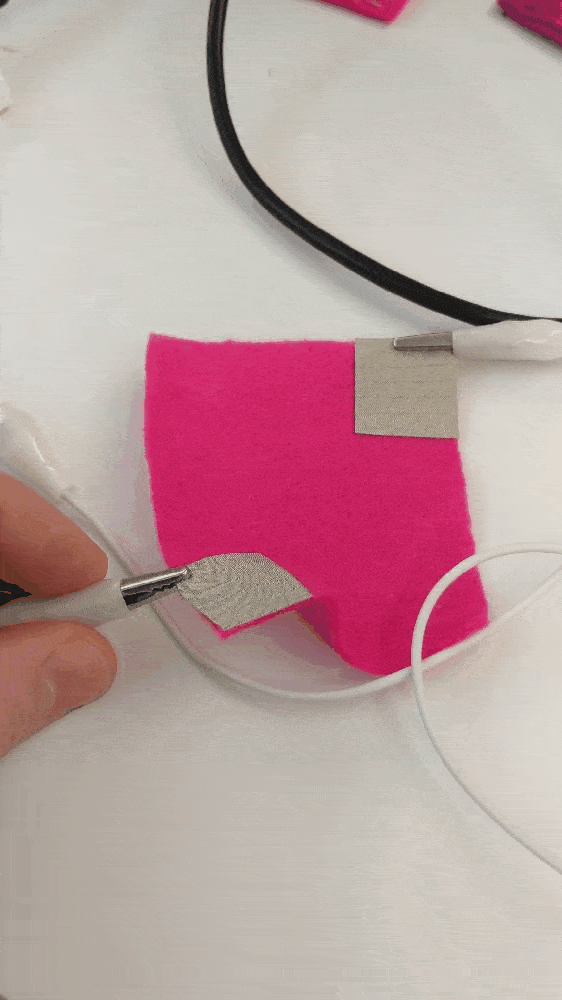
This sensor is made with a sheet of Velostat surrounded by a connective matrix. I made the circuit using copper tape on paper as a rough prototype. Eventually the copper tape will be conductive thread sewn on to two pieces of stretchy fabric with Velostat sandwiched in between. This will give me the X and Y pressure data I need to image my kicking baby!

This is the pressure-matrix in action.